Out of all the nifty tricks you concoct, the cinder block may be my favorite
4 Likes
Funny story about the cinder block… Kevin Morin is my mentor for this build, he’s retired from 40 years of building aluminum boats for commercial fishing in Alaska. When I was doing the curvy part at the bow I needed a way to hold it. I was stumped for a while but thought, “Kevin figured this out, so there has to be a way to do it”. When he saw that picture he commented that it was clever of me to come up with a solution that allowed me to do it solo, because he always needed a helper!
That’s the power of ignorance: sometimes you don’t know what you can’t do, so you come up with a solution.
6 Likes
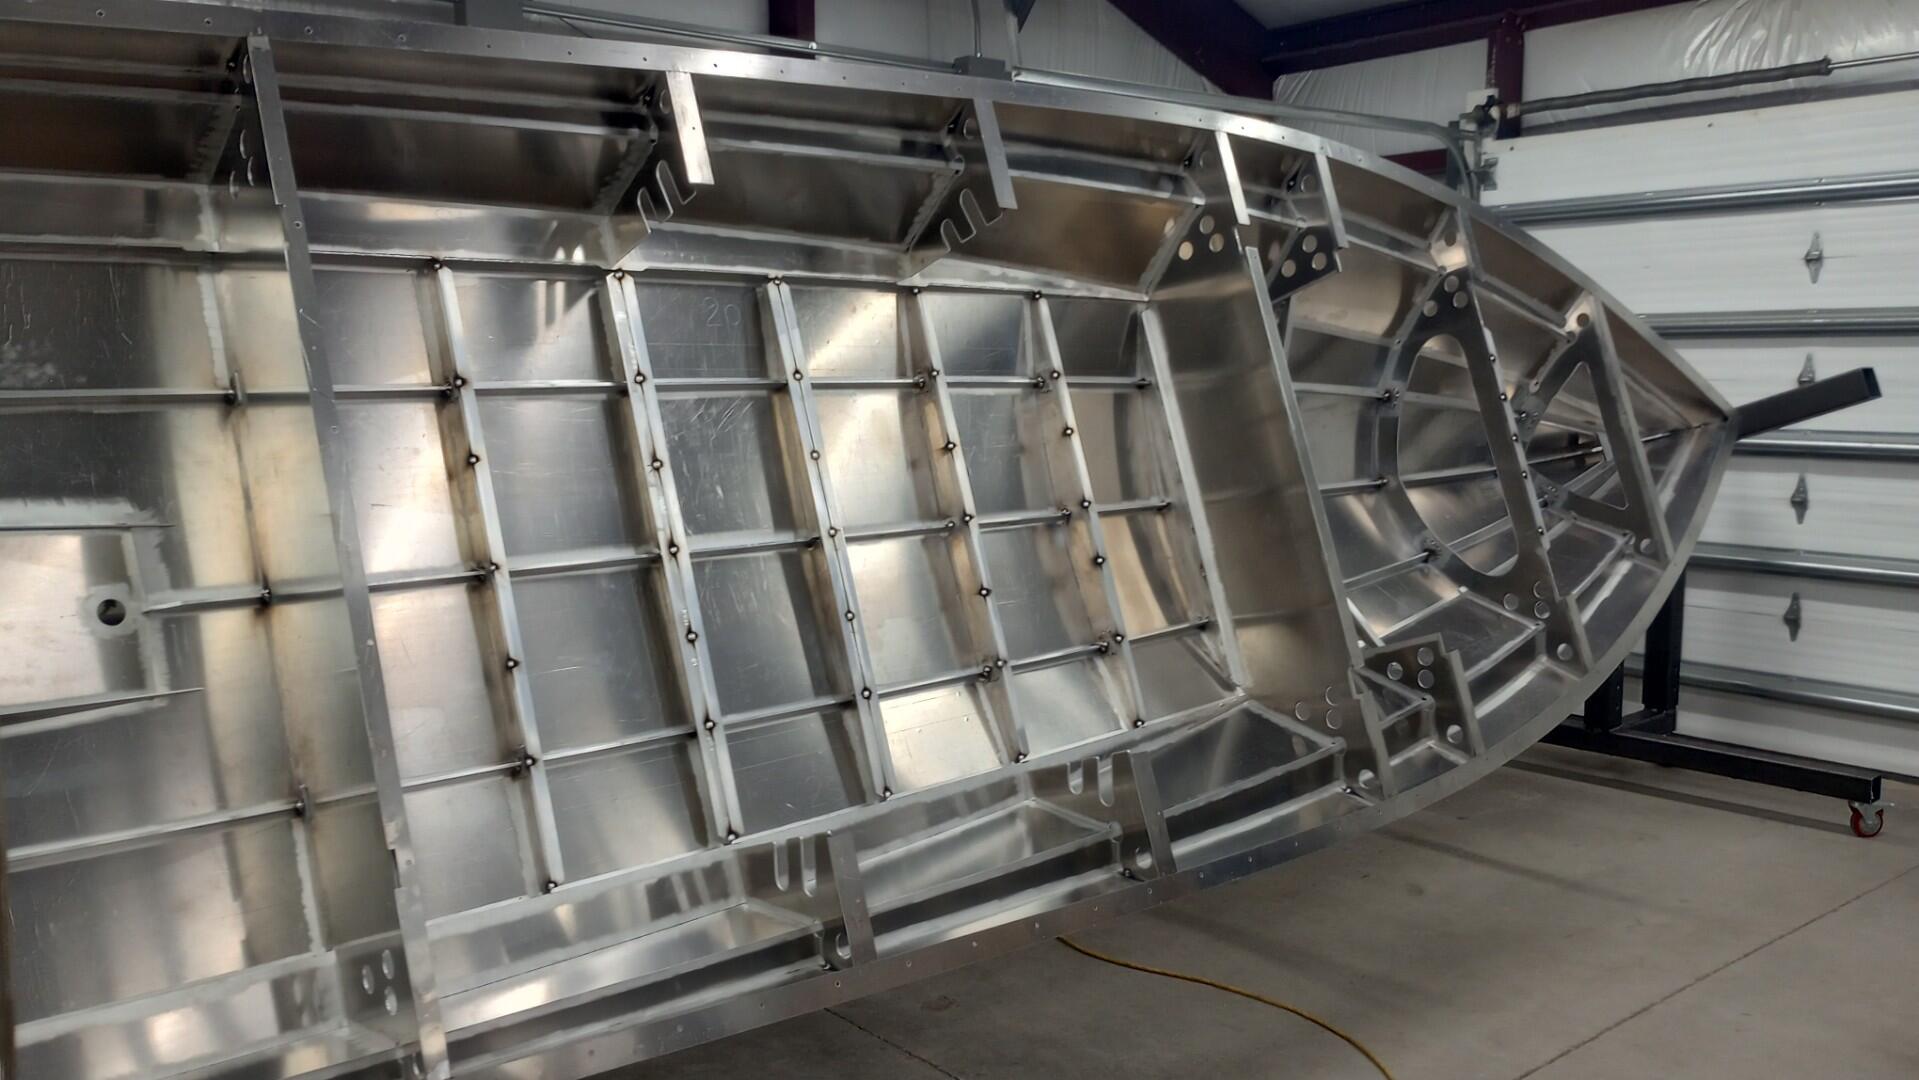
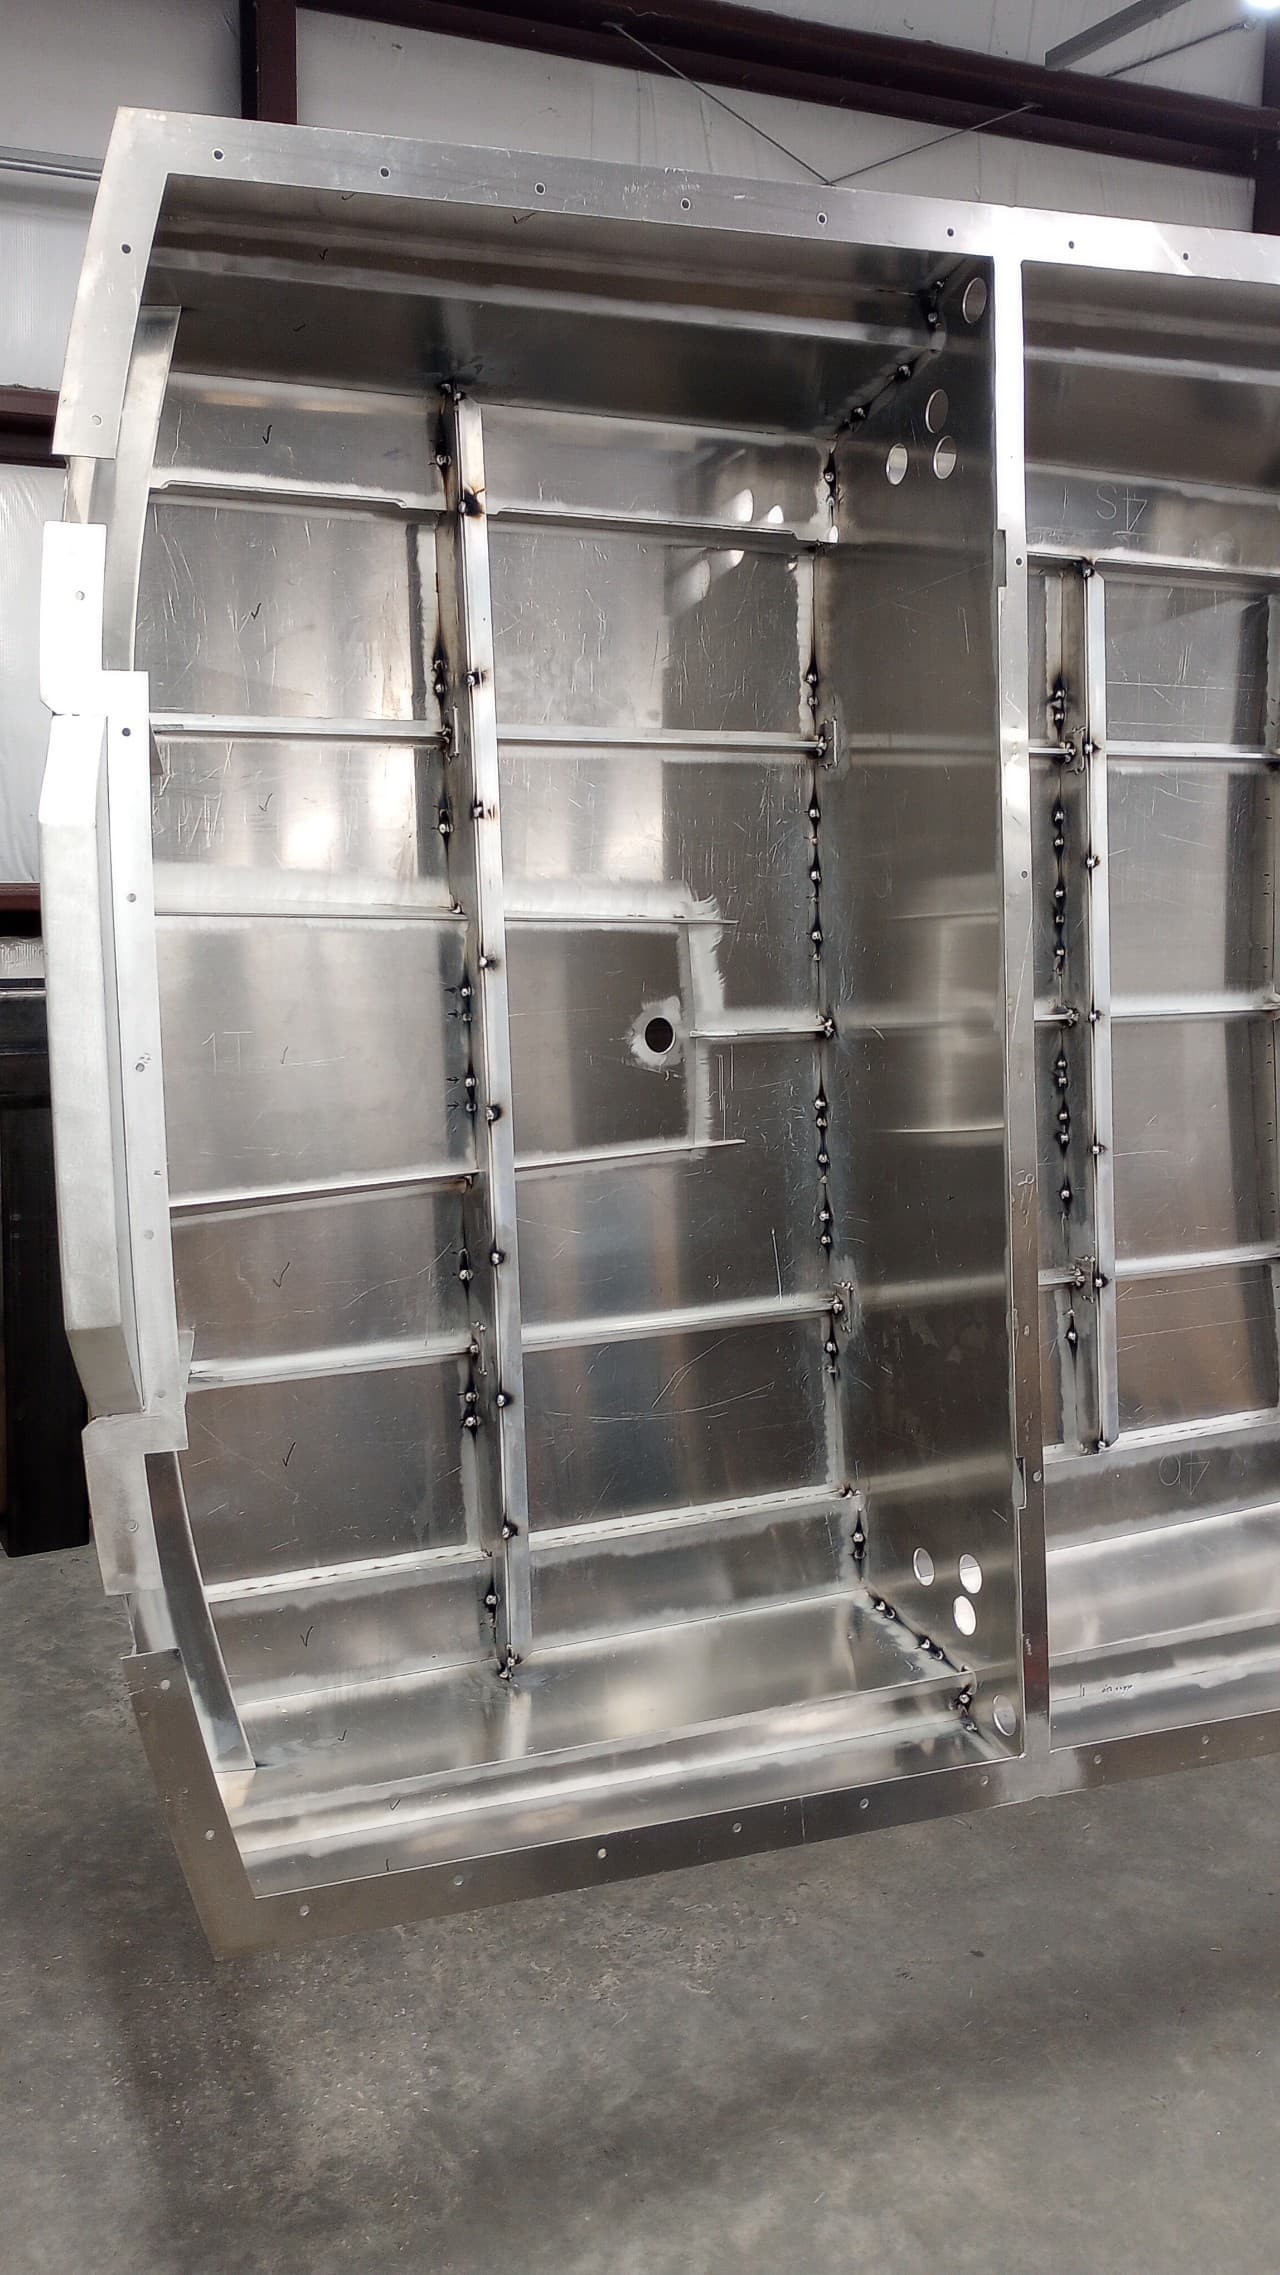
I revisited the longitudinal to transverse tacks with hotter settings. Also put some hot tacks on the top edge of the deck support angles. Next up is the butt welds on the shear flange.
5 Likes
So what happens after the spot welds? Do you go through and do line weld joints on everything?
The idea is to tack everything before welding any seams. That makes the hull shape, but when you weld the seams the heat will try to distort the shape you’ve so carefully created. So the seams are welded out in a pattern that distributes the distortion, trapping it so there’s not too much in one place. All seams get fully welded on both sides.
7 Likes
Your documenting has been epic. Thank you for allowing us to follow along!
5 Likes
I know you’ve been kinda busy on this little project and it is truly awesome. But after a quick check on the Member Street Cred thread I didn’t see a post from you @m32825
Are you a mechanical engineer, mad scientist or both? Love to read your background to put this in perspective.
And thank you again for all the documentation of the skiff build. We are all looking forward to the completion and the slime pix, as I’m certain you are!
5 Likes
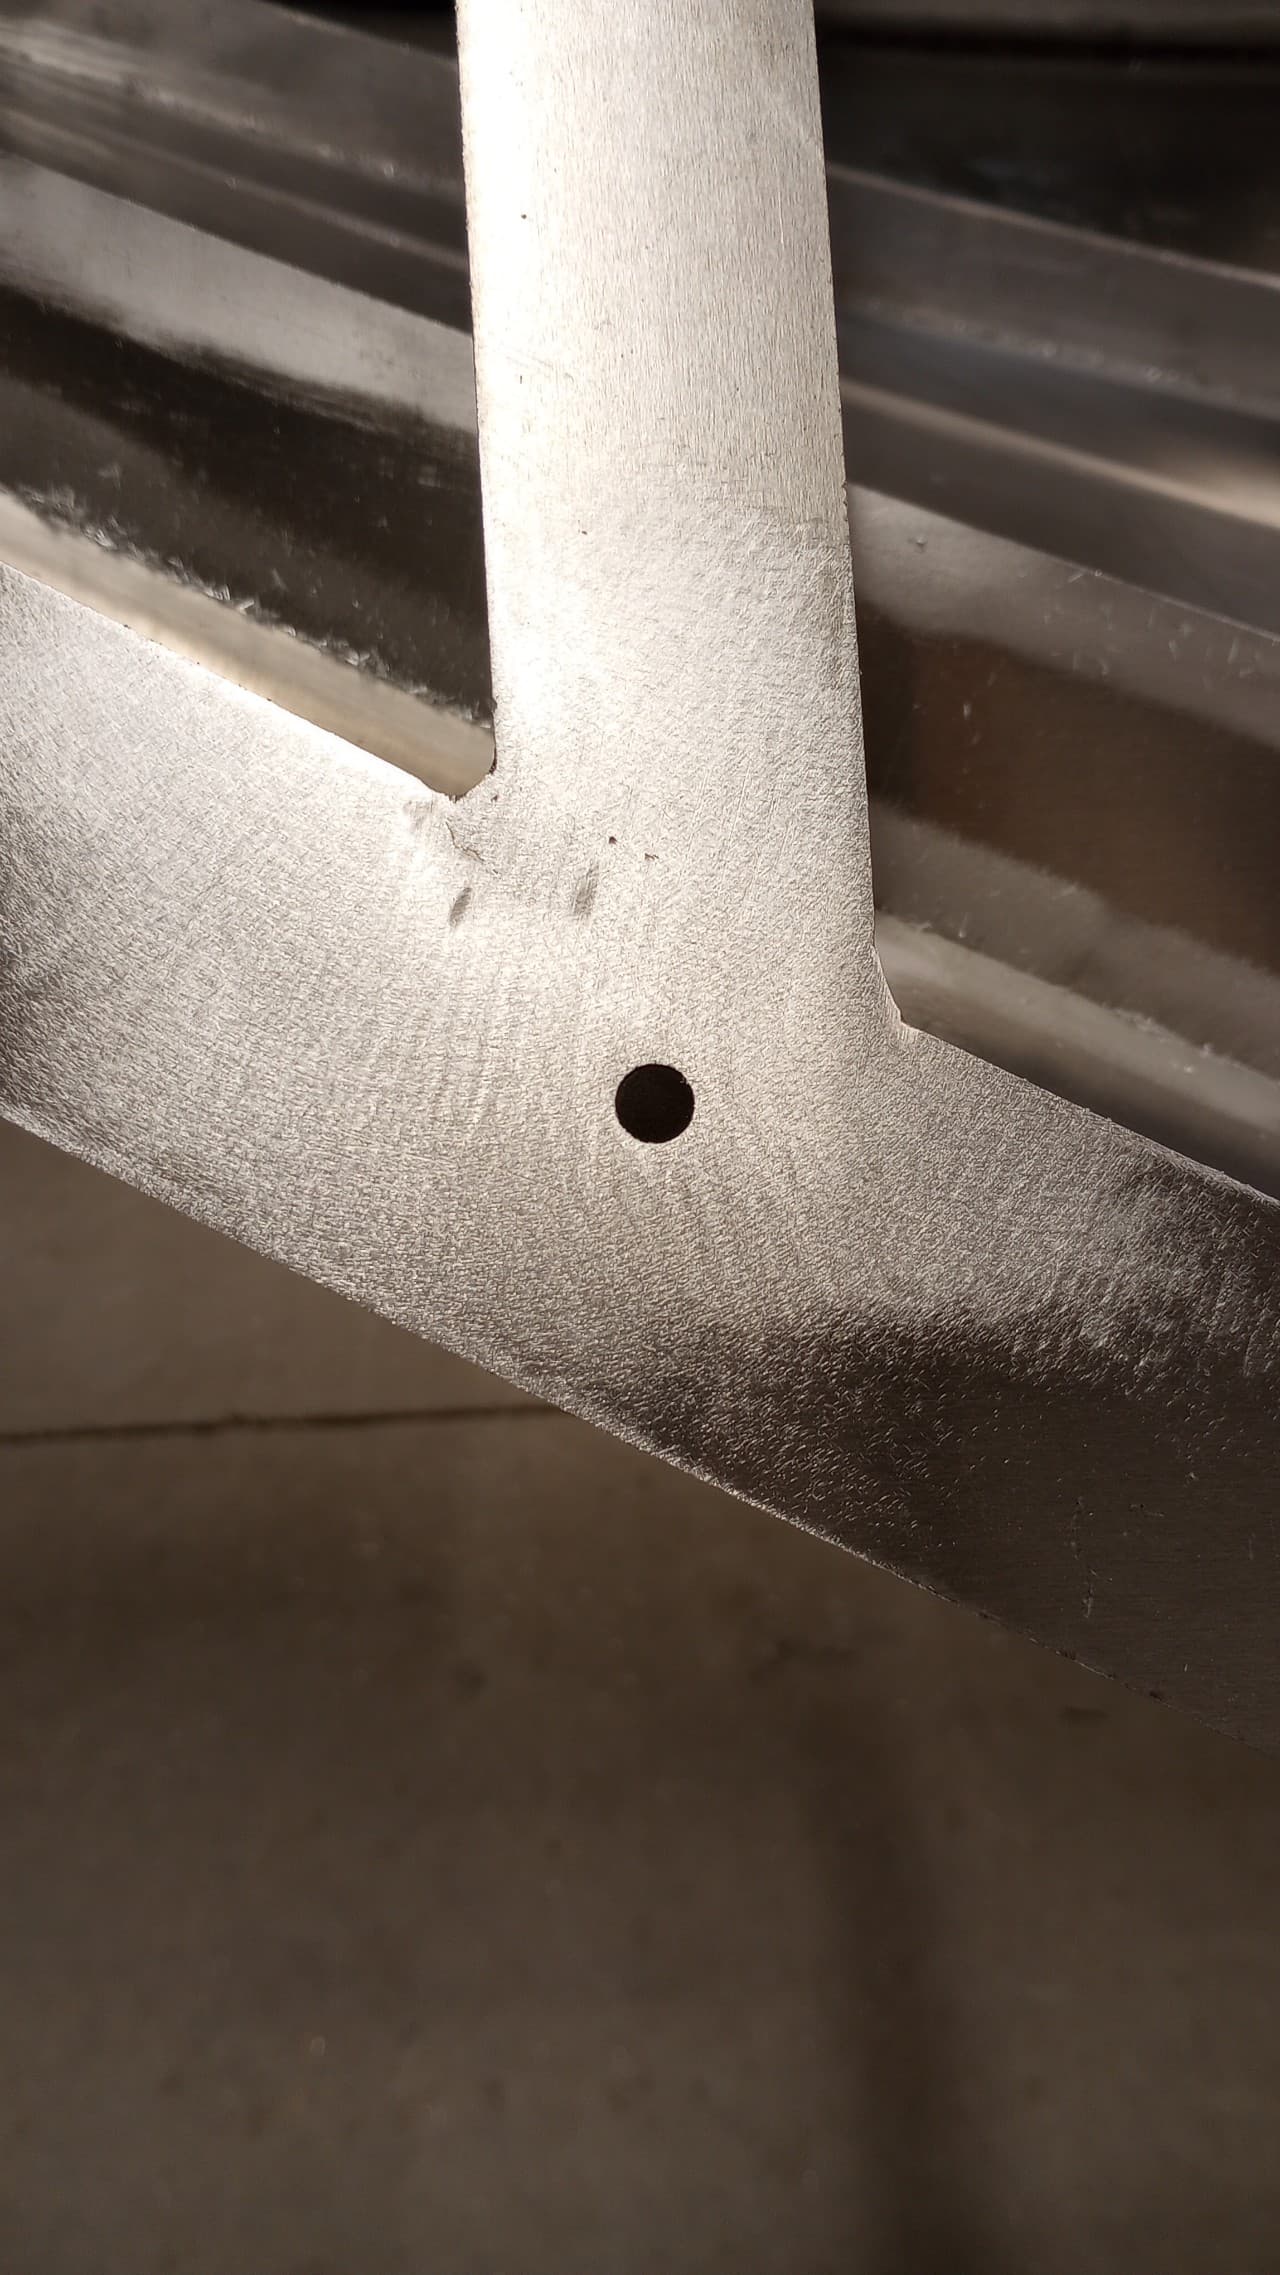
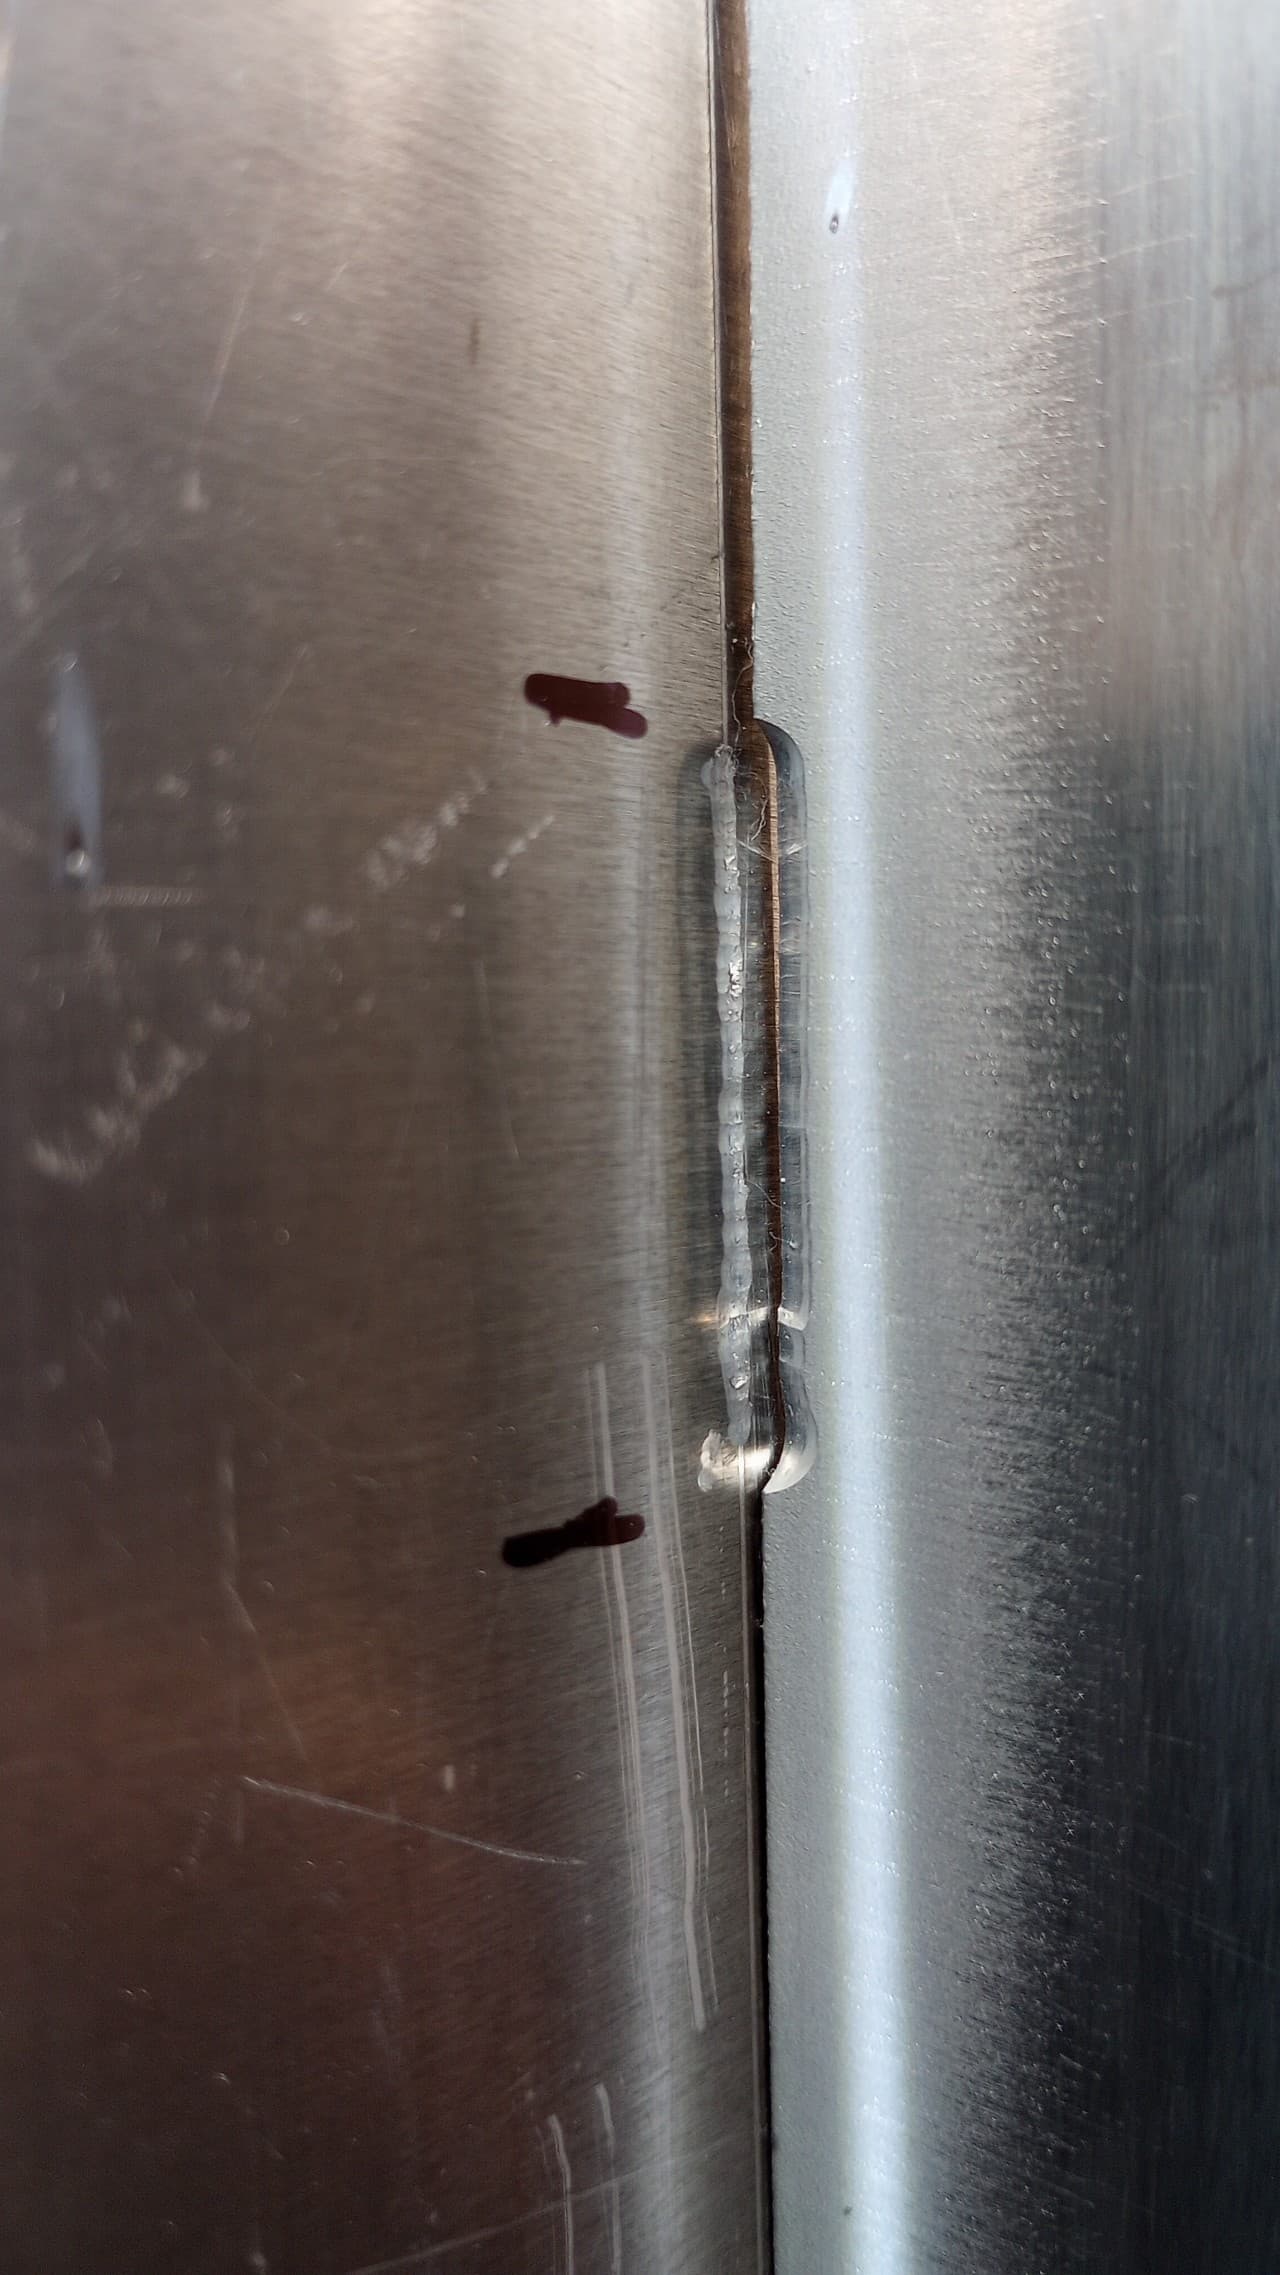
If you carefully examine your weld bead there will be subtle signs if something needs to be changed…
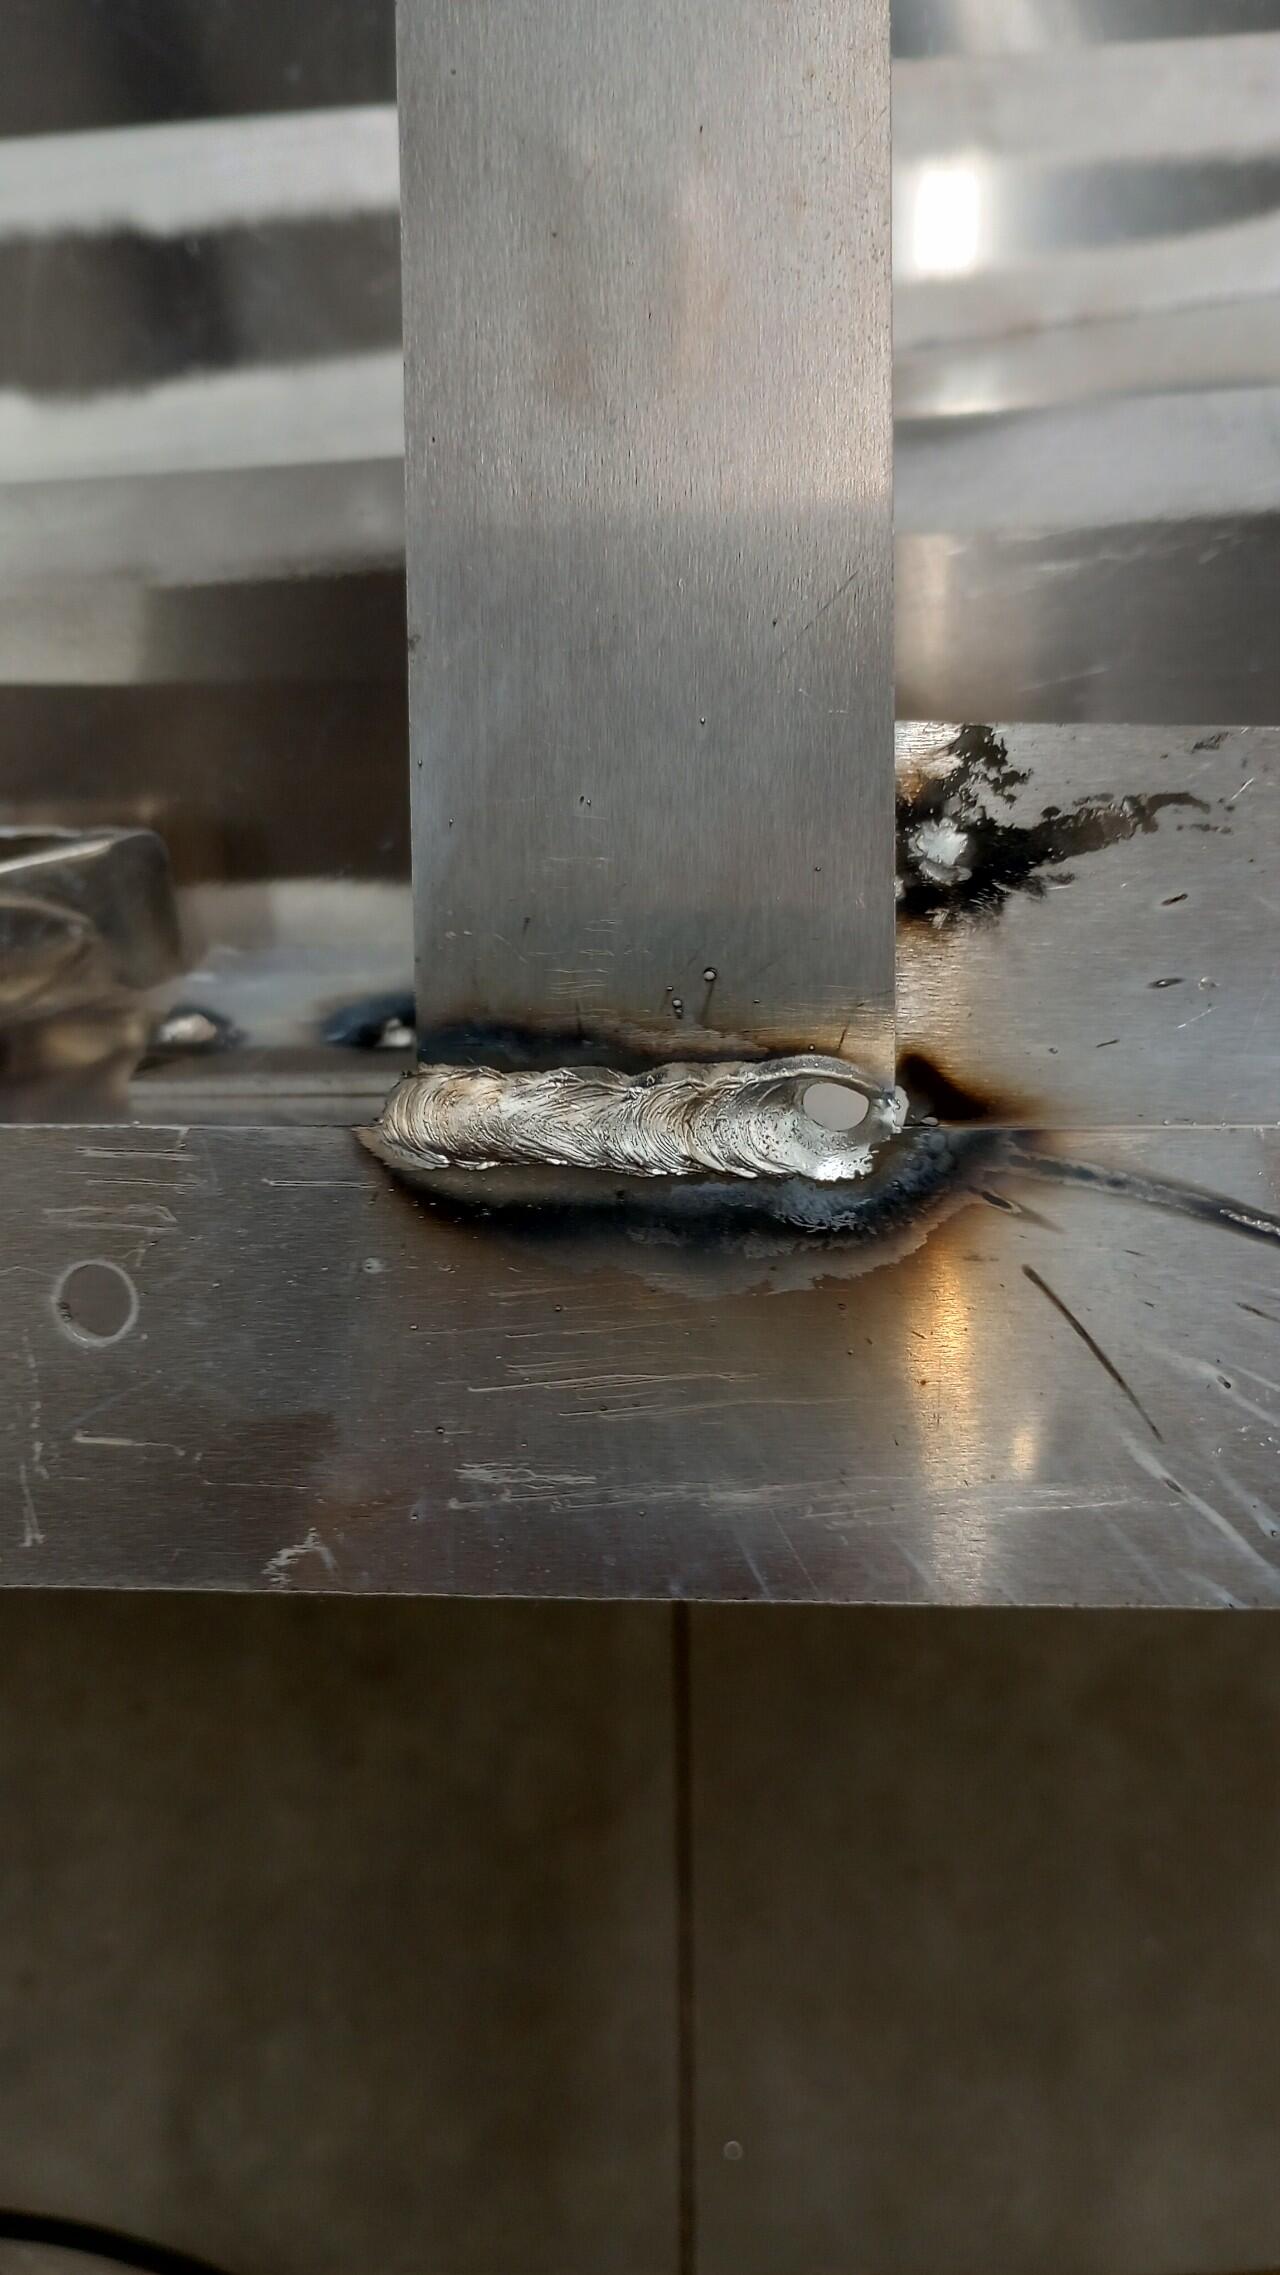
This one came out pretty nice.
No matter where they start out, all my tape measures migrate towards the table saw.
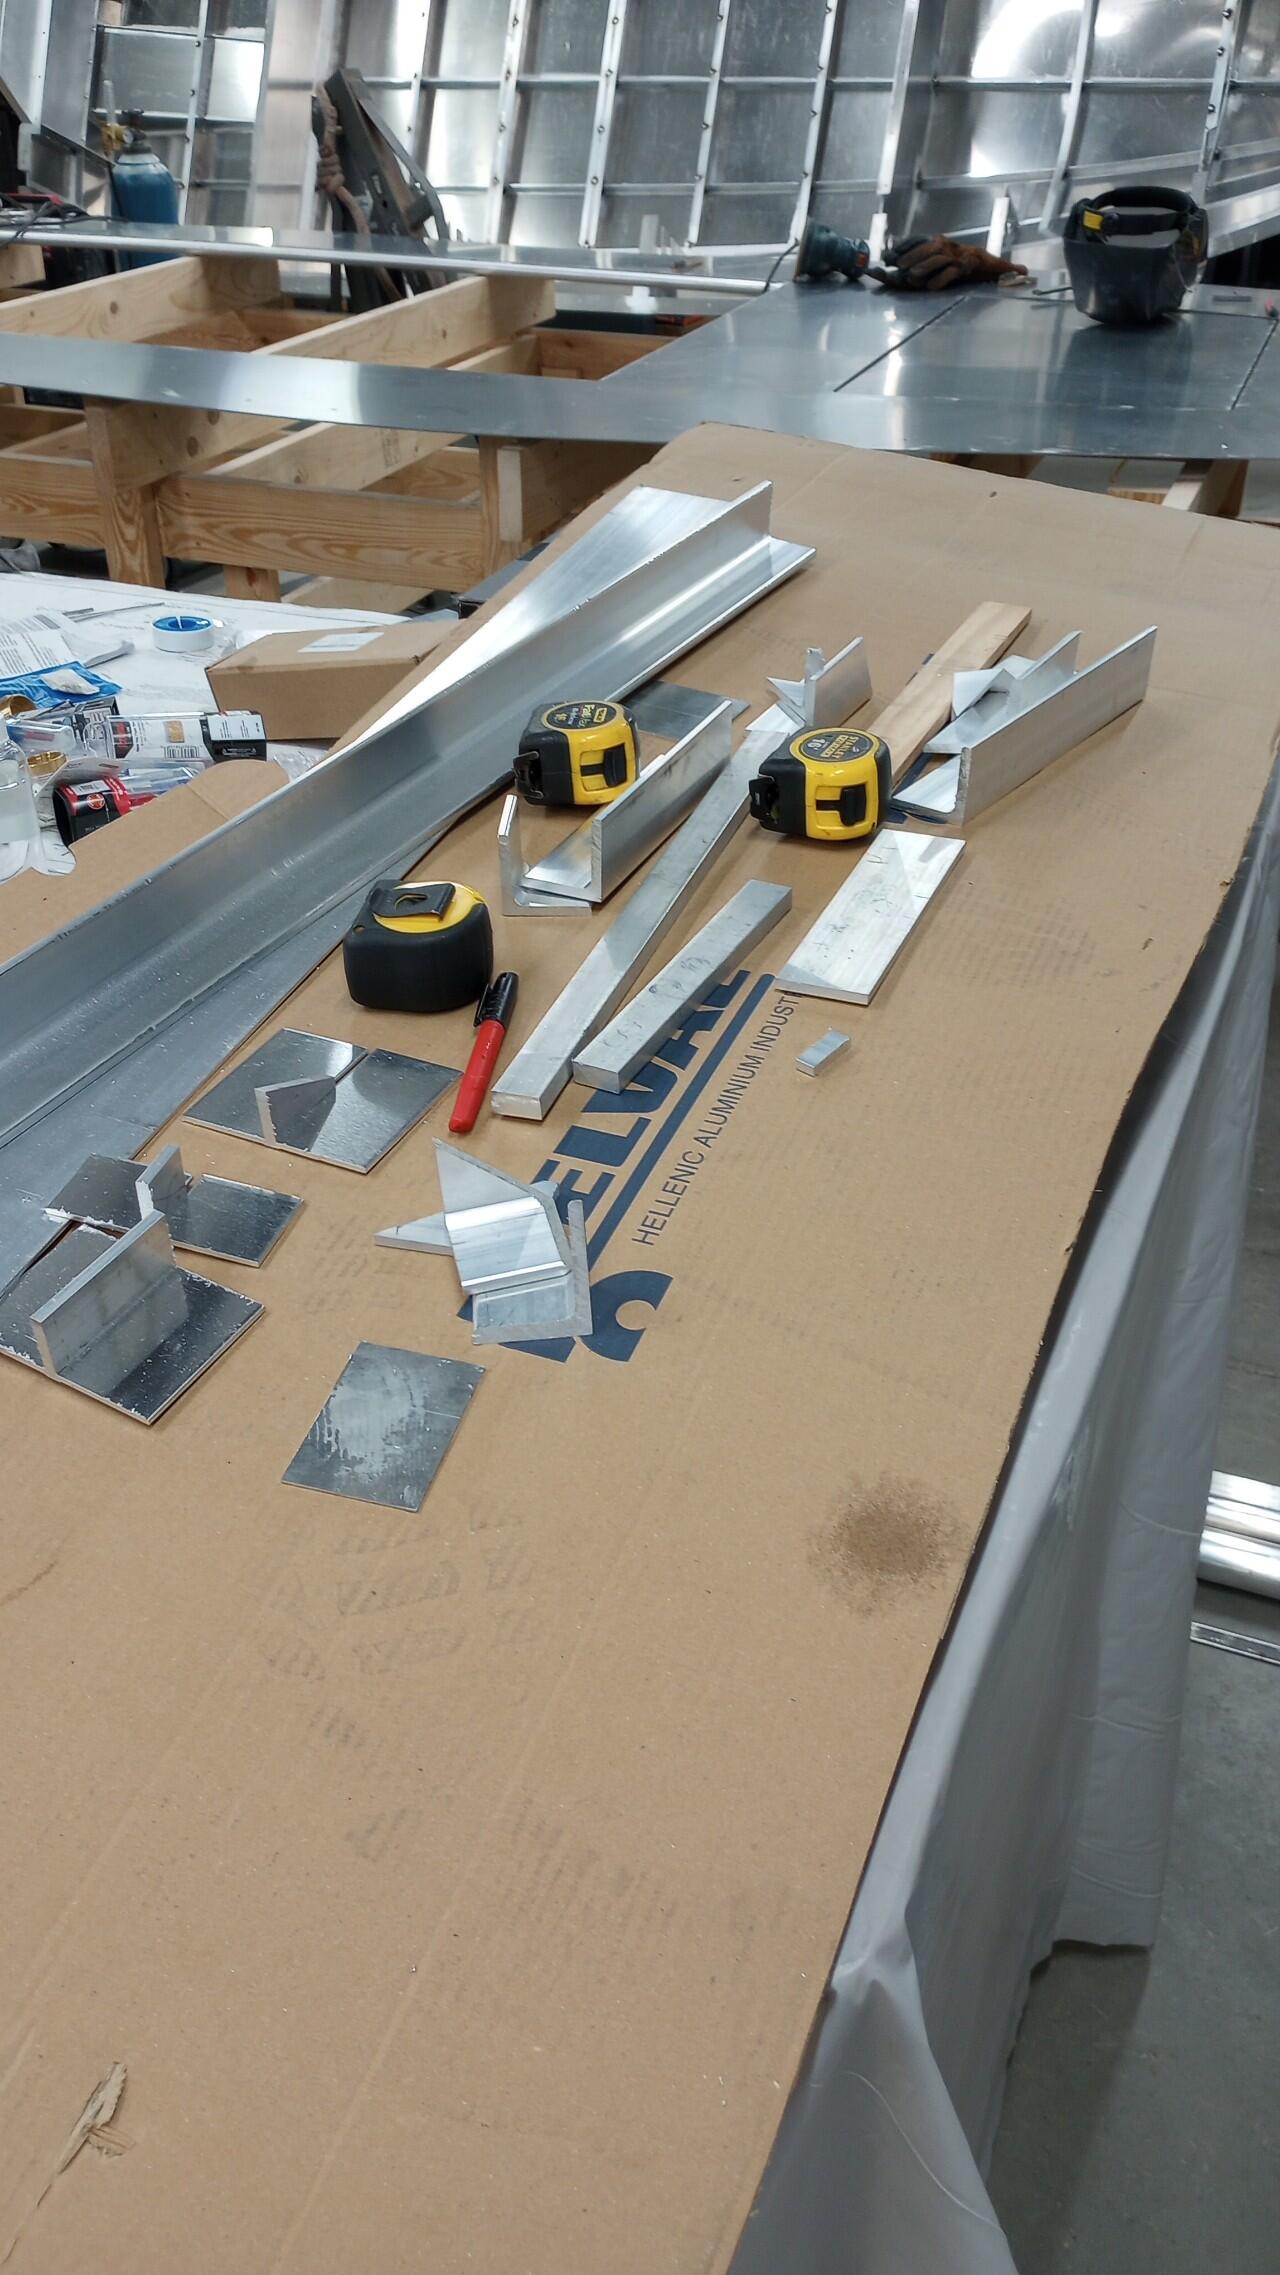
I’m going to work on tacking panels to transverse frames next.
6 Likes
@m32825 - question for you -
My son had a G3 aluminum boat and it was eaten up with pinholes from the prior owner. We tried everything to deal with it and ended up giving up. I know there are ways to prevent the situation in the first place, but while the deck is off, are you planning on coating the inside of the hull to keep a random penny/wiring/metal from causing issues in the unseen bowels of the boat? I may be just a little traumatized by my son’s experience, but with all the work you’ve put into this, the pinhole issue would be a crime!
1 Like
I’m aware of the issues but have not put much thought into finishing yet. Do you have suggestions?
2 Likes
A properly sized, fastened and bonded zinc anode.
2 Likes
I am interested to dig into this more. I’ve read that there are different kinds of sacrificial anodes, depending on what kind of water (fresh, brackish, salt).
2 Likes
Your entire boat is potentially an anode, since aluminum is a less noble metal than most and is, itself, often used as an anode for other metals. I wrote this article awhile back as a primer on anodes, it may be too elementary for your level, but may help.
5 Likes
Very helpful, thank you!
1 Like
Zinc will work
2 Likes
Don’t forget to weld or make a spot as a bond to ground the boat to battery negative to move any stray current
4 Likes
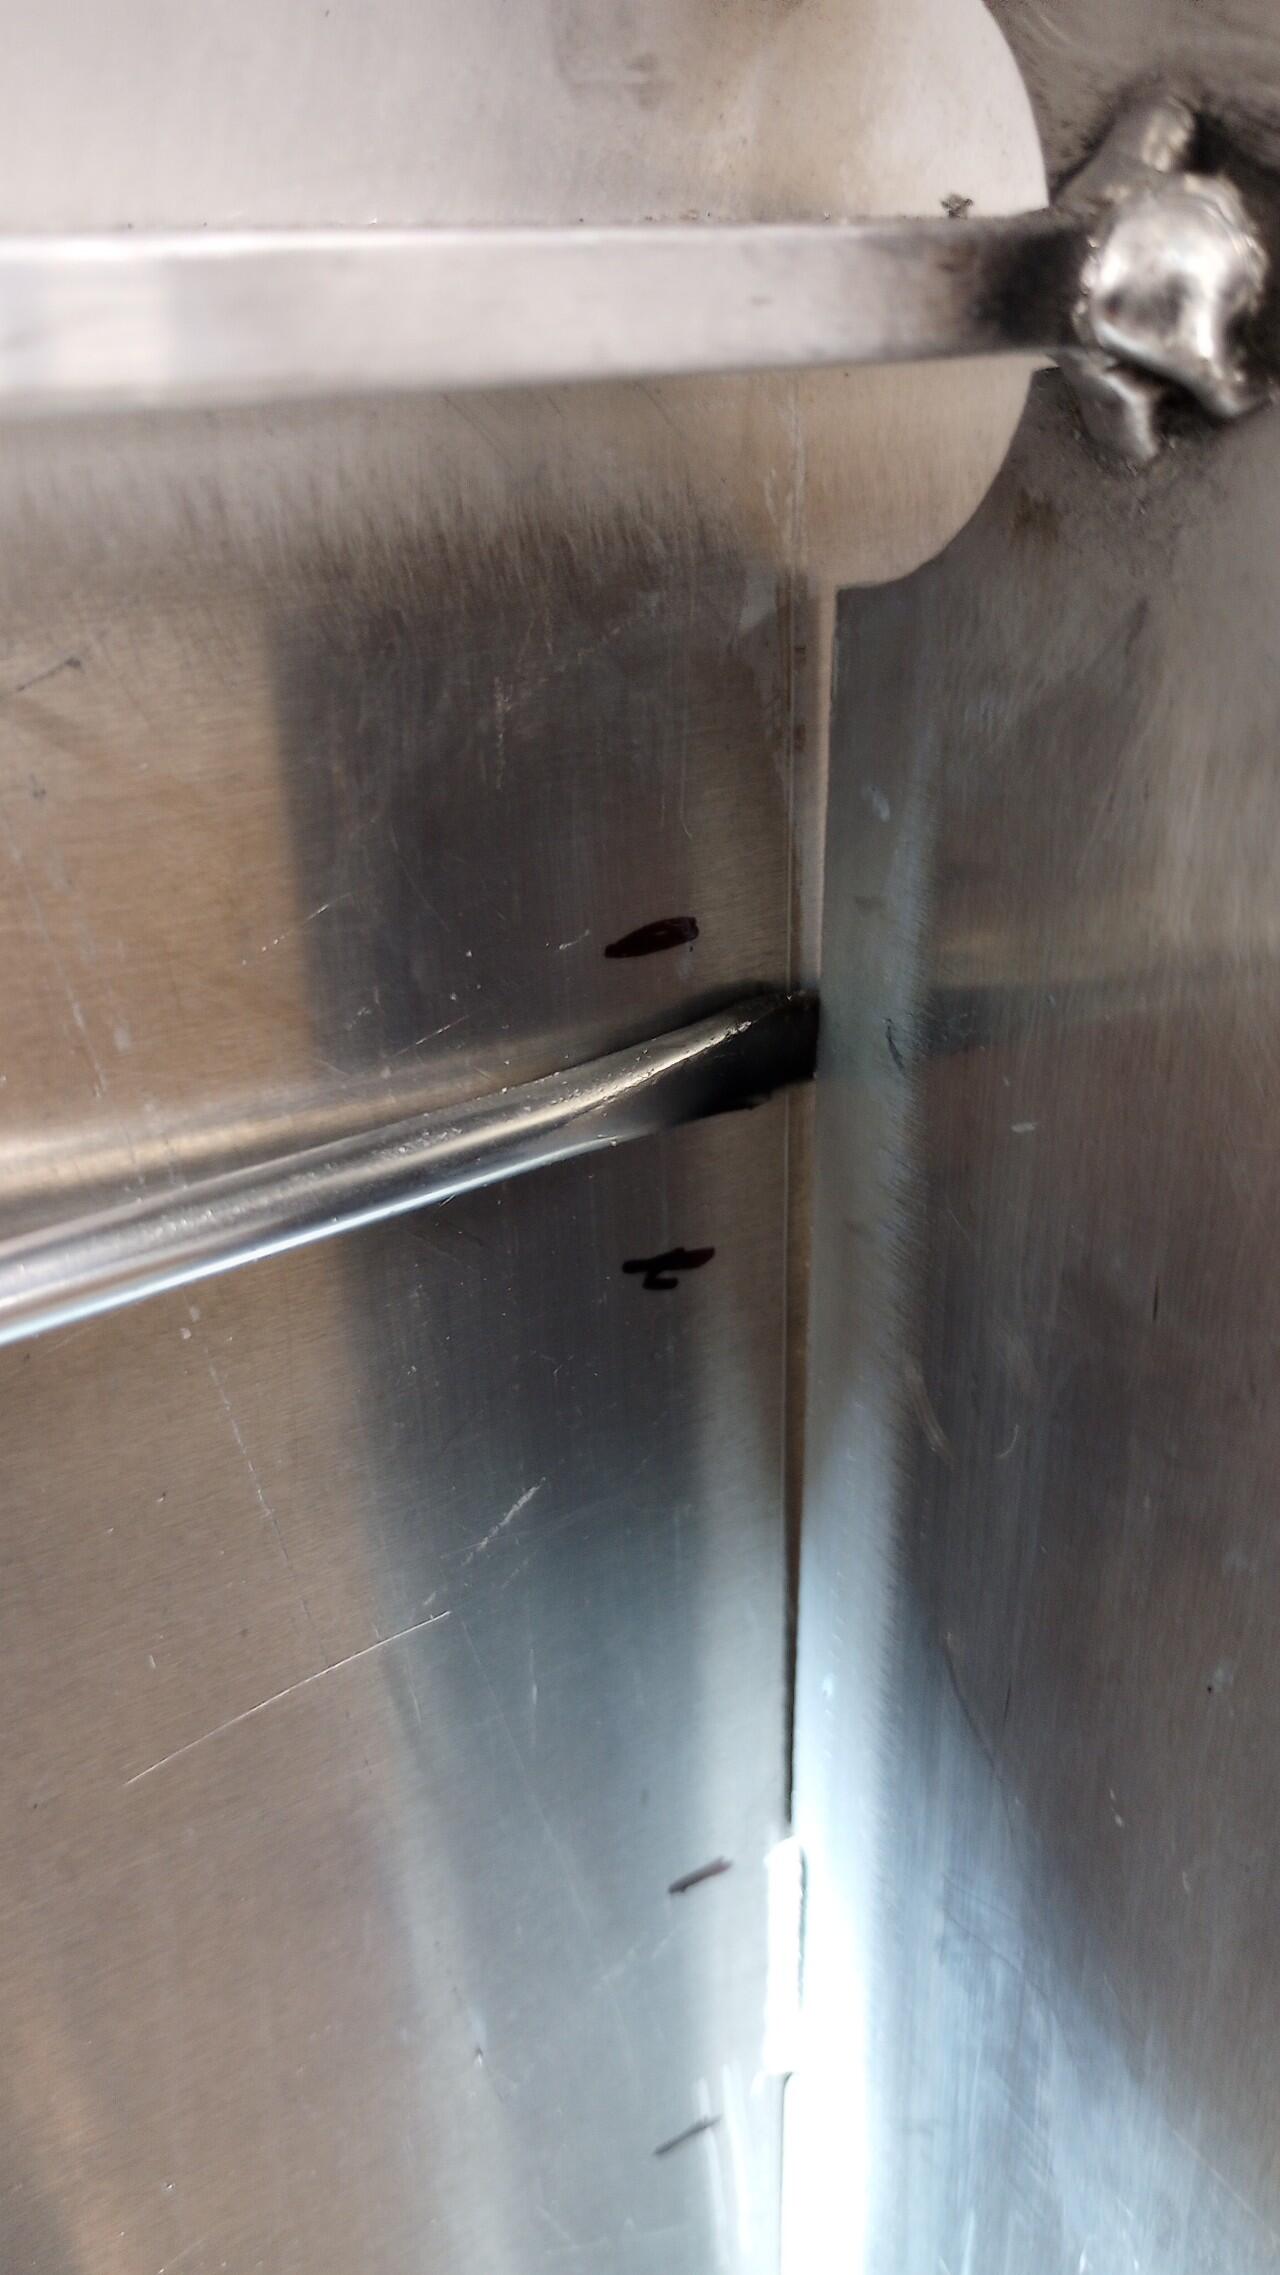
Tacking hull panels to transverse frames. These are the ends of what will eventually be short stitch welds.
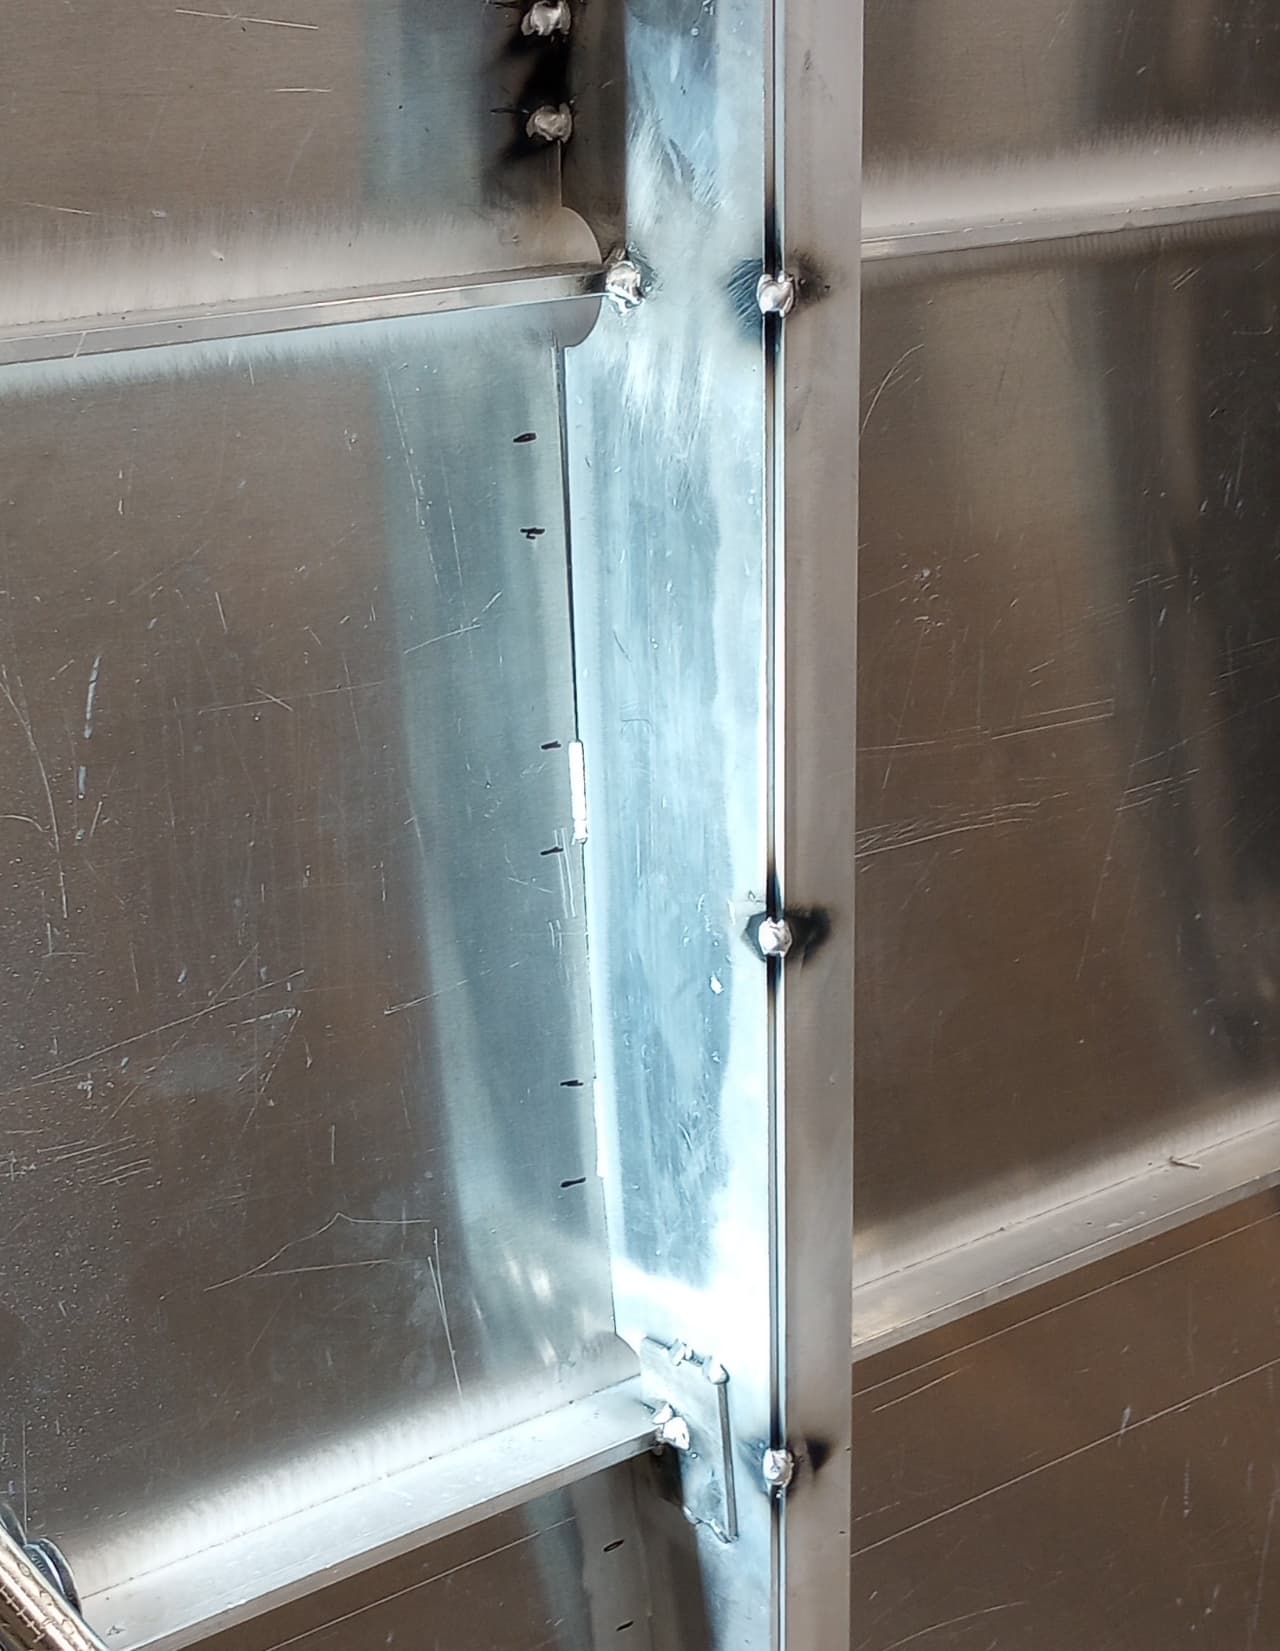
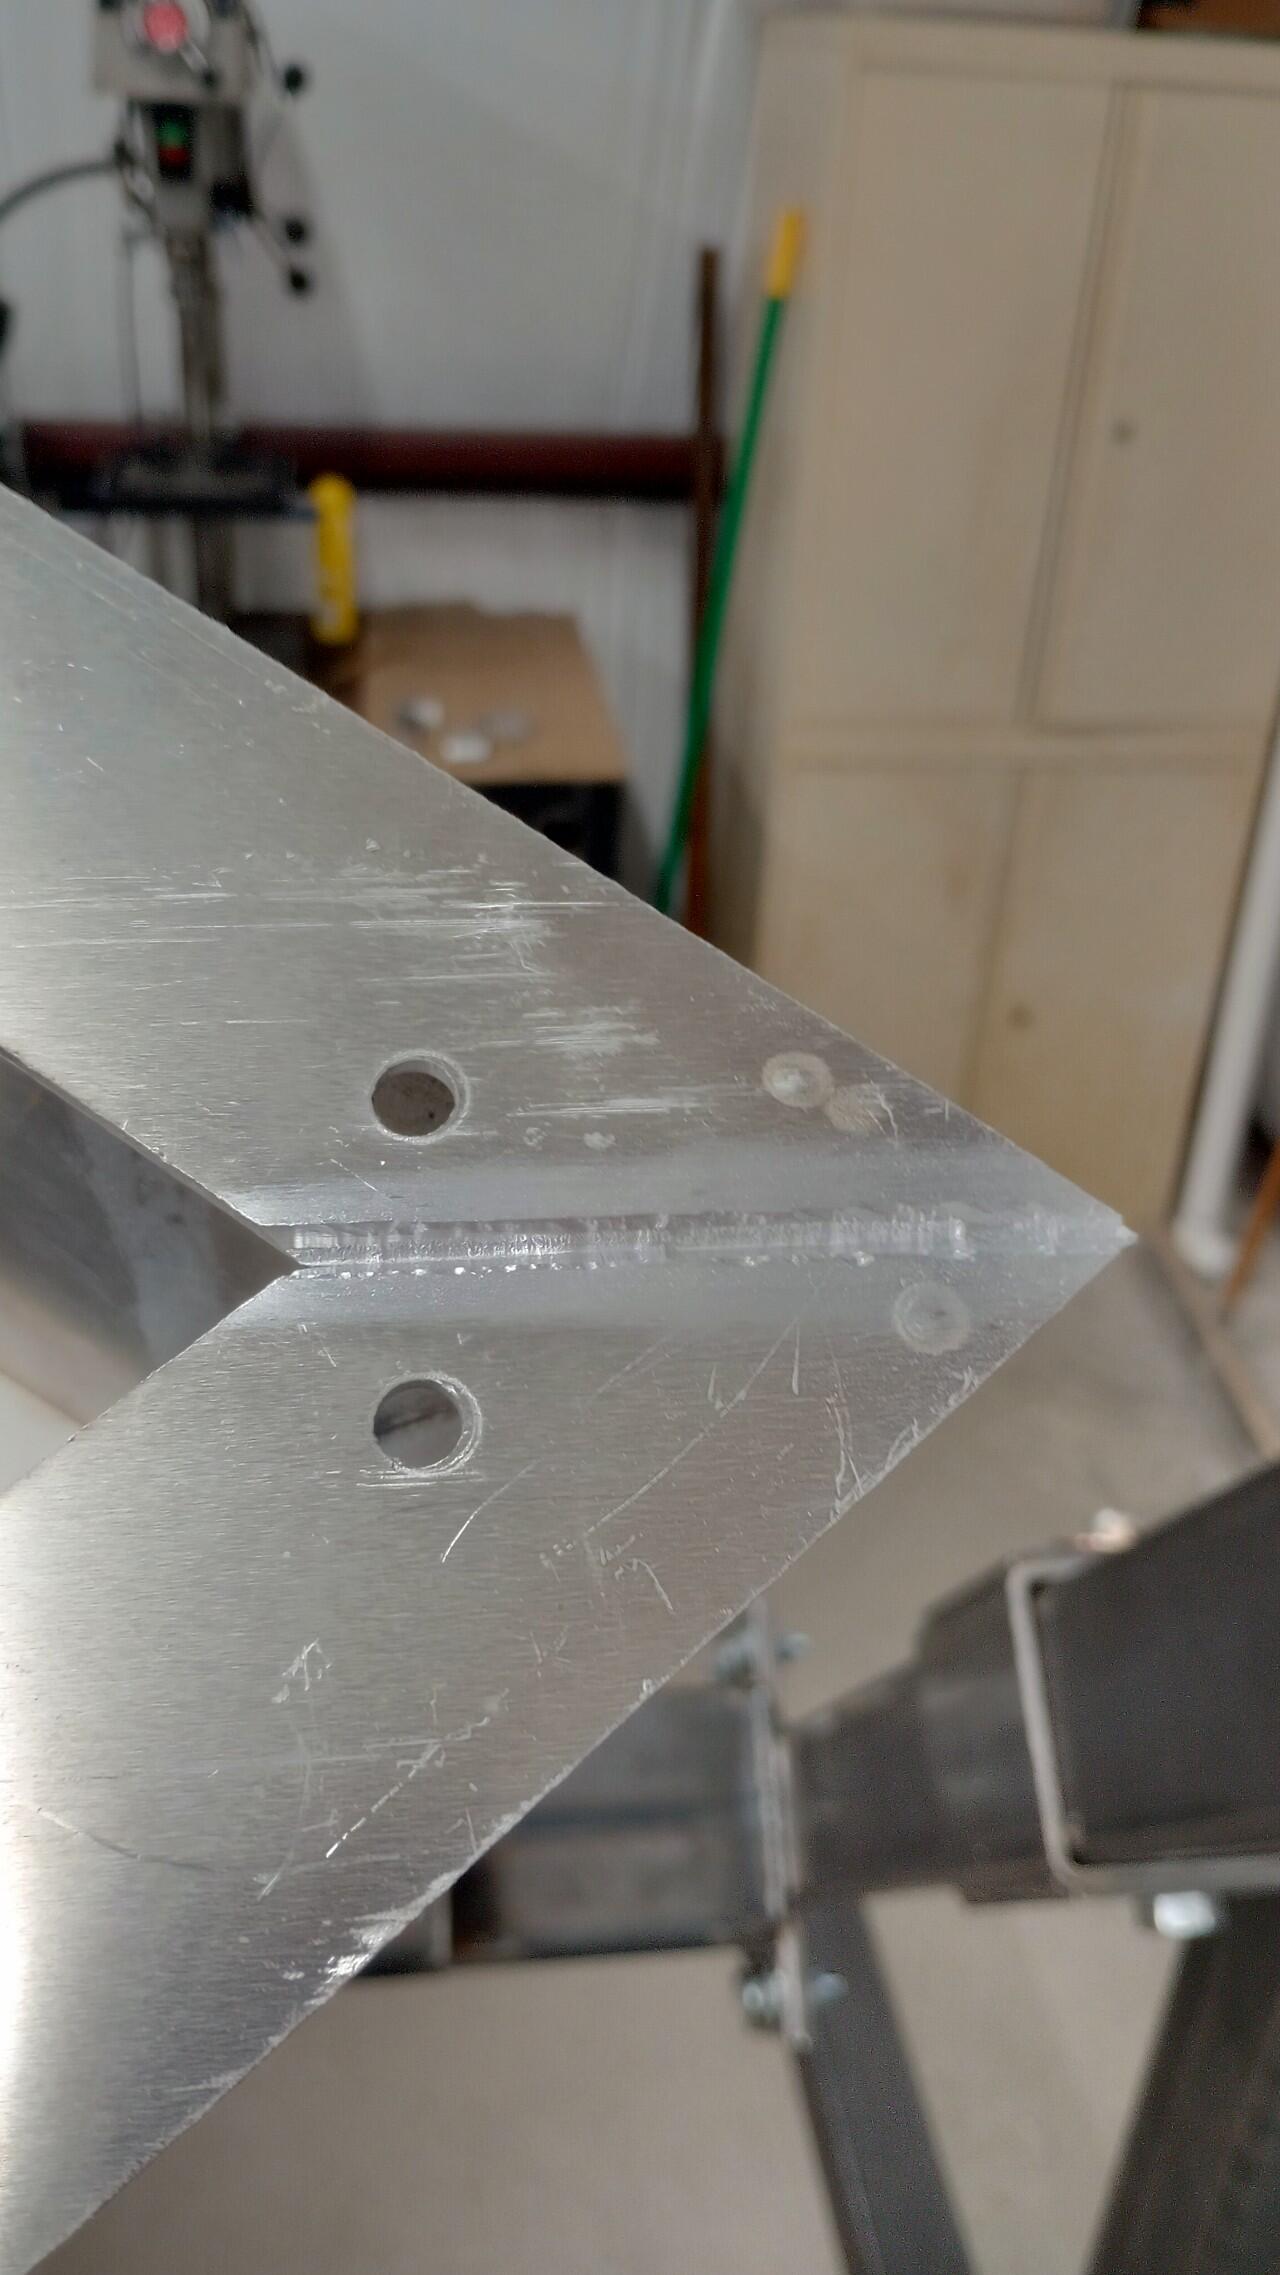
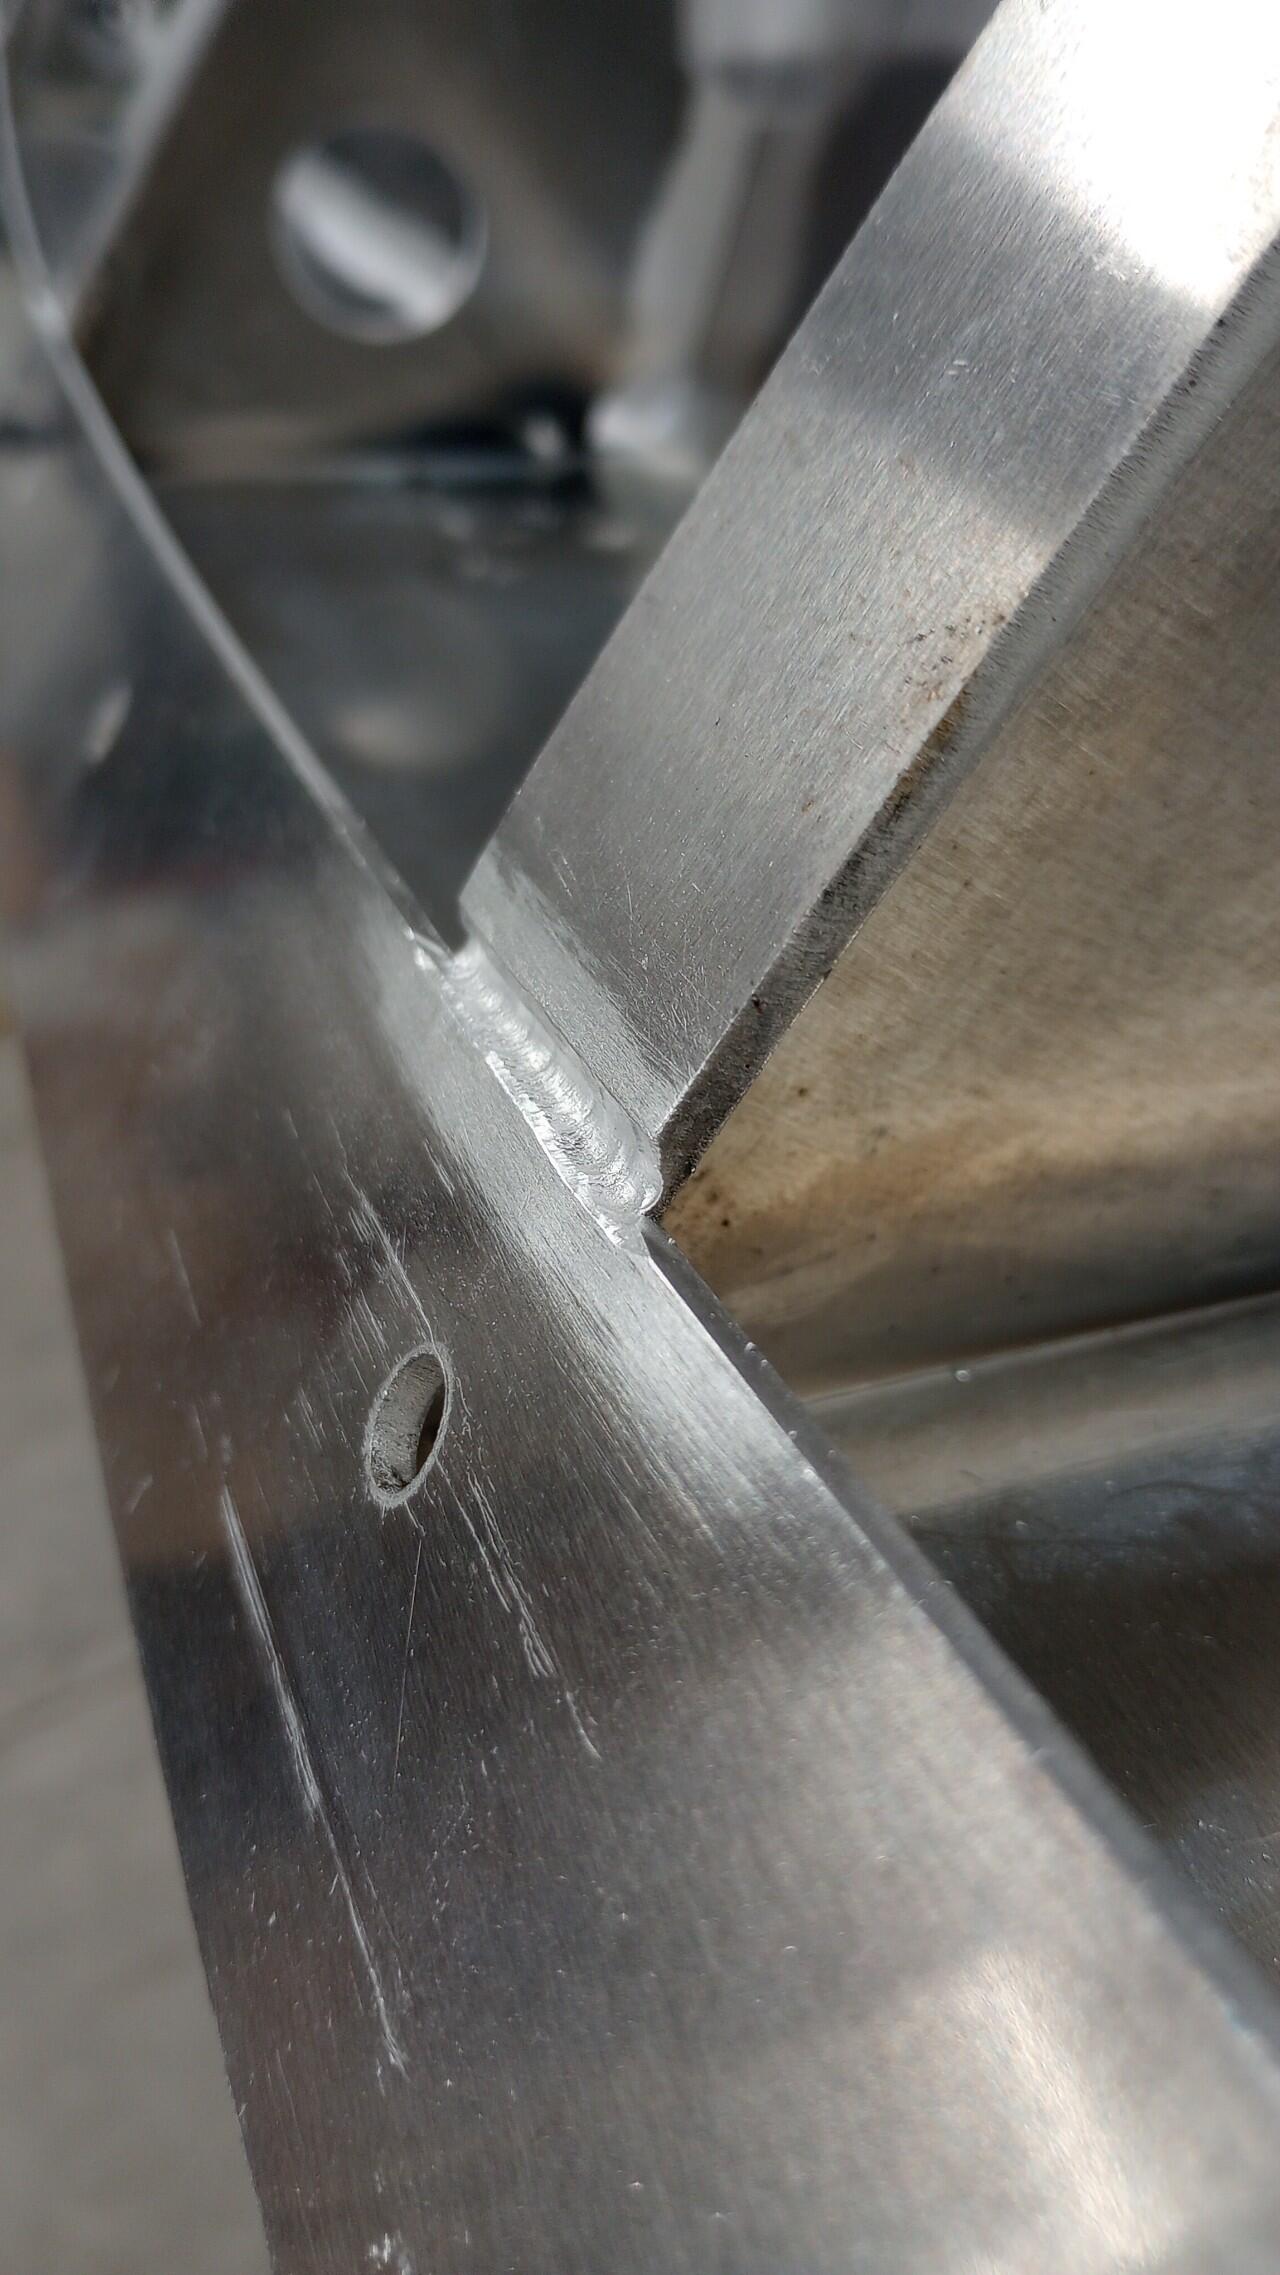
If you bevel the frame edge, you can put more of the weld bead “under” the frame, which reduces distortion. Much easier to do before the panels go on!
Sometimes there is a gap. The important thing is to preserve the fairness of the hull shape.
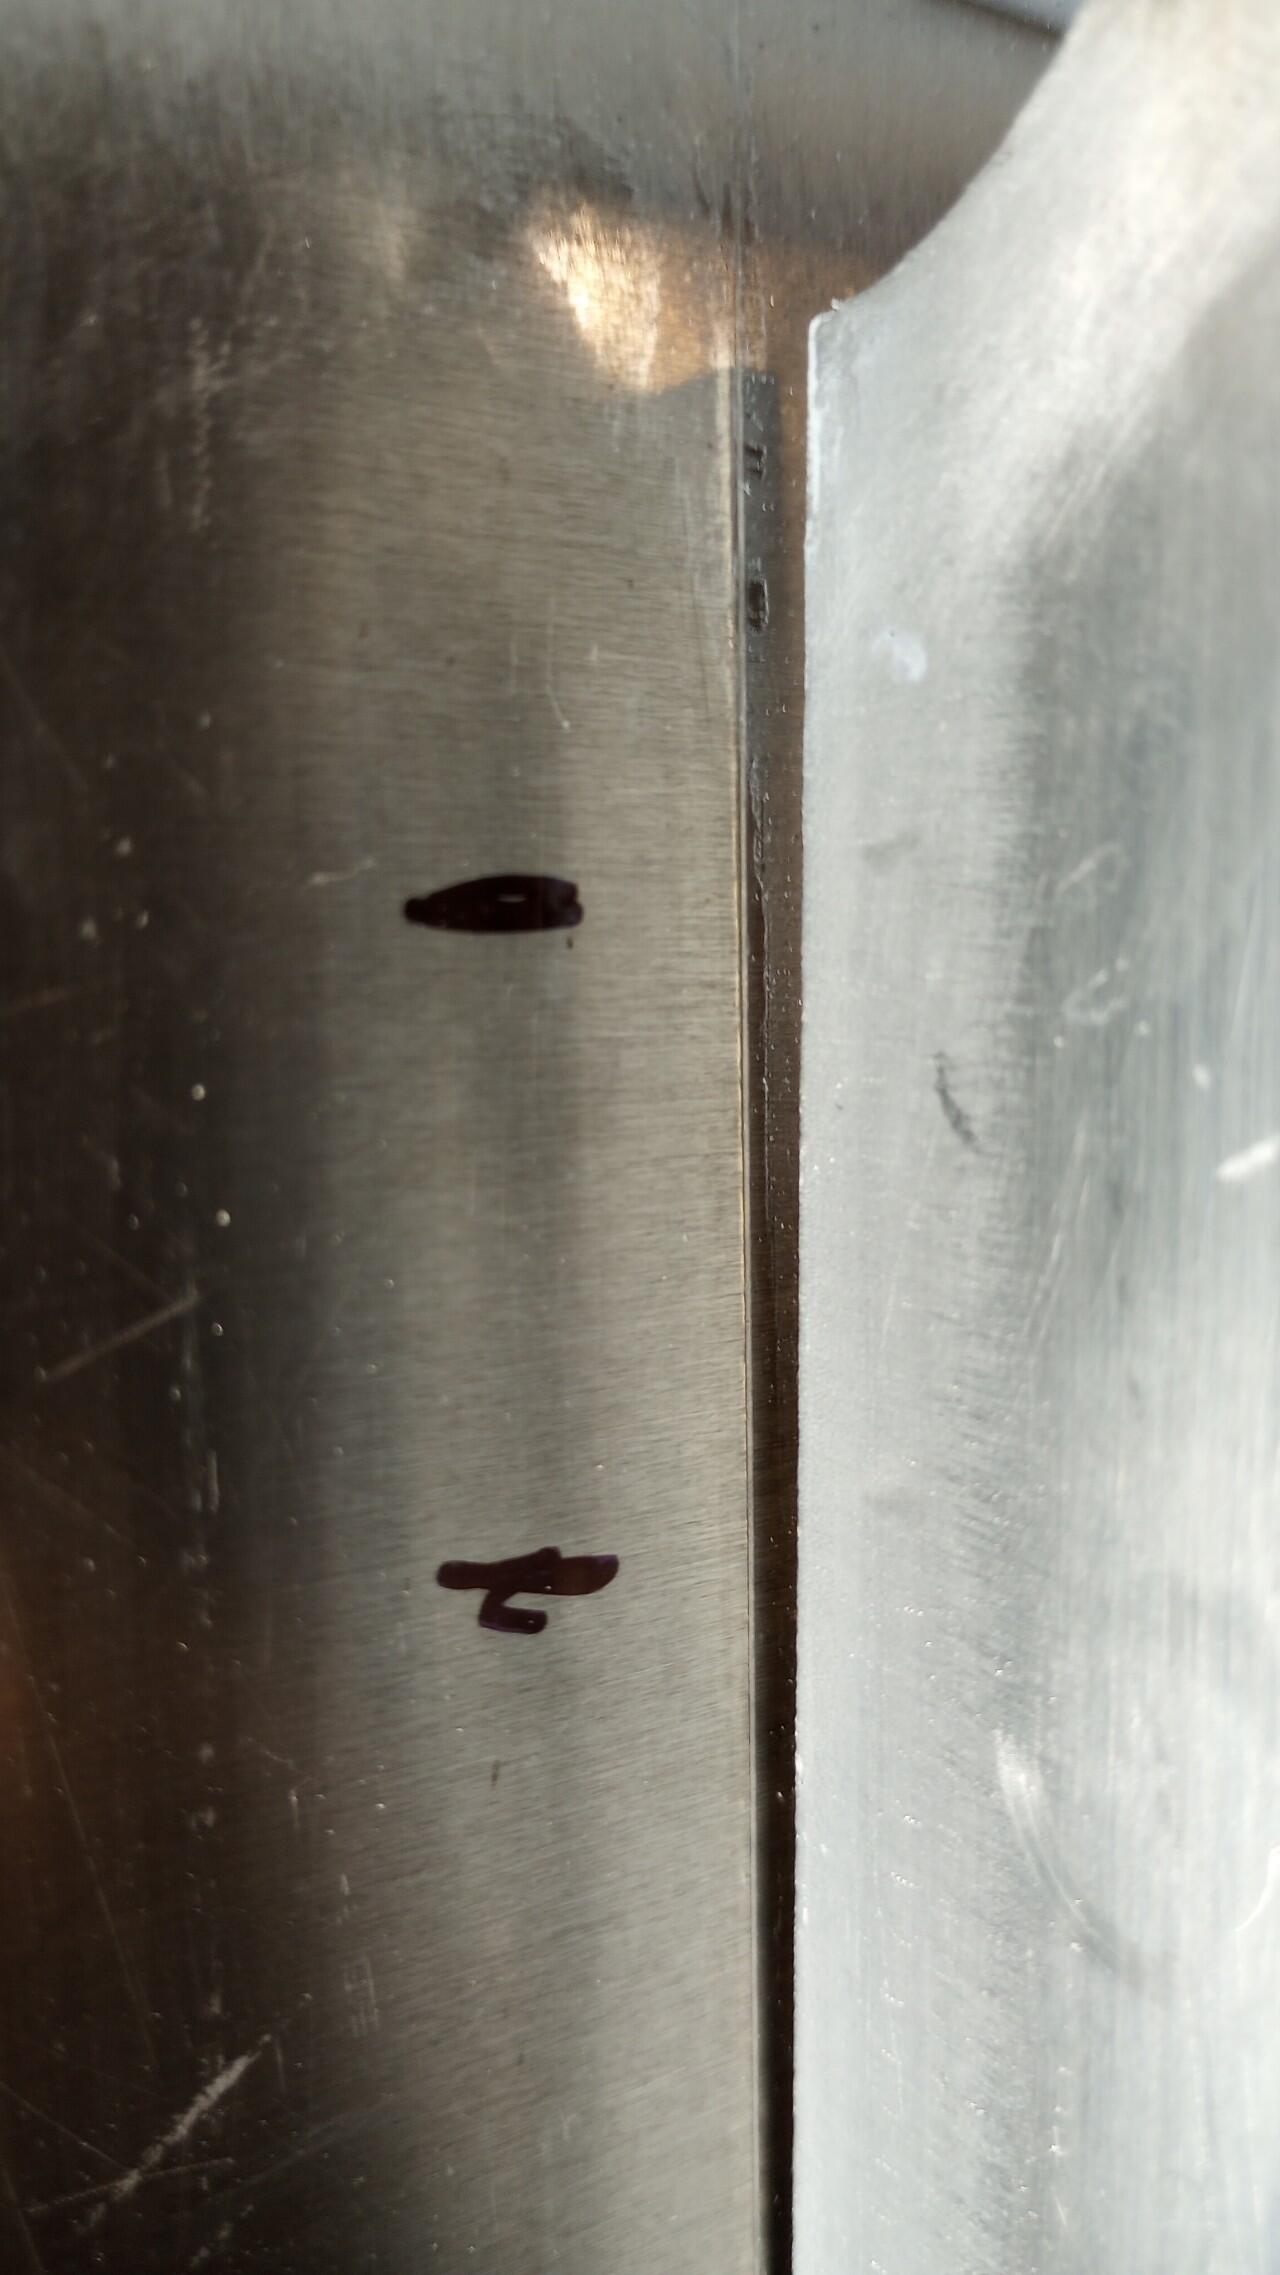
Put a shim under the gap before tacking to preserve the spacing, otherwise the tack will contract and pull the panel closer. Sharpened flat blade screwdriver works good.
7 Likes
You can also add a permanent filler plate the width of your transverse framing and thickness of your gap. A little more work but would ensure you don’t have any lack of fusion or gaps at the root of your weld. You would then just increase the size of your weld by the thickness of your filler plate.
I’m not sure what size gaps you’re seeing. Keep up the great work. I love watching this build.
4 Likes