I’m adding this thread as the one at the other site is now dead.
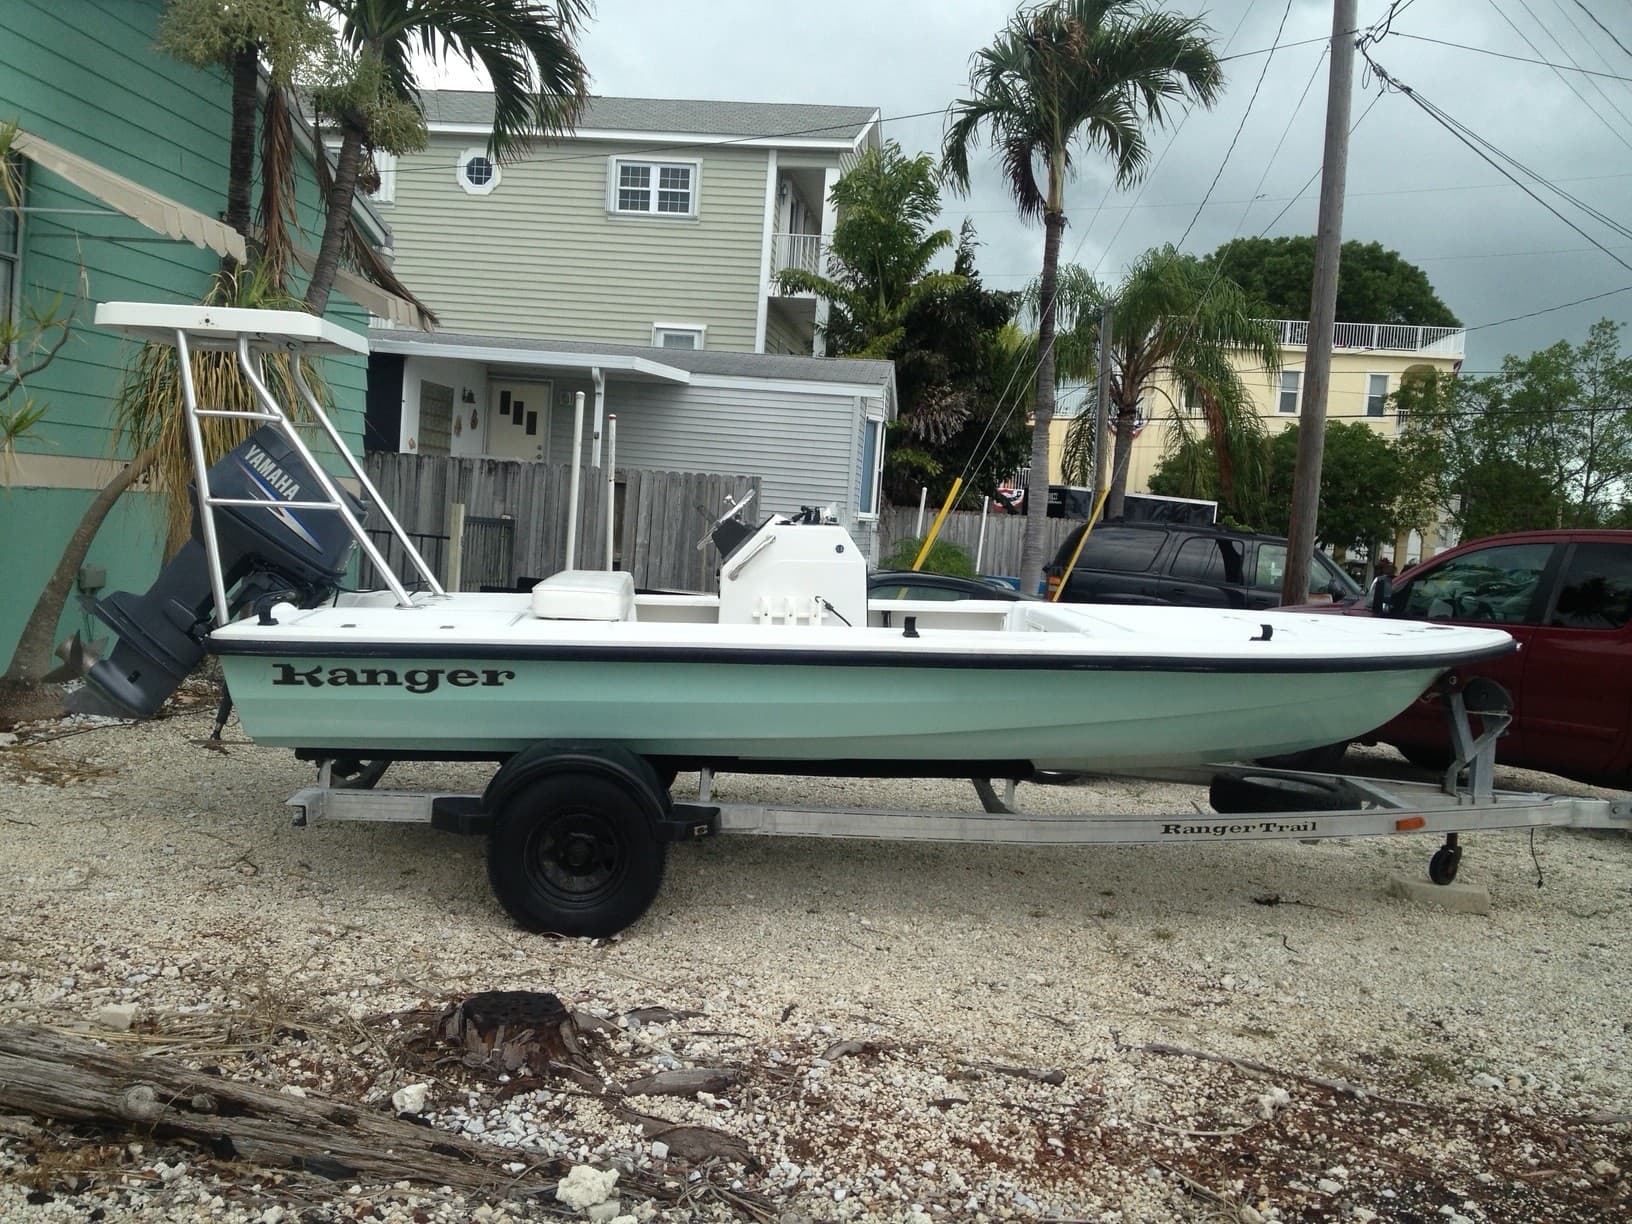
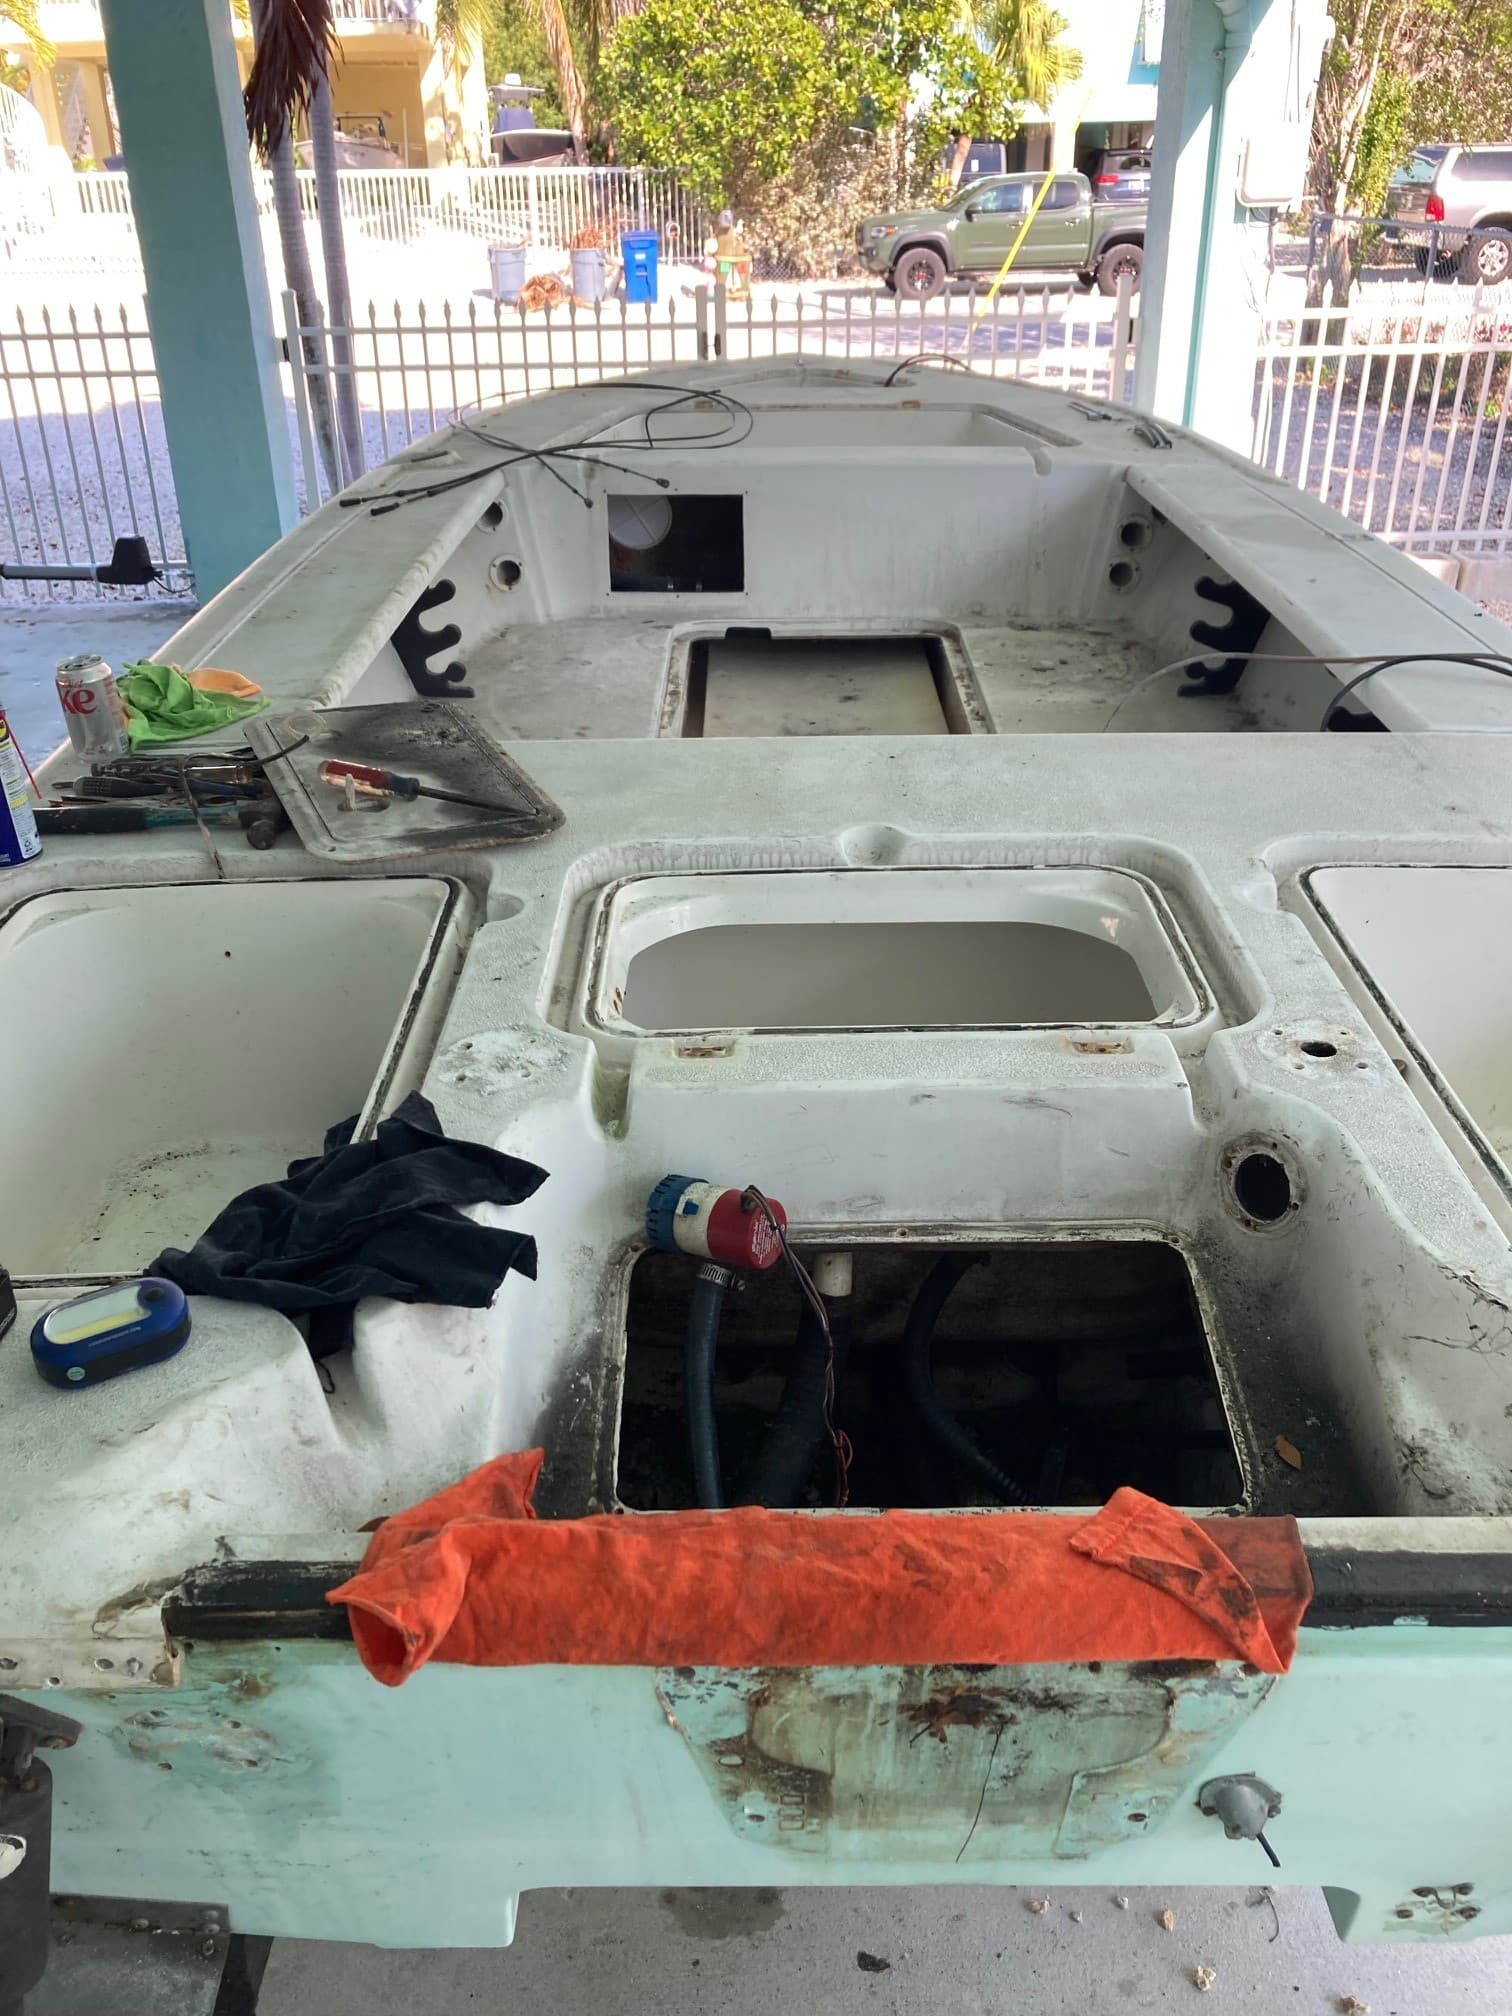
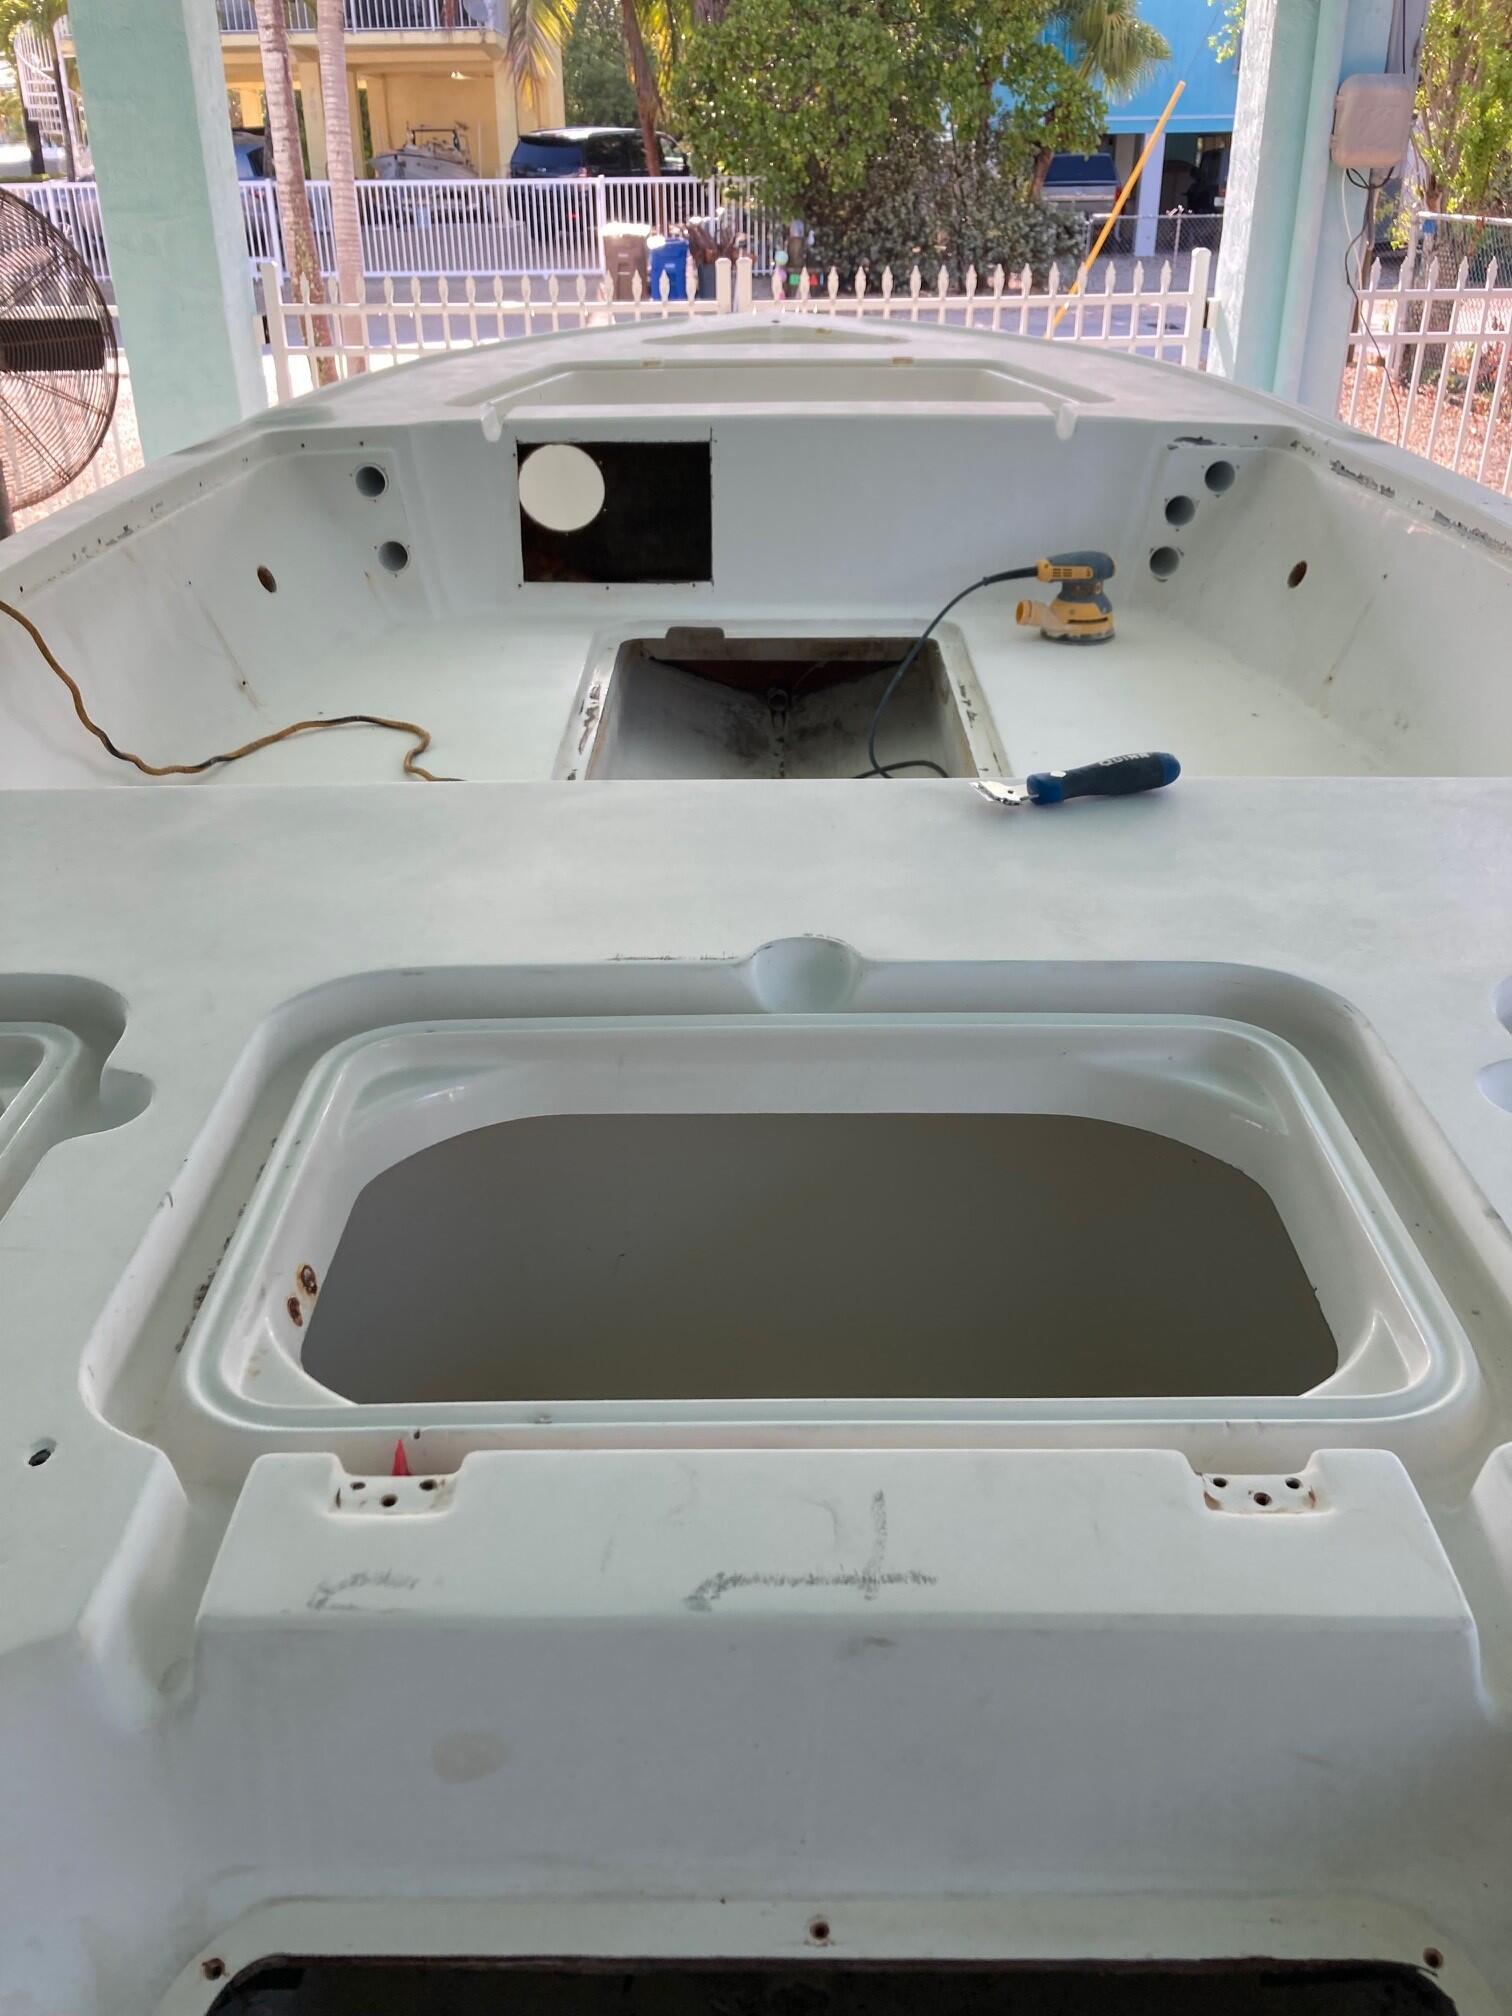
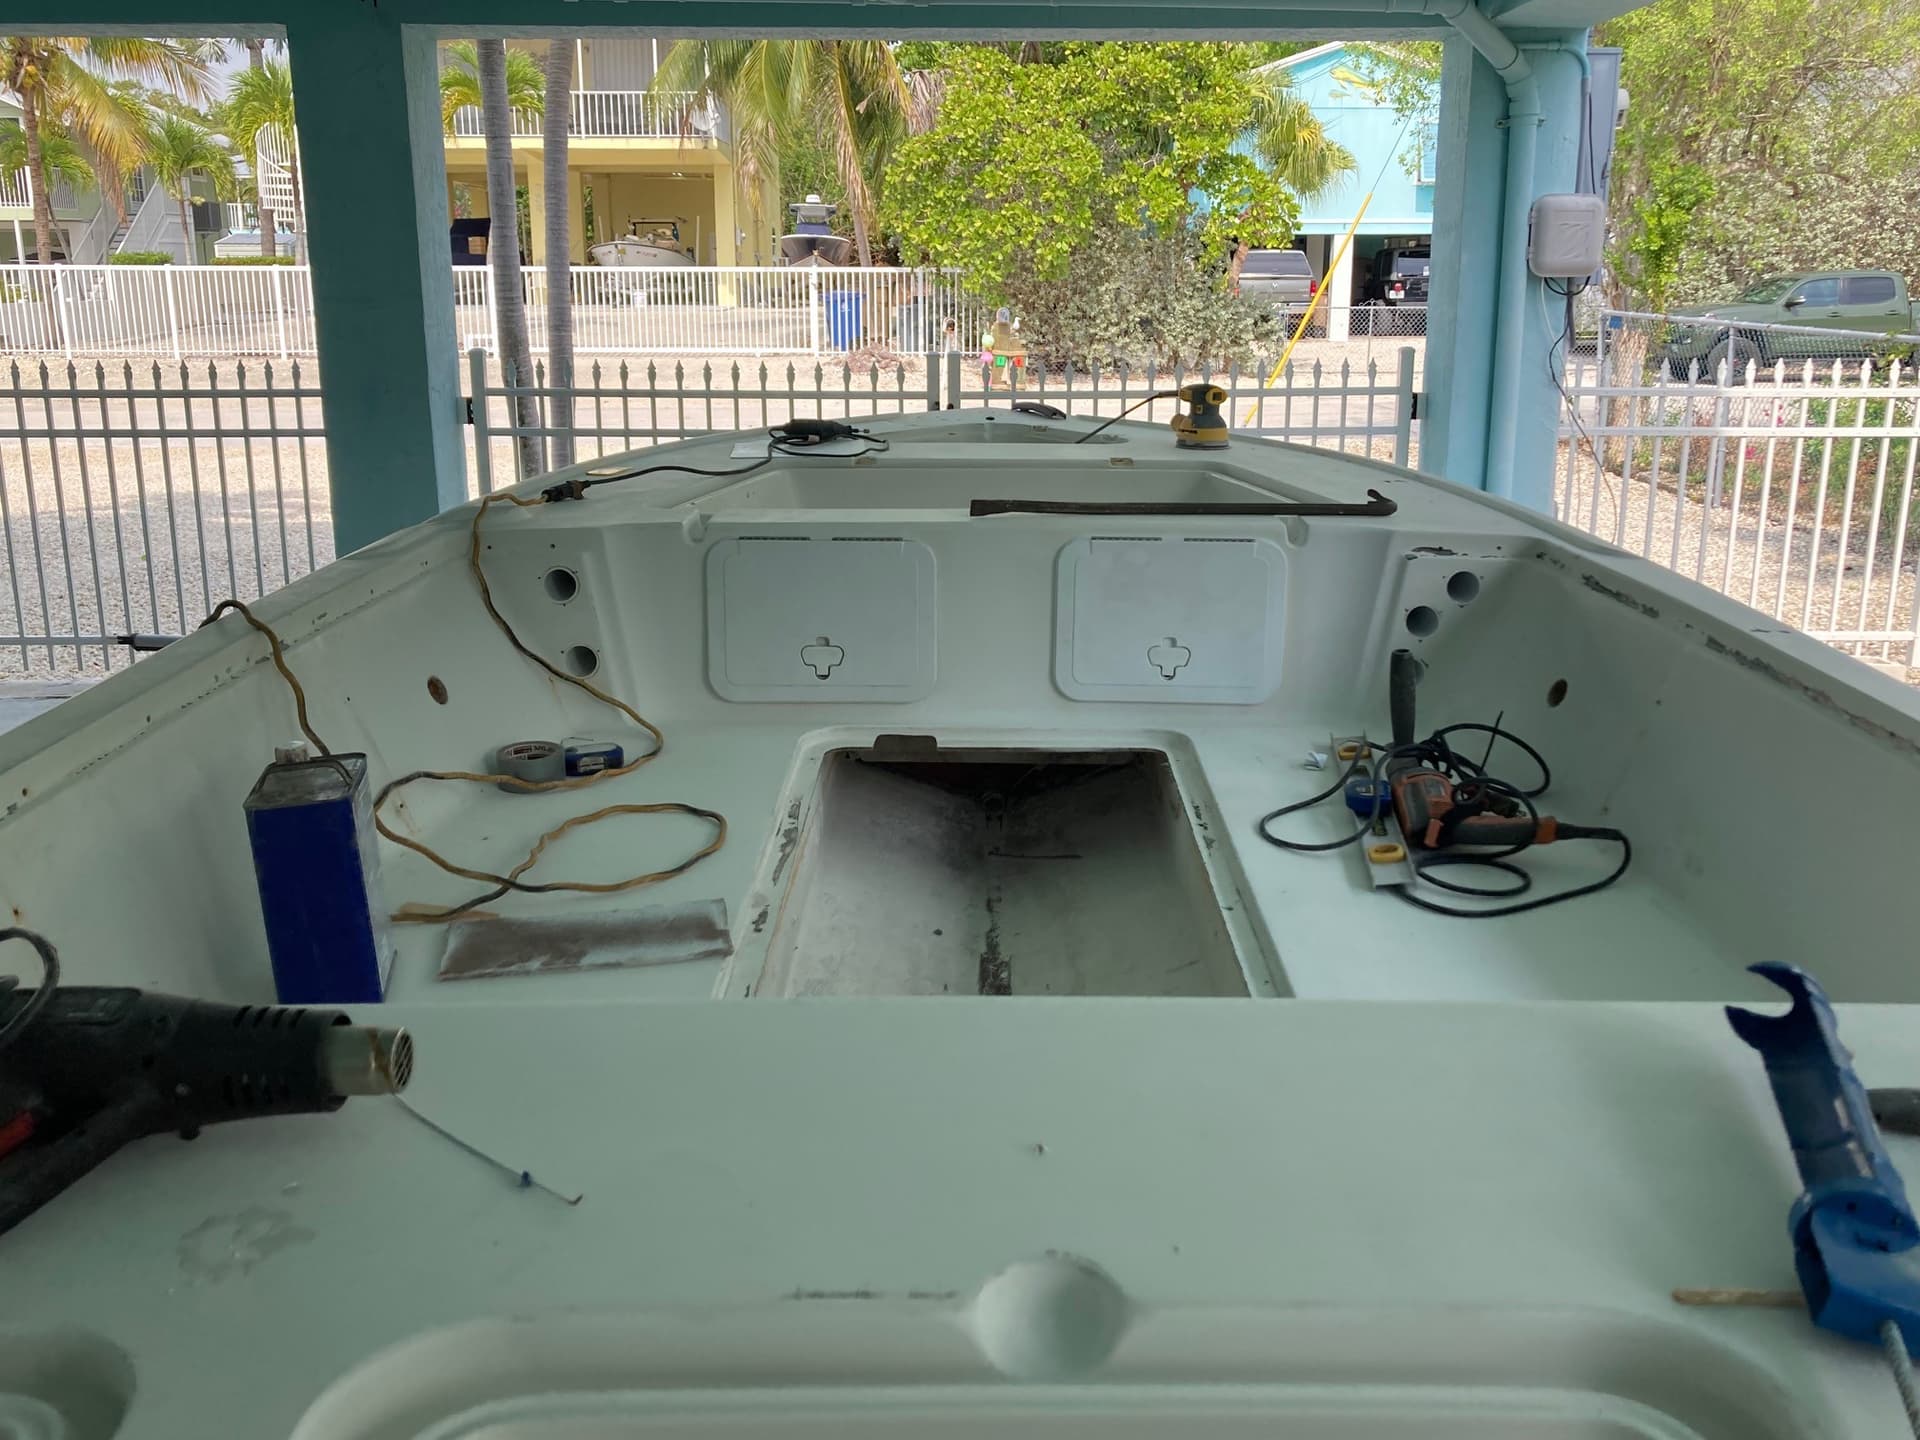
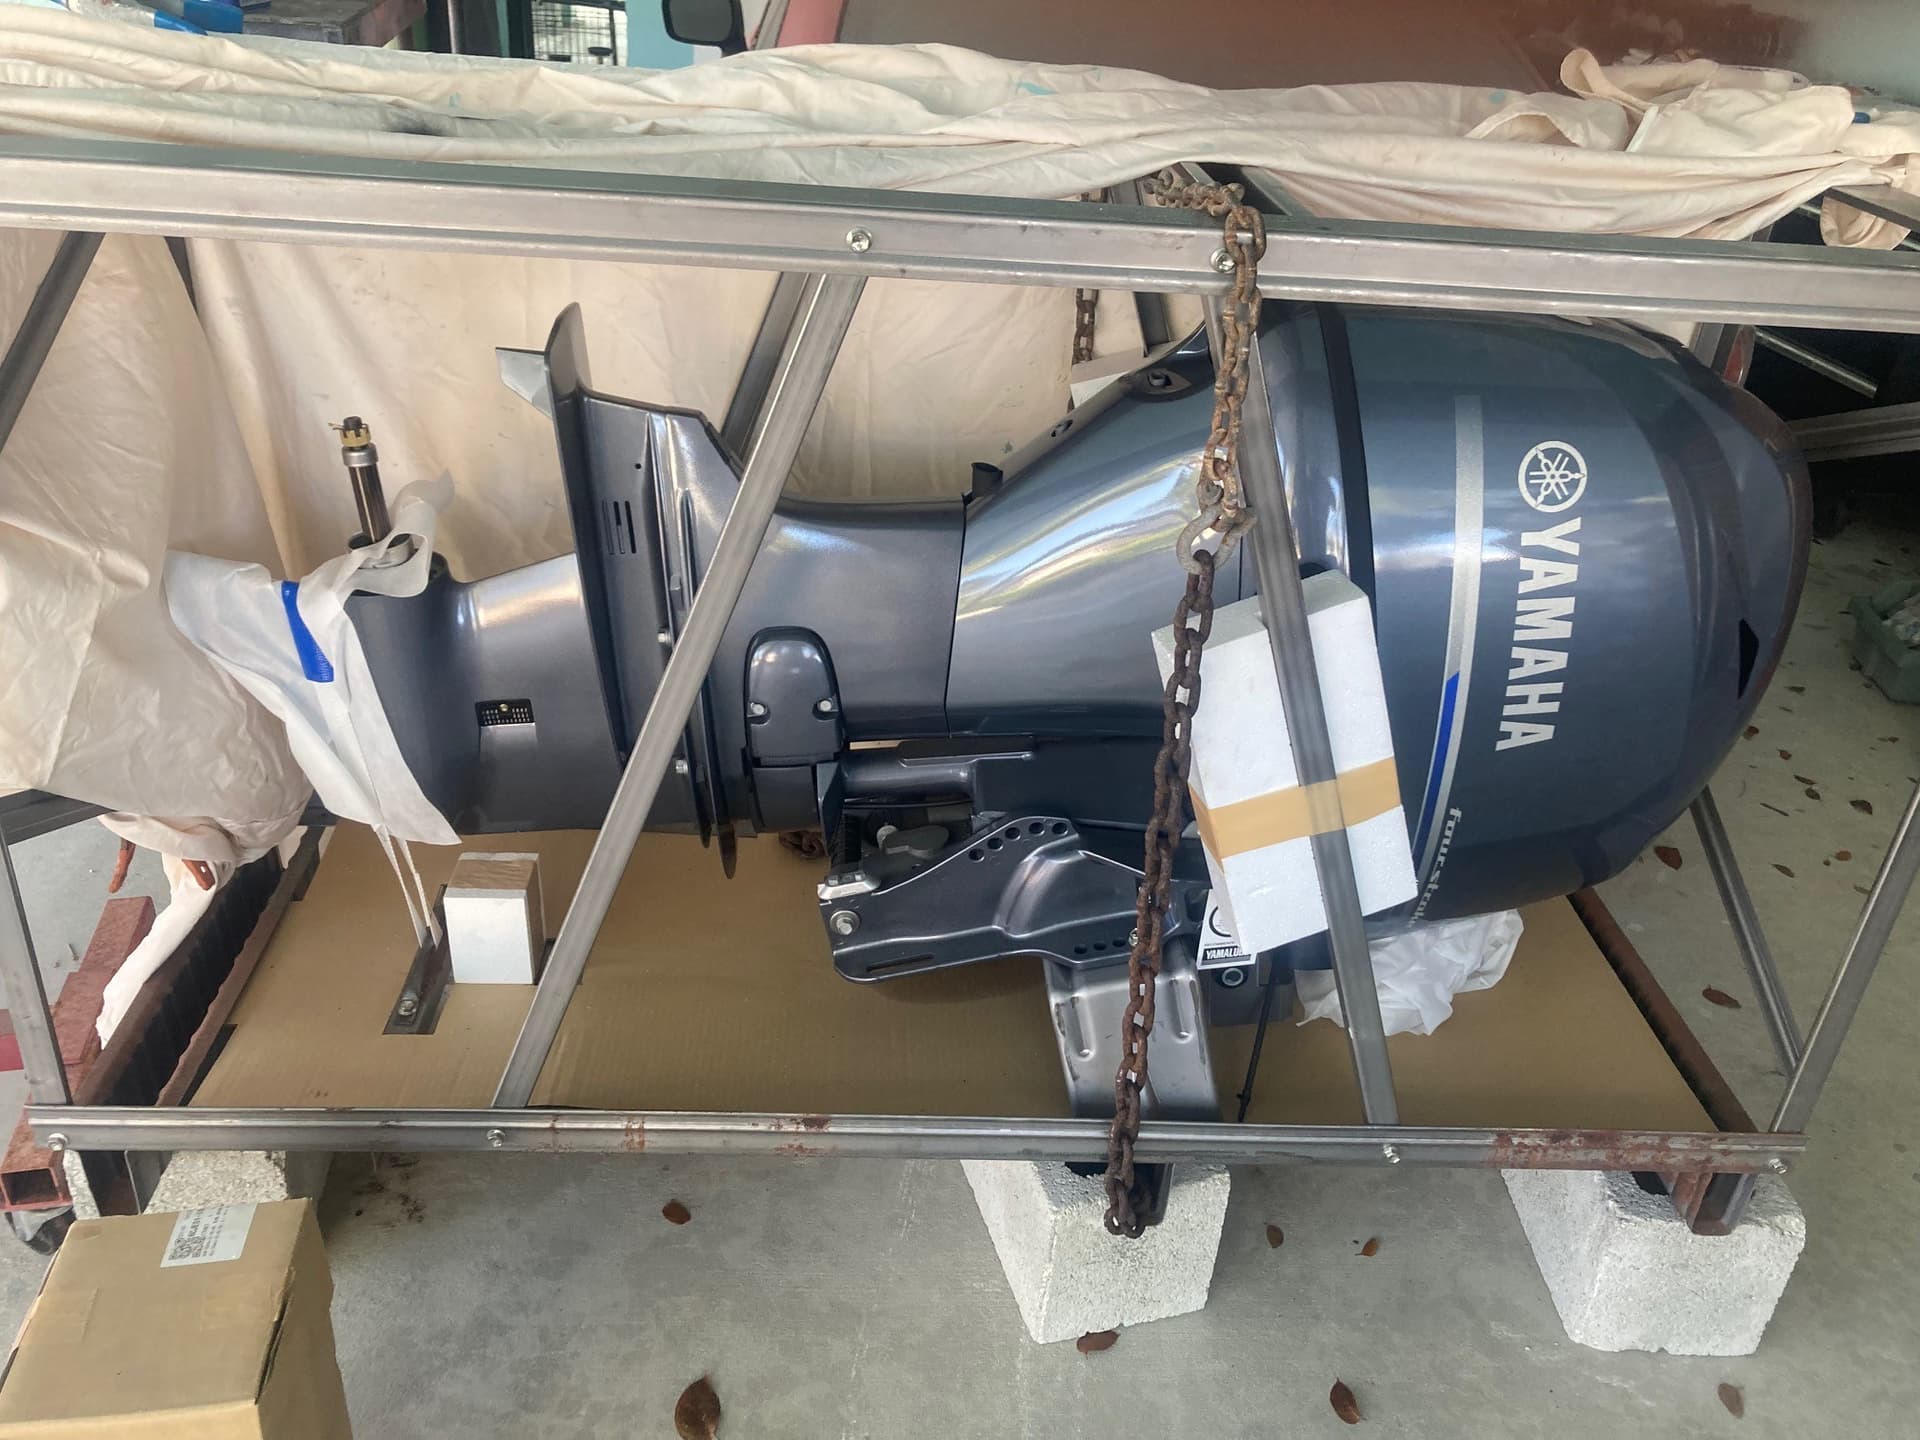
I bought this boat over 10 years ago thinking a little work and she’d be back on the water. Once I dove into it, I realized that wasn’t the case. That said I kept the boat, much to my wife’s resistance and have finally started a full refit. The plan is everything will be replaced less the fiberglass. A new 70hp Yamaha, basic gauge package, cables, wiring, pumps, cushions, electronics etc. I just about got it stripped just a few things left to do today then I can start repairing the fiberglass. Lots of holes to fill and cracks in gel coat as well as a rework of the center console.
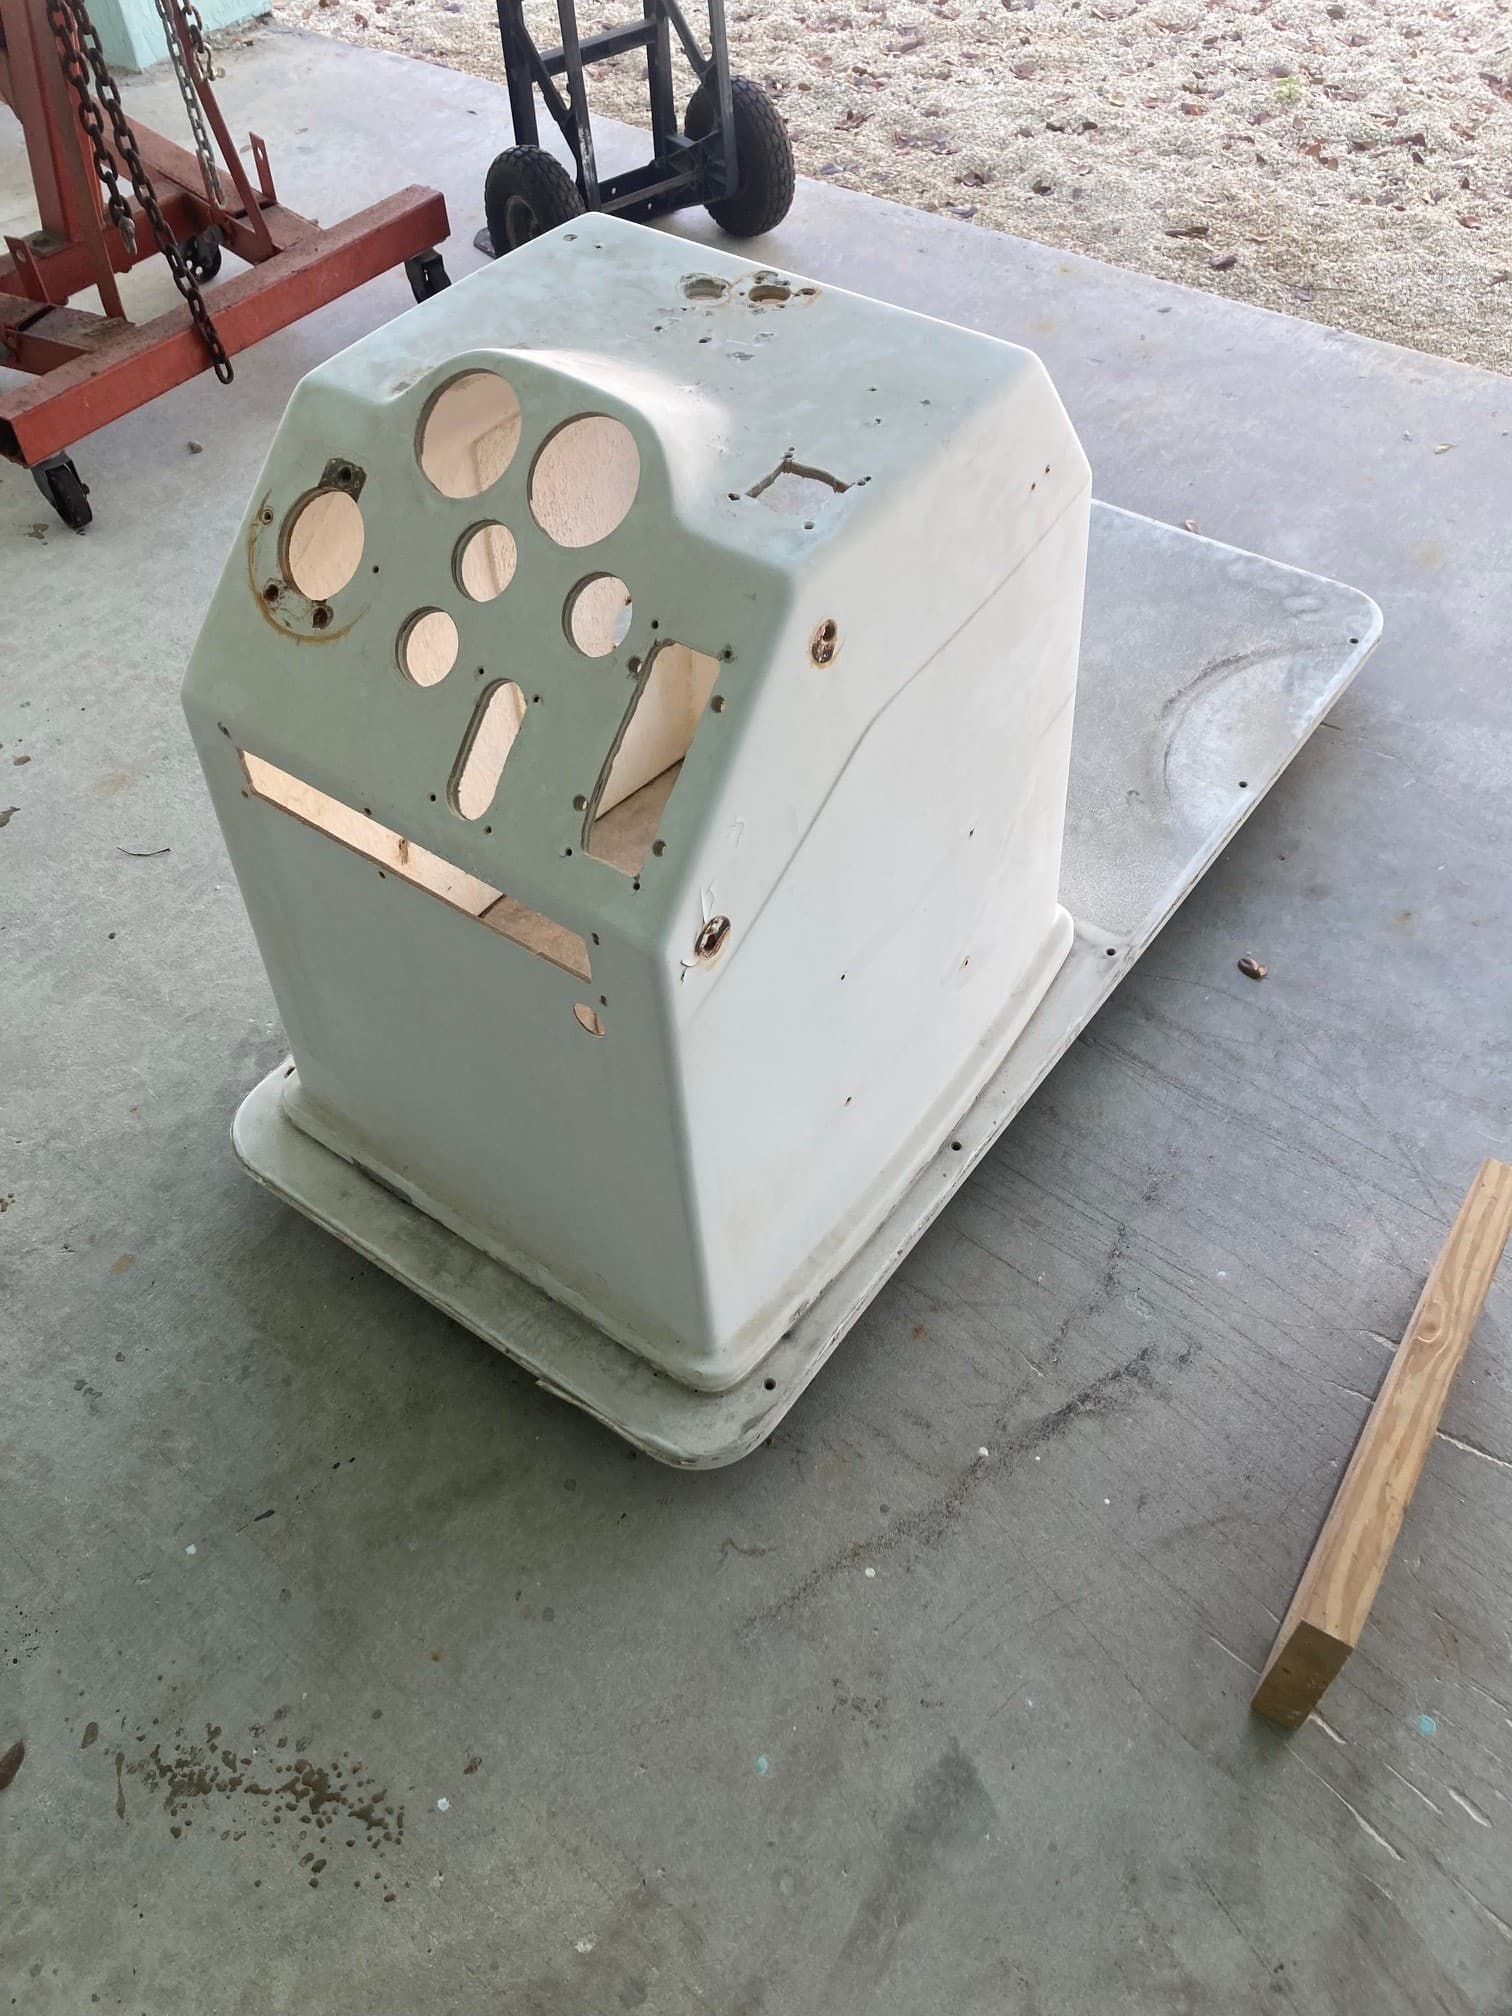
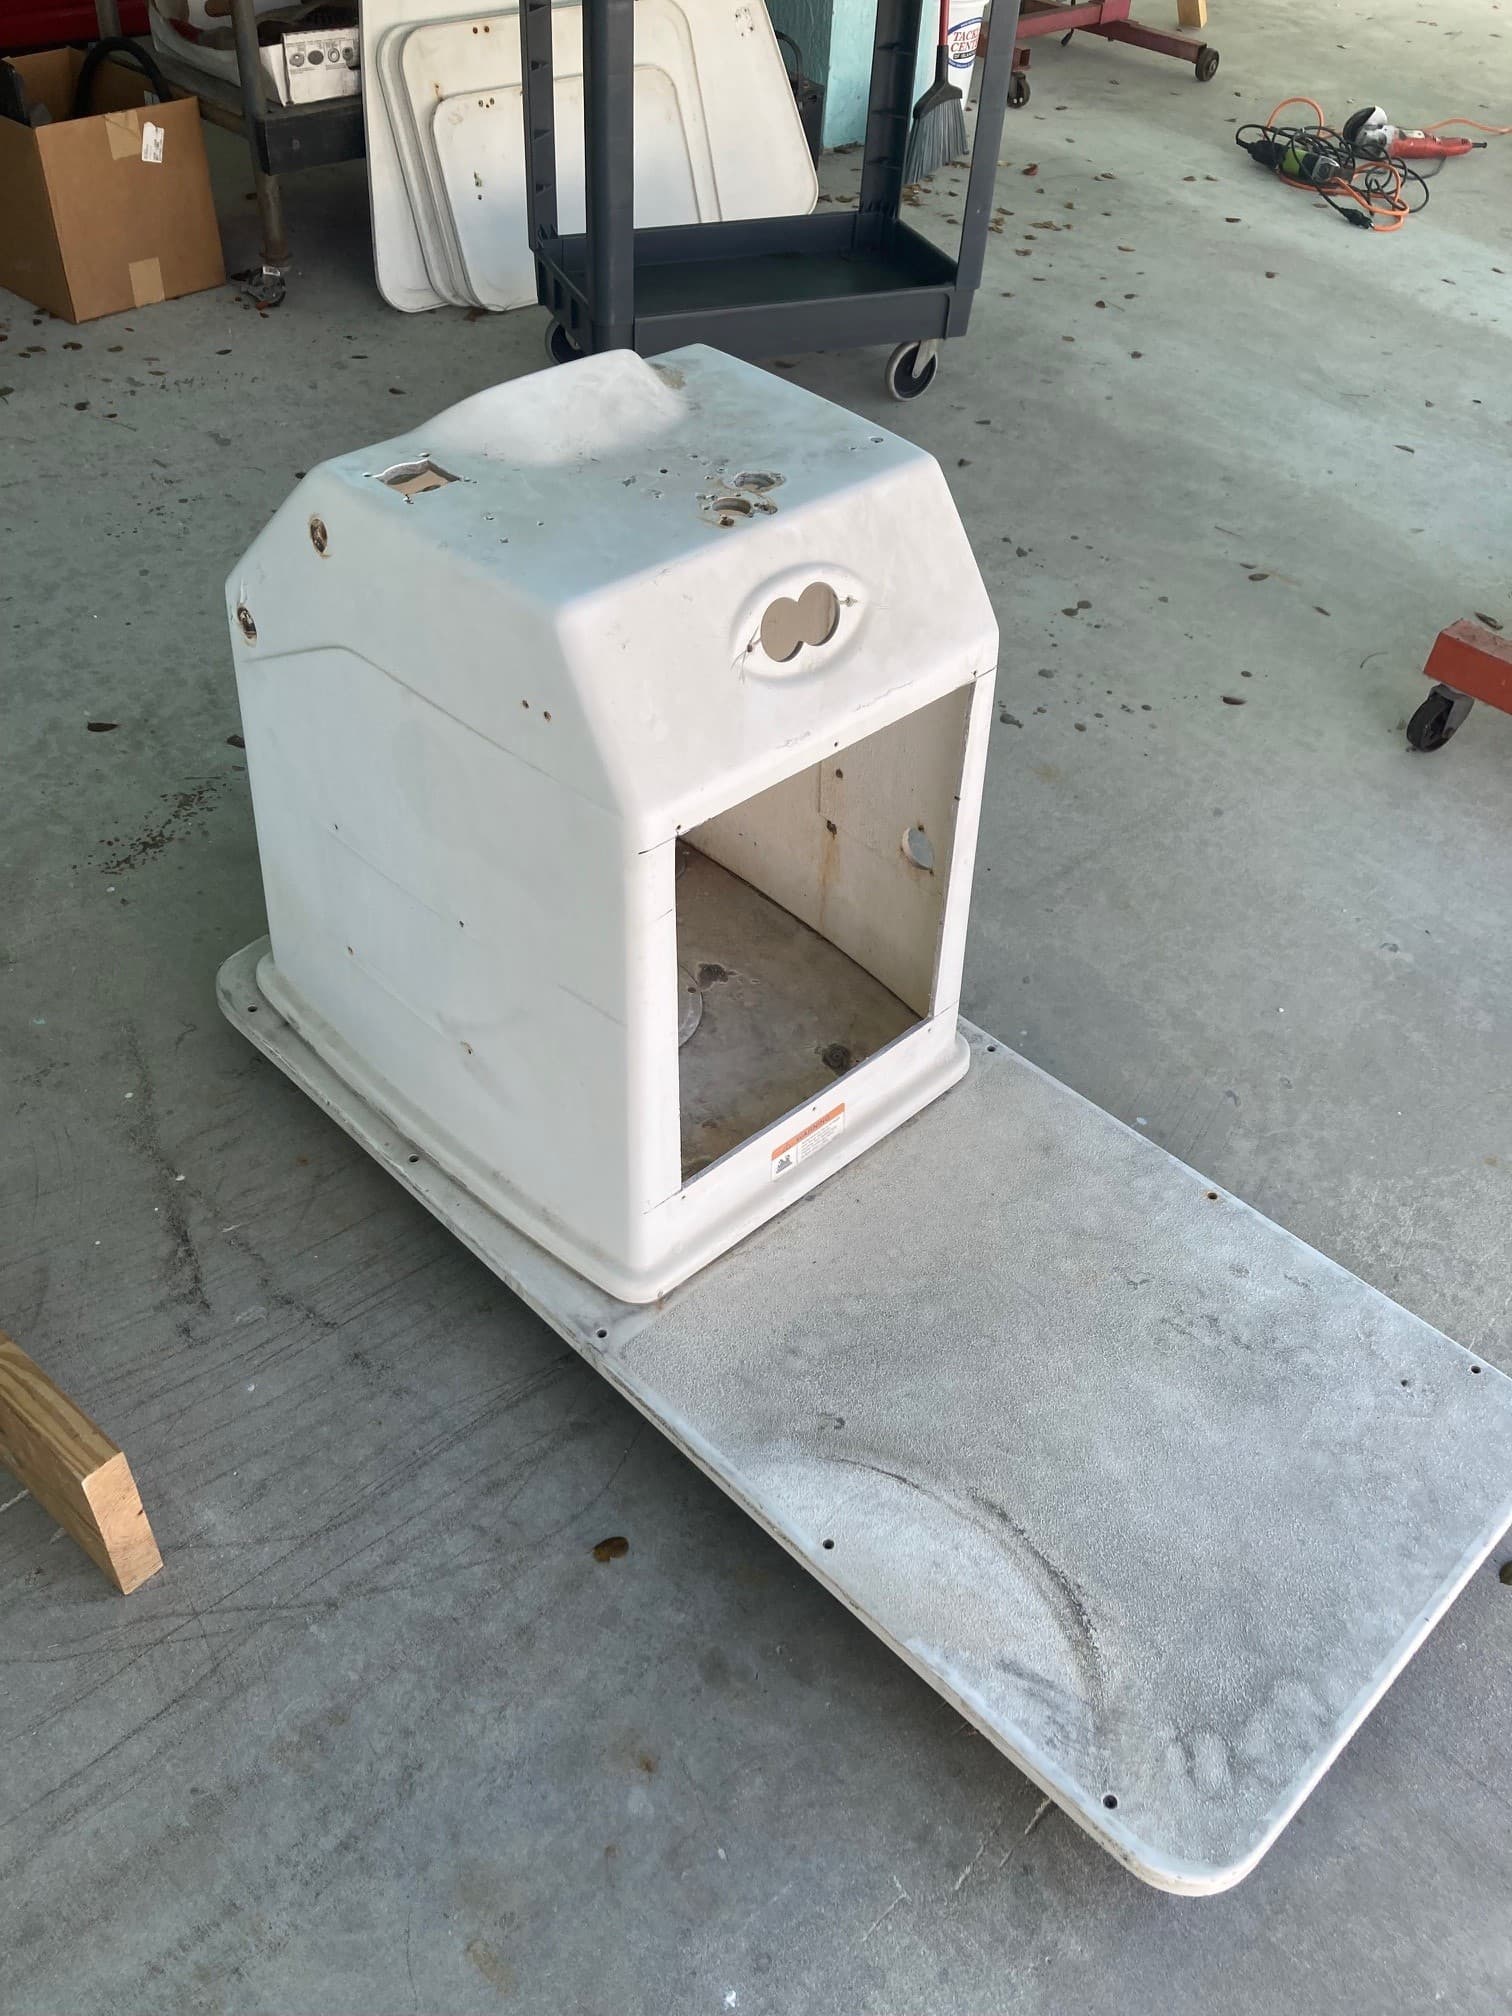
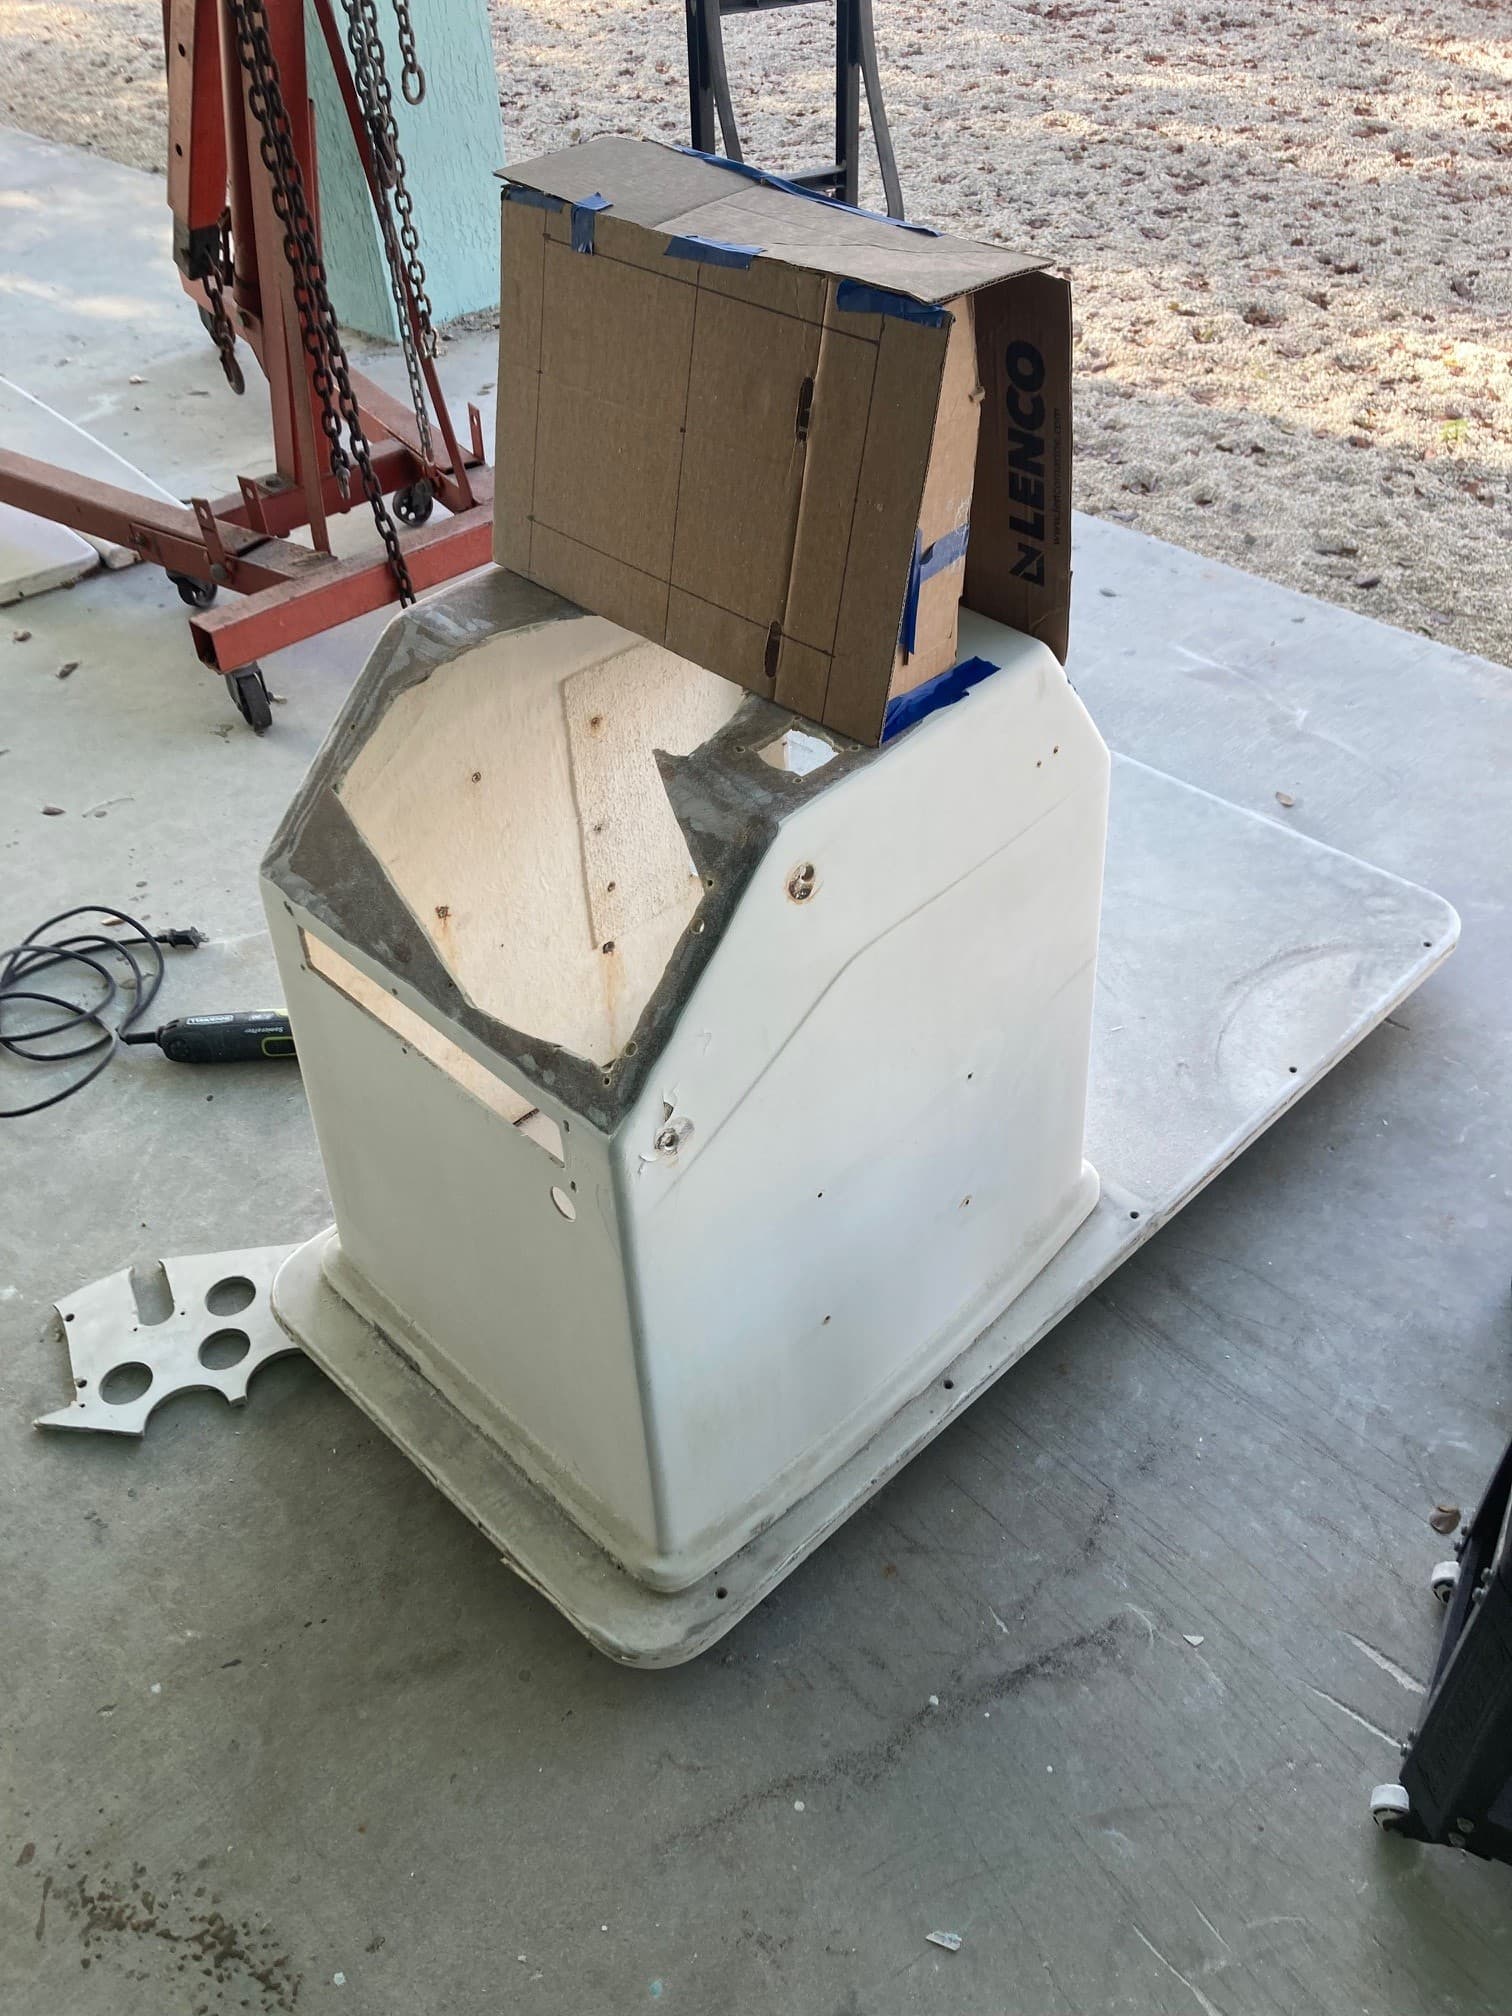
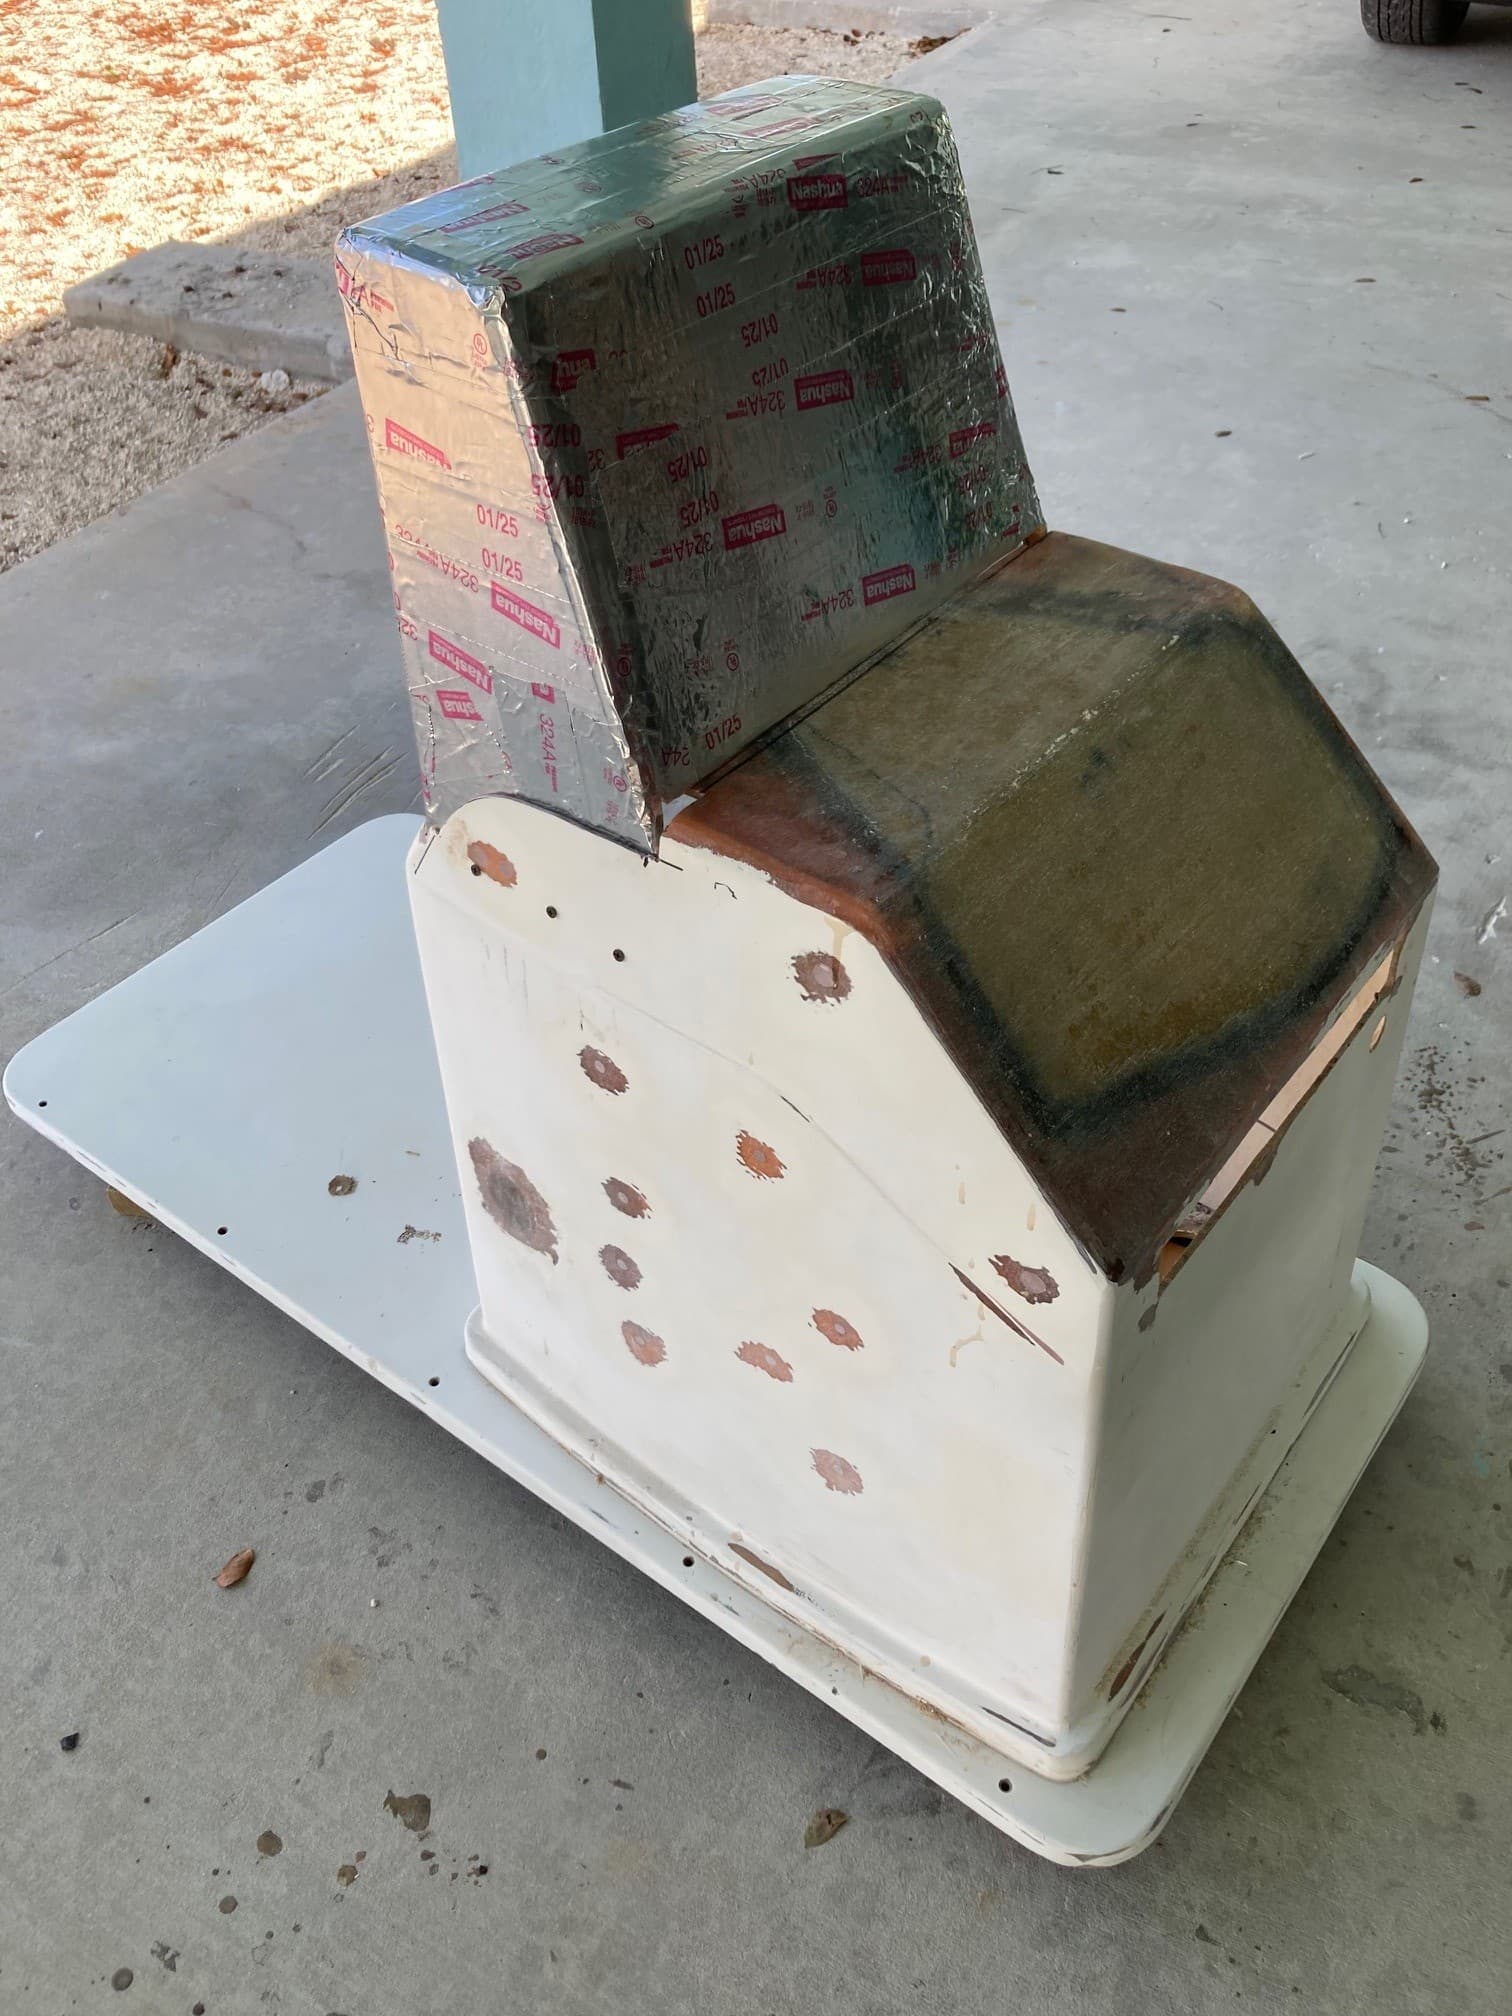
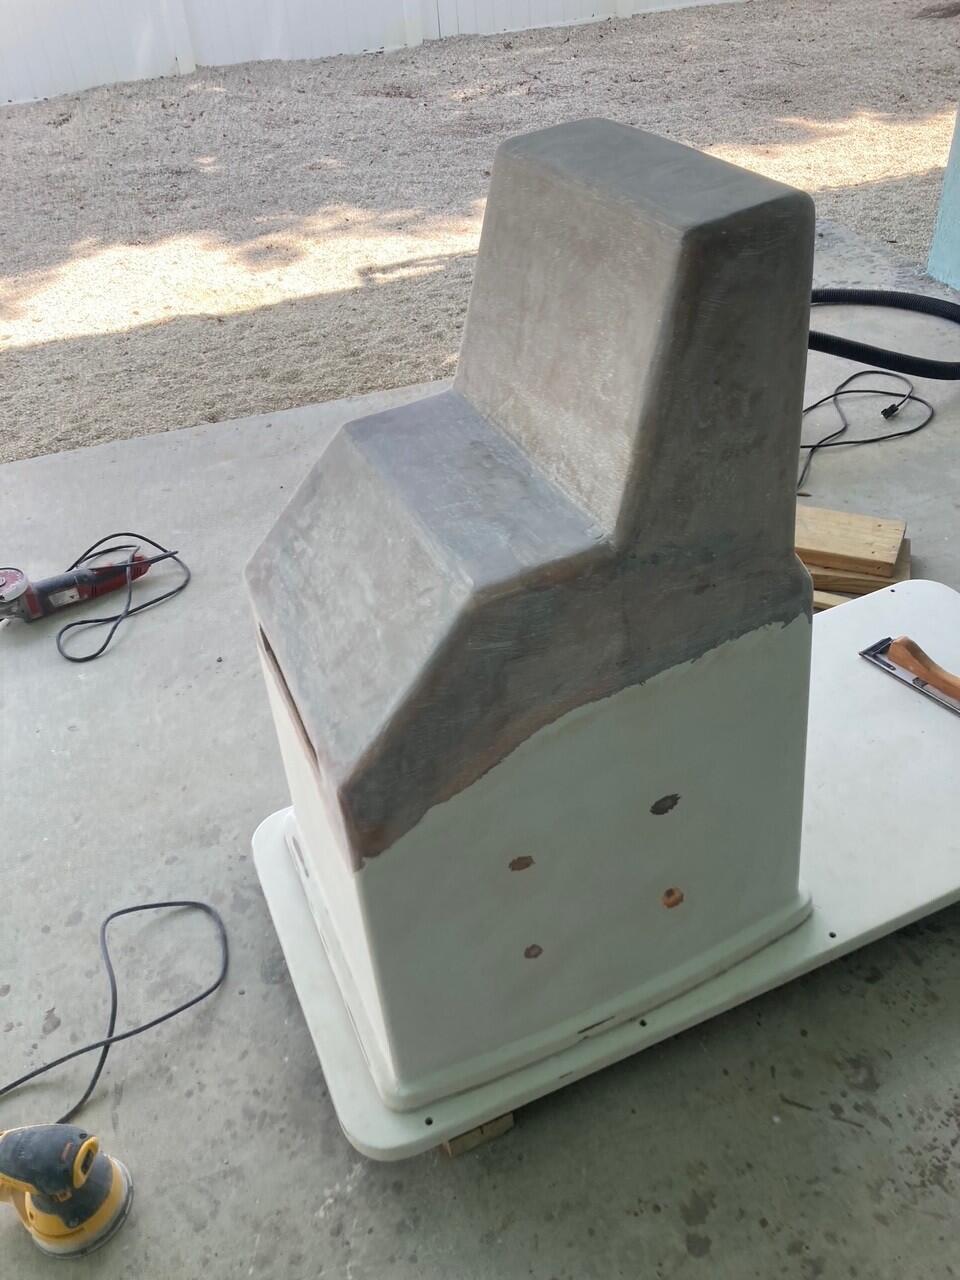
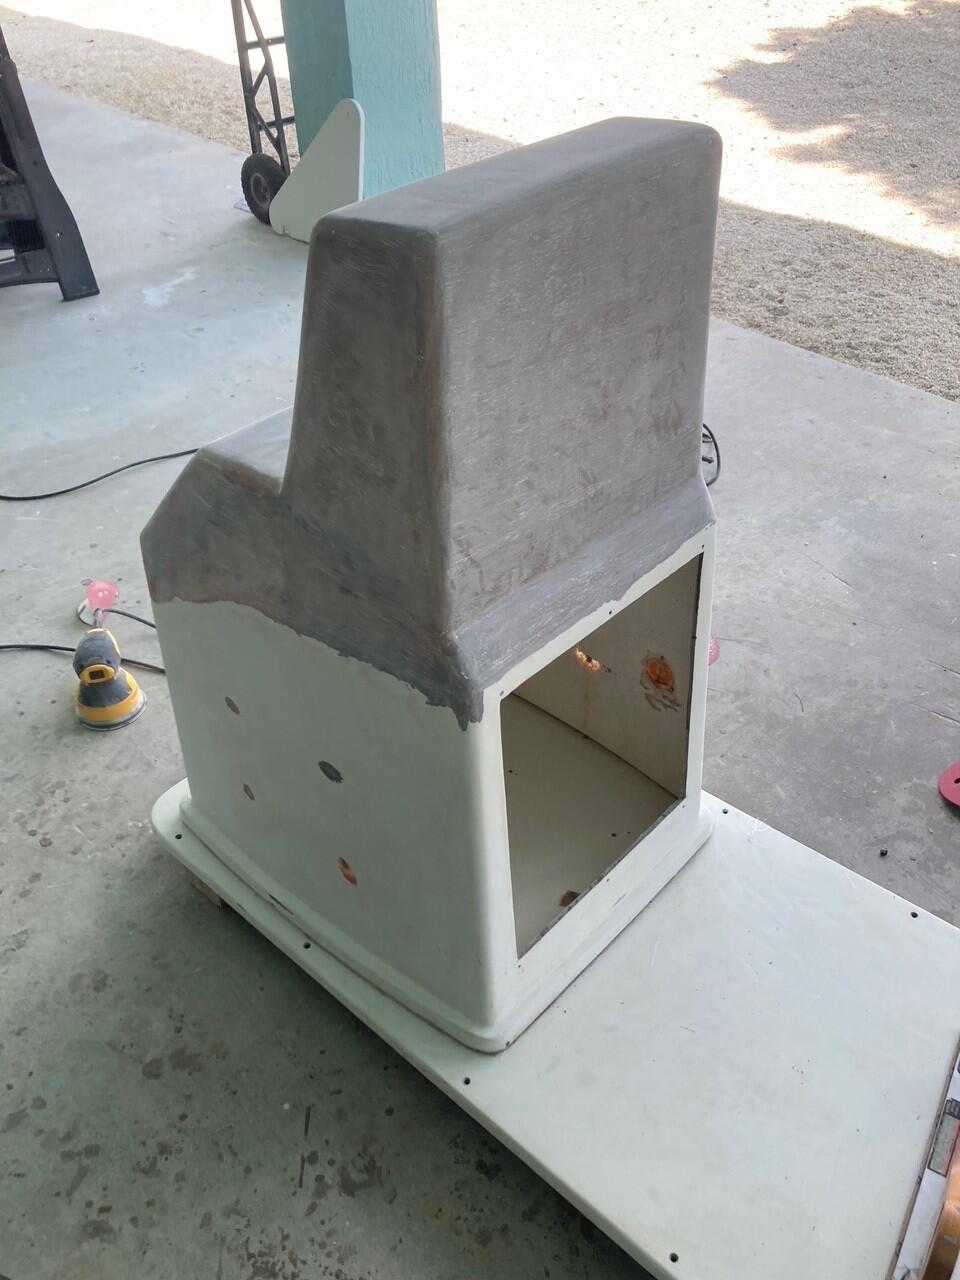
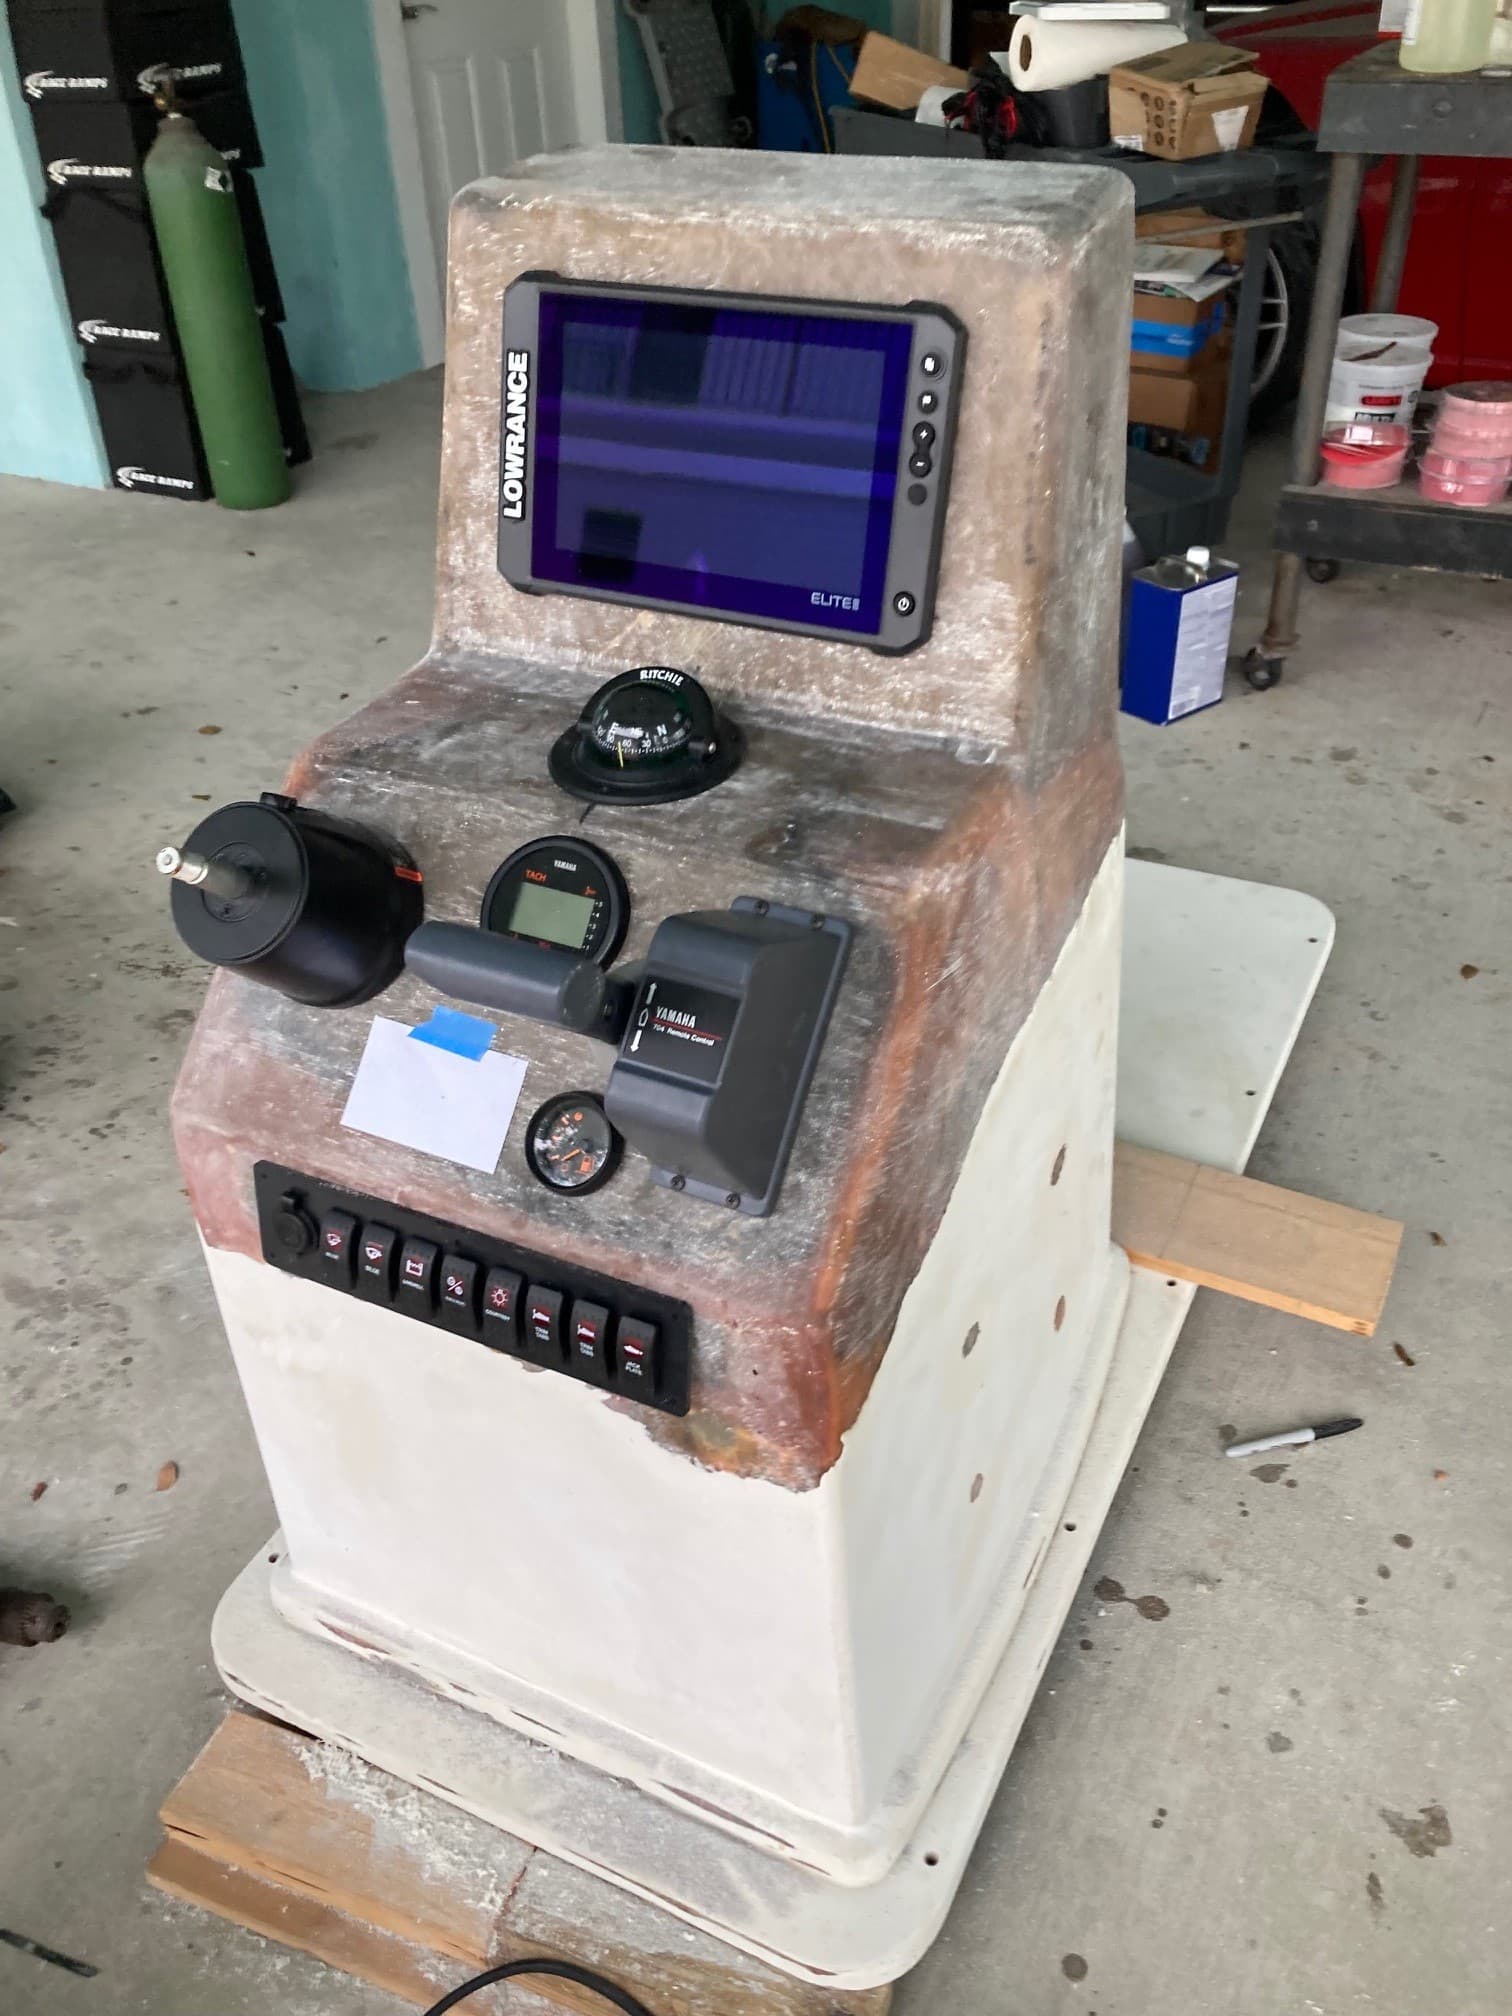
I’ve been working on the console trying to get it back in shape. The new gauge package will be different and didn’t need the two eyebrows any longer. I also need an electronics box for my 10" lowrance unit. These pictures cover a few weeks LOL.
My attention has turned to the inside of the console. This is the story of 10lbs of stuff in a 5lb bag. Did a bunch of research then bought the parts, well at least most of them.
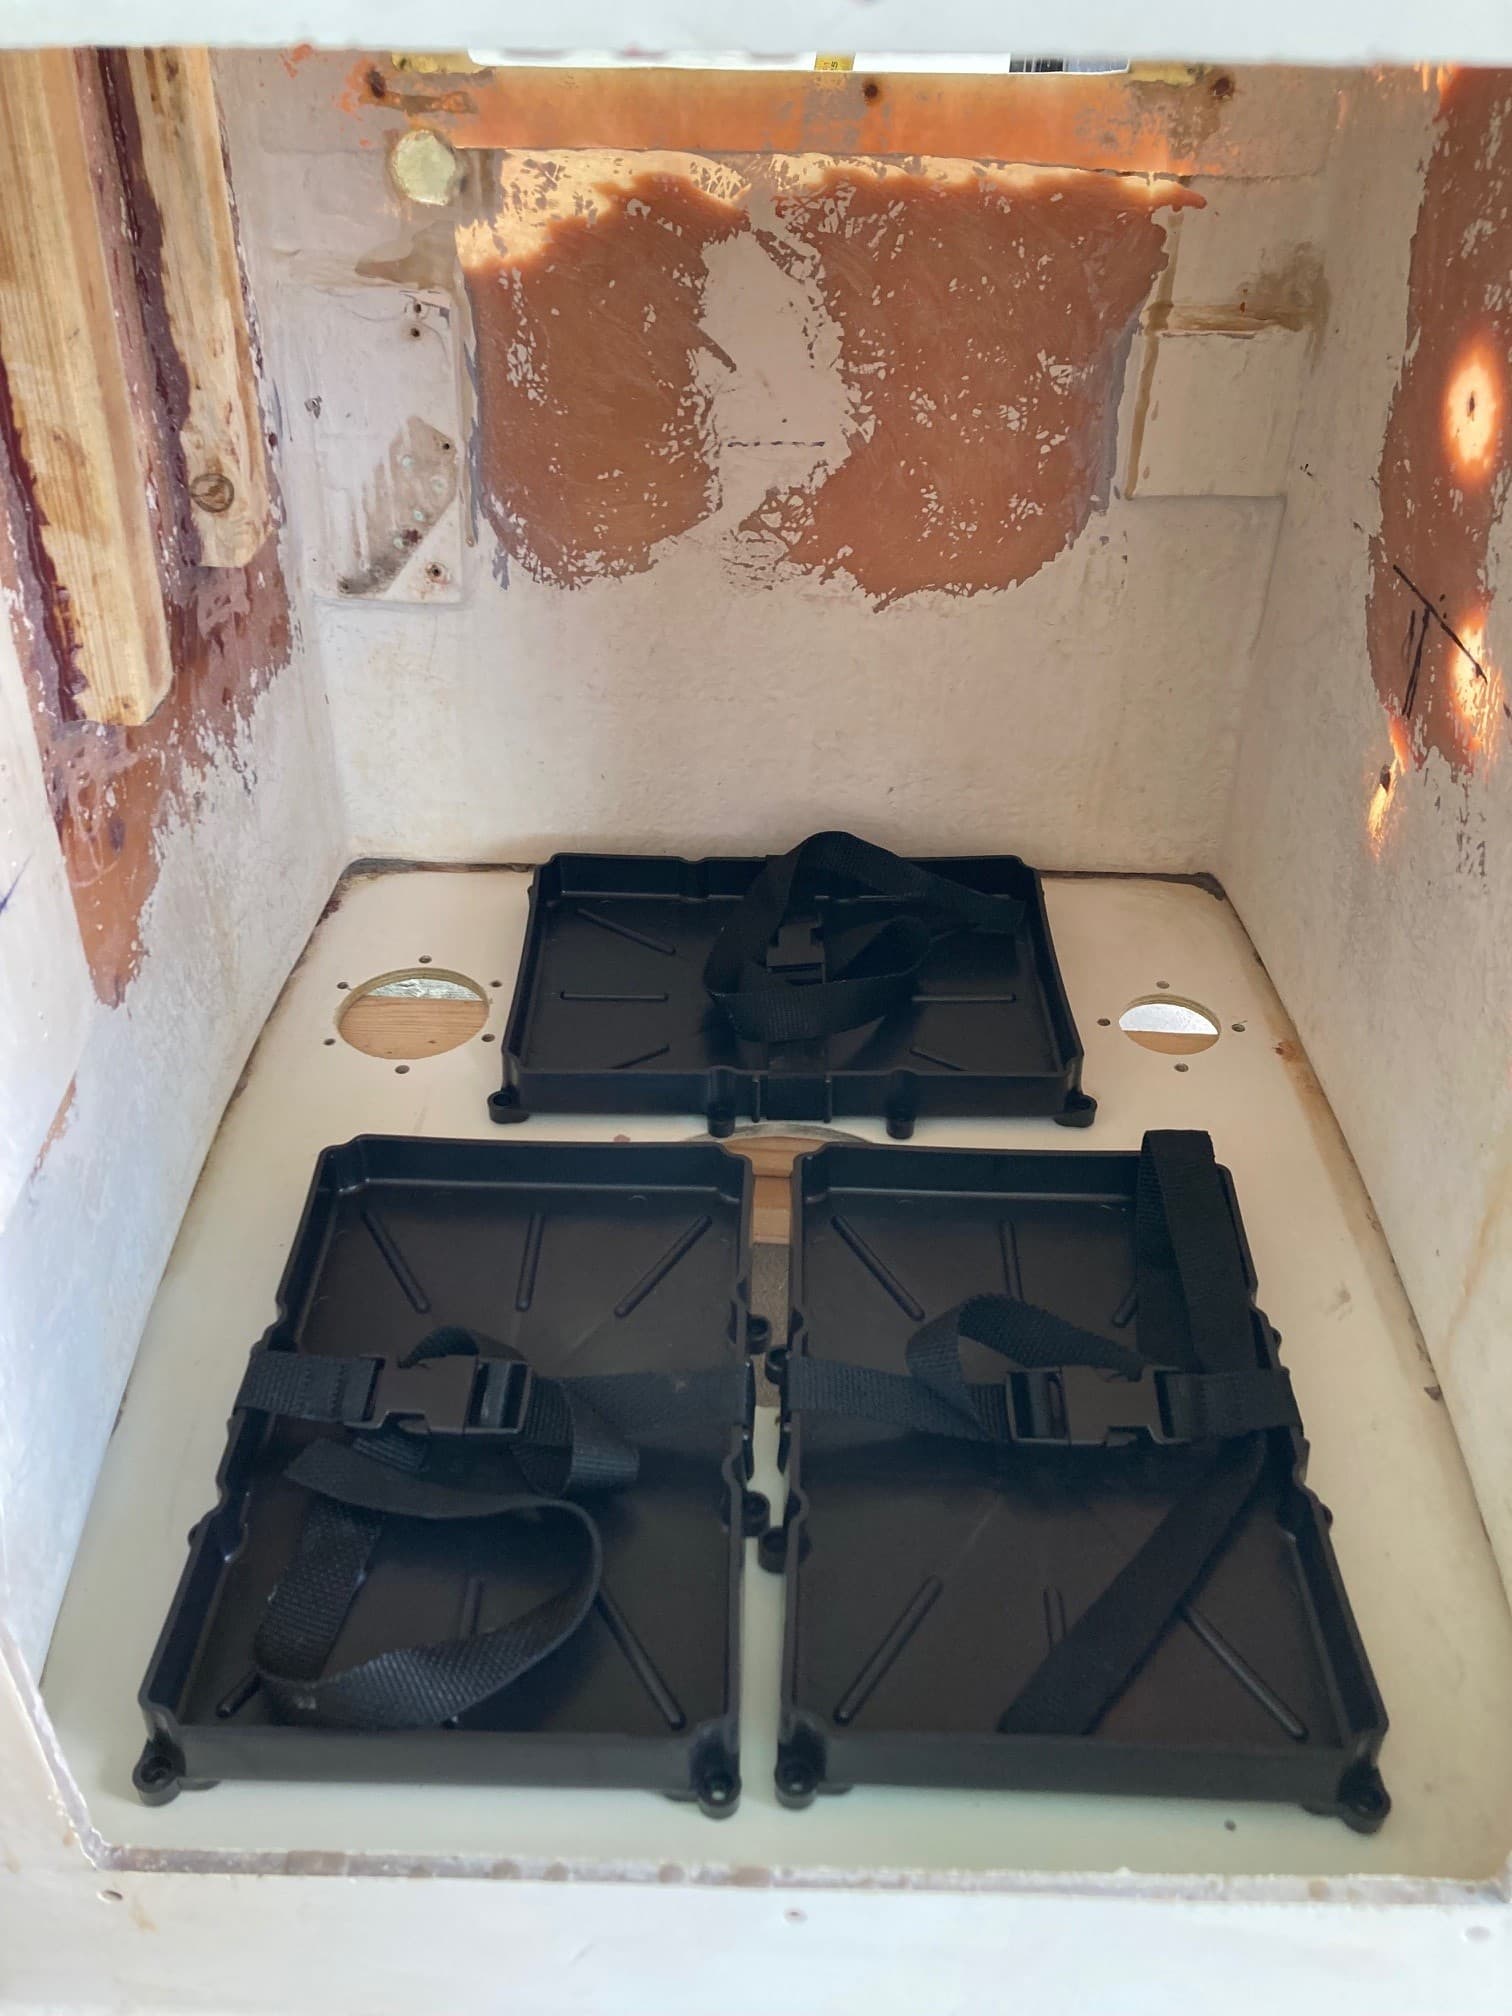
The console is 22" front to back and 17" side to side, not very big. From the floor up another 23ish. The plan is 3 group 24 size batteries (one house, two TM for 24v) which will fill the floor and go up about 9". That leaves about 12" vertically along the walls for stuff. A working area of 12" X 22" for each side and a 5" x 12" panel under the switches.
On the walls I’m planning:
Starboard side, mini battery on/off switch, 60amp breaker for TM and a Noco Genius GENPRO10X3 charger (10.5" x 7.5", 12lbs). Fills that side.
Port side, mini battery switch, 100amp breaker, 12 circuit fuse box with grounds. 8 circuit Negative bus bar. There might be a tiny amount of room left.
Under switch plate I need a terminal block to connect the power supplied by switches to the load.
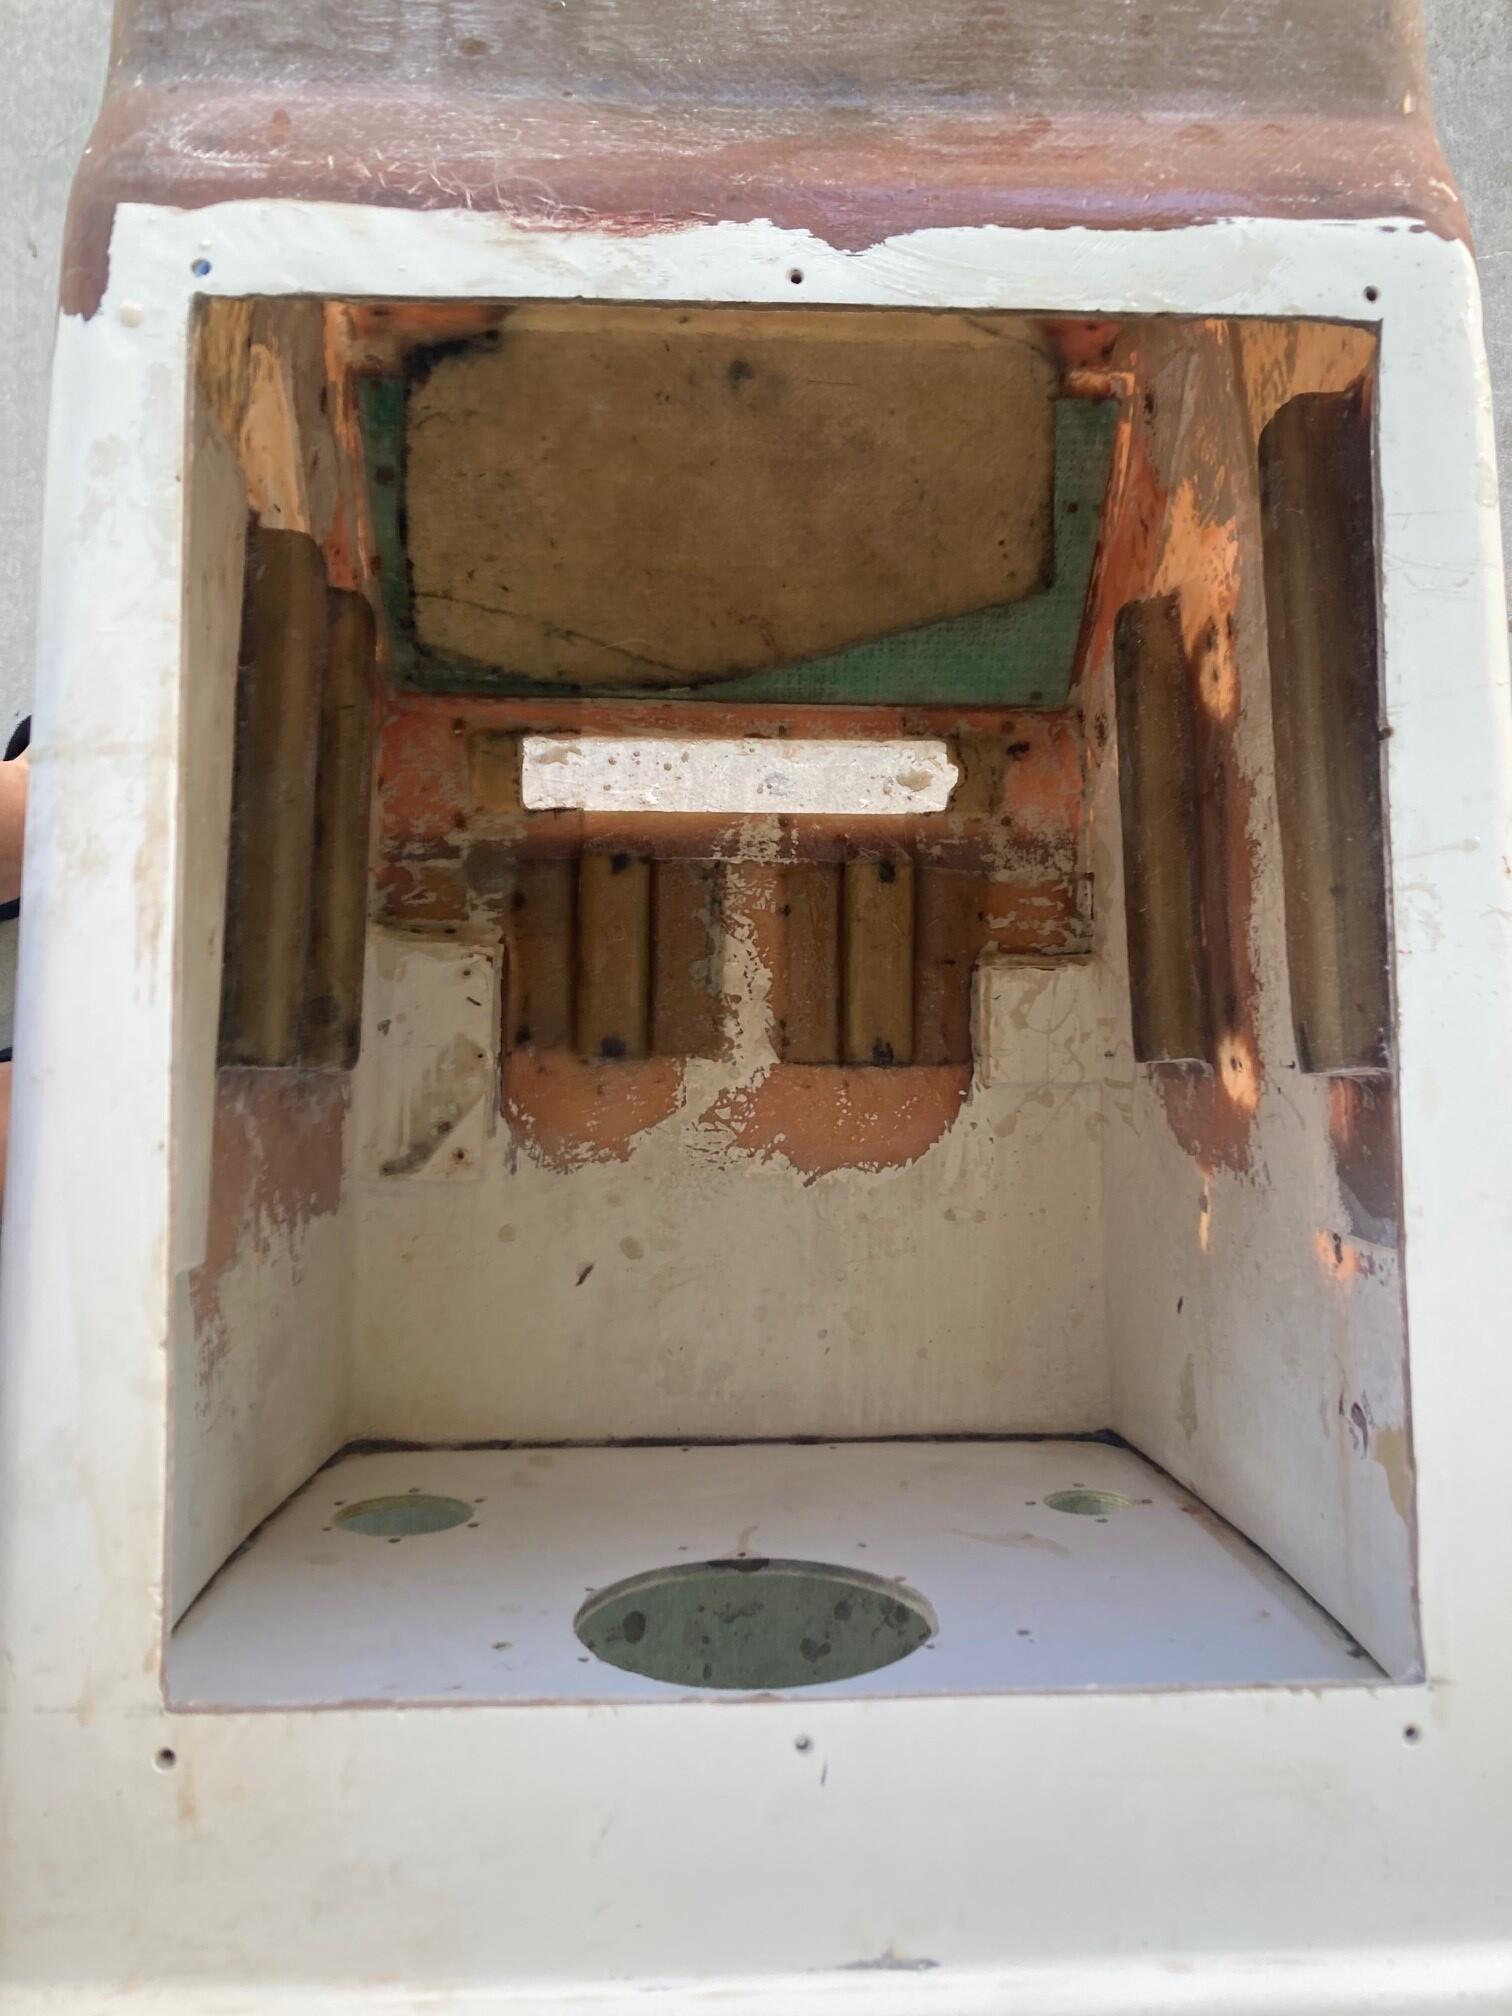
OK, so I have a plan, but the issue is no way to attach all of this stuff to the console sides less thru bolting from outside, which is a hard no. Opted to add a few wooden cleats to the insides of the console. They are roughly 1.5" x 1" then cut to length. From there I’ll make 12" x 20" panels of 3/4" PVC sheet and attach them to cleats. Attach stuff to PVC sheet.
I got in all the electric stuff ordered so far. Biggest issue is weight of battery charger. It’s almost 13lbs and it’s funny they include two little screws to mount it with. I guess in shear it doesn’t take much to hold it up. Also, cable lengths are way too long for this space. Called NOCO and said cutting cables inside fuse voids warranty but OK to cut outside of fuse to lengthen. Great.
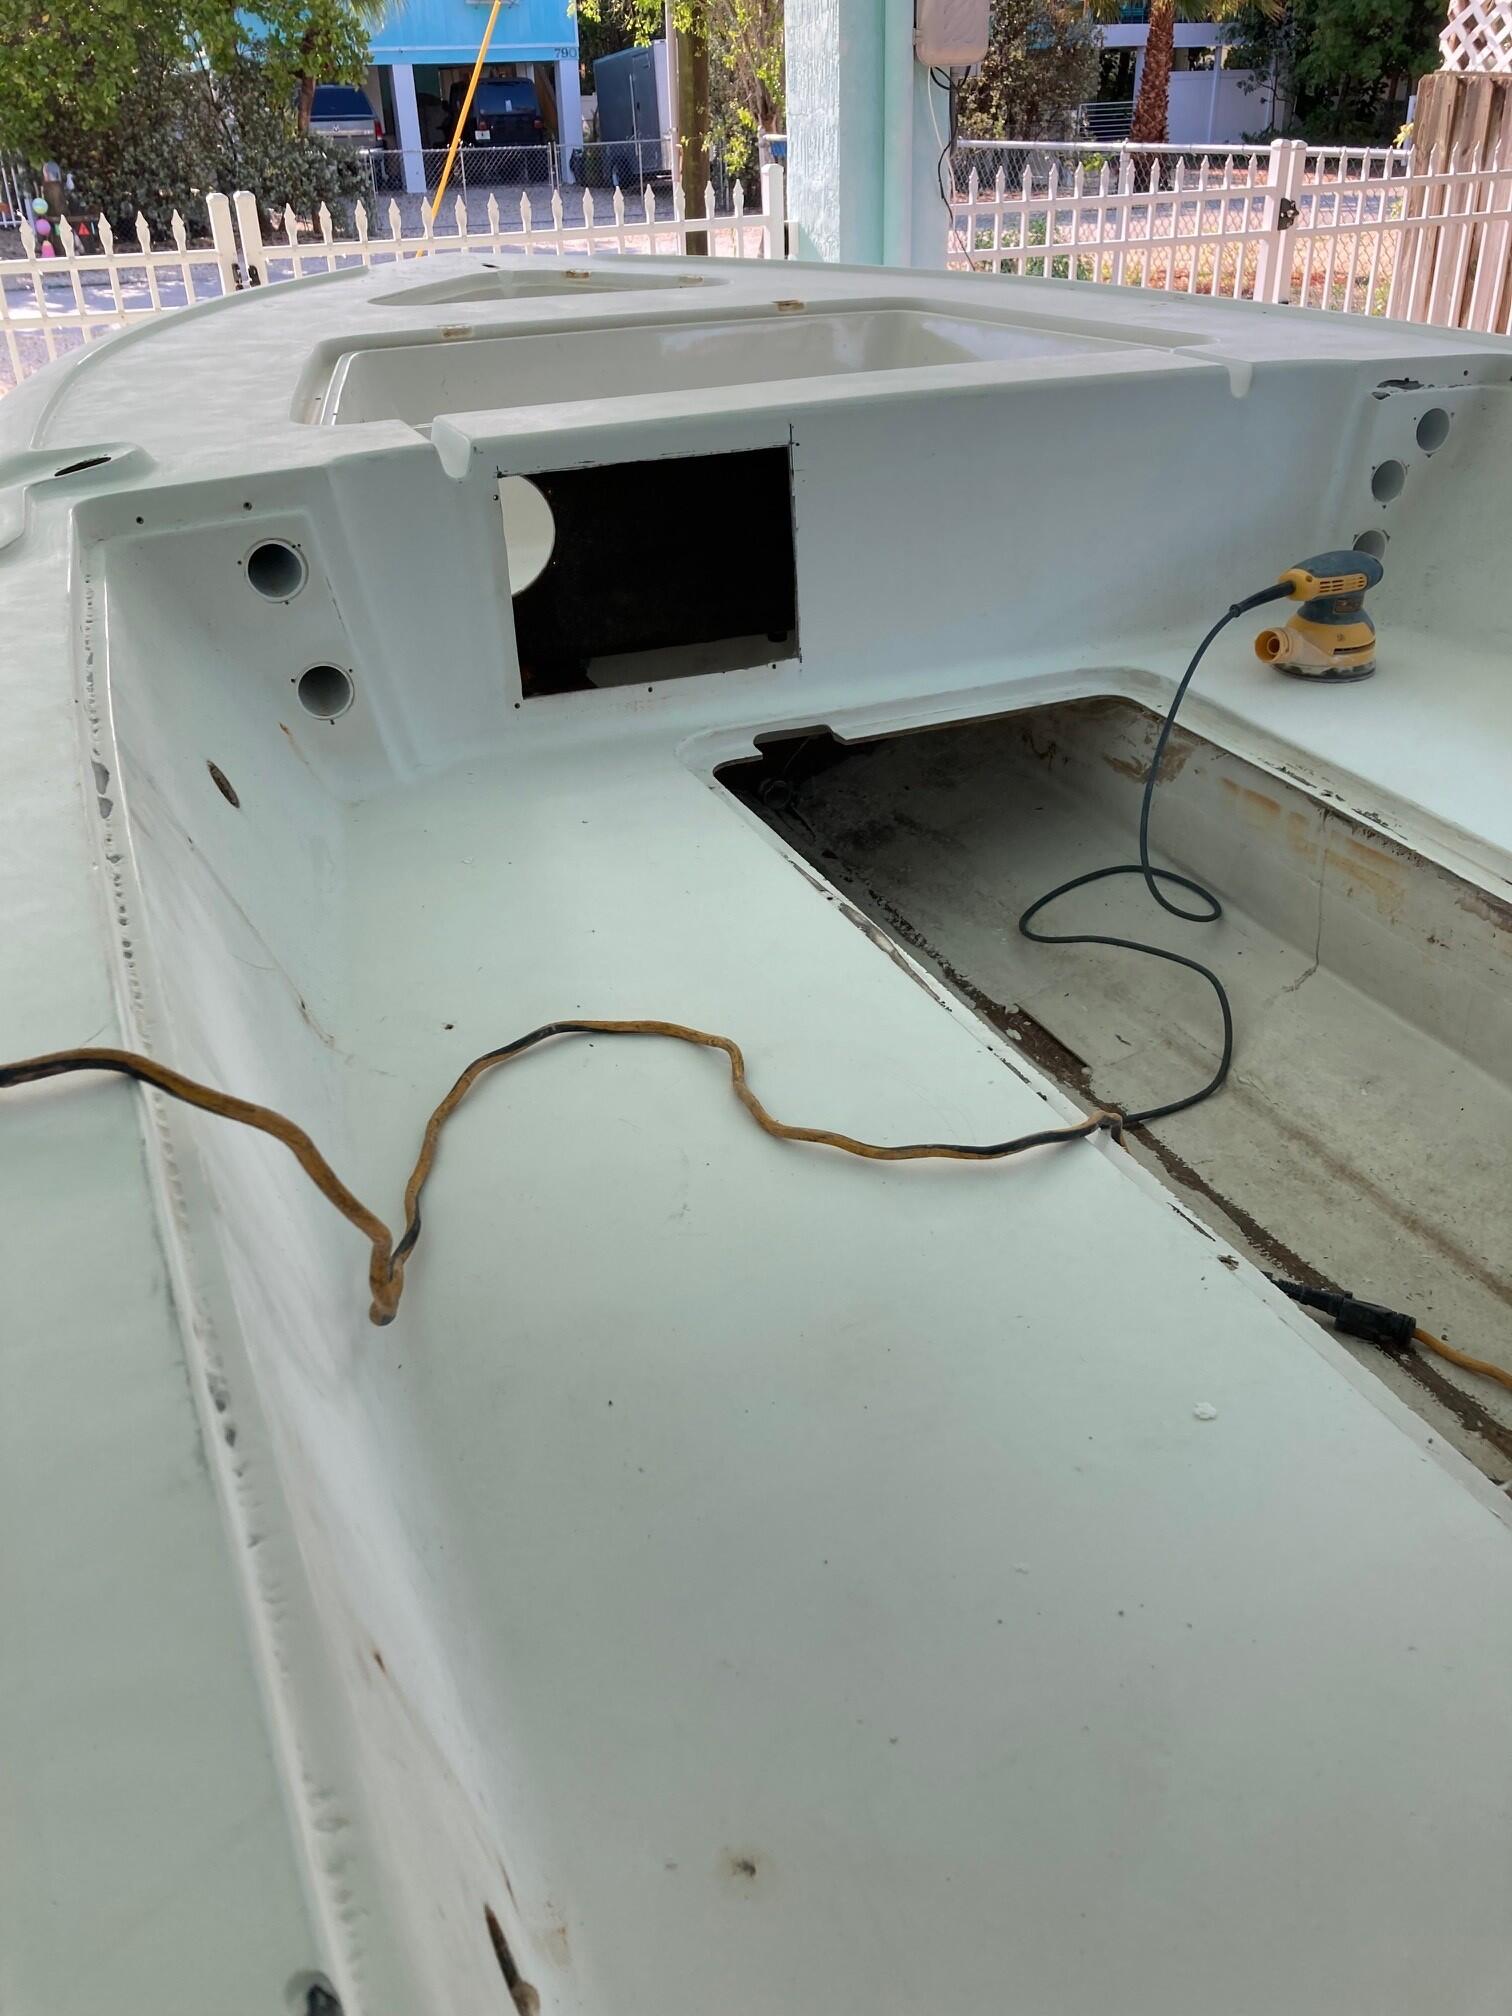
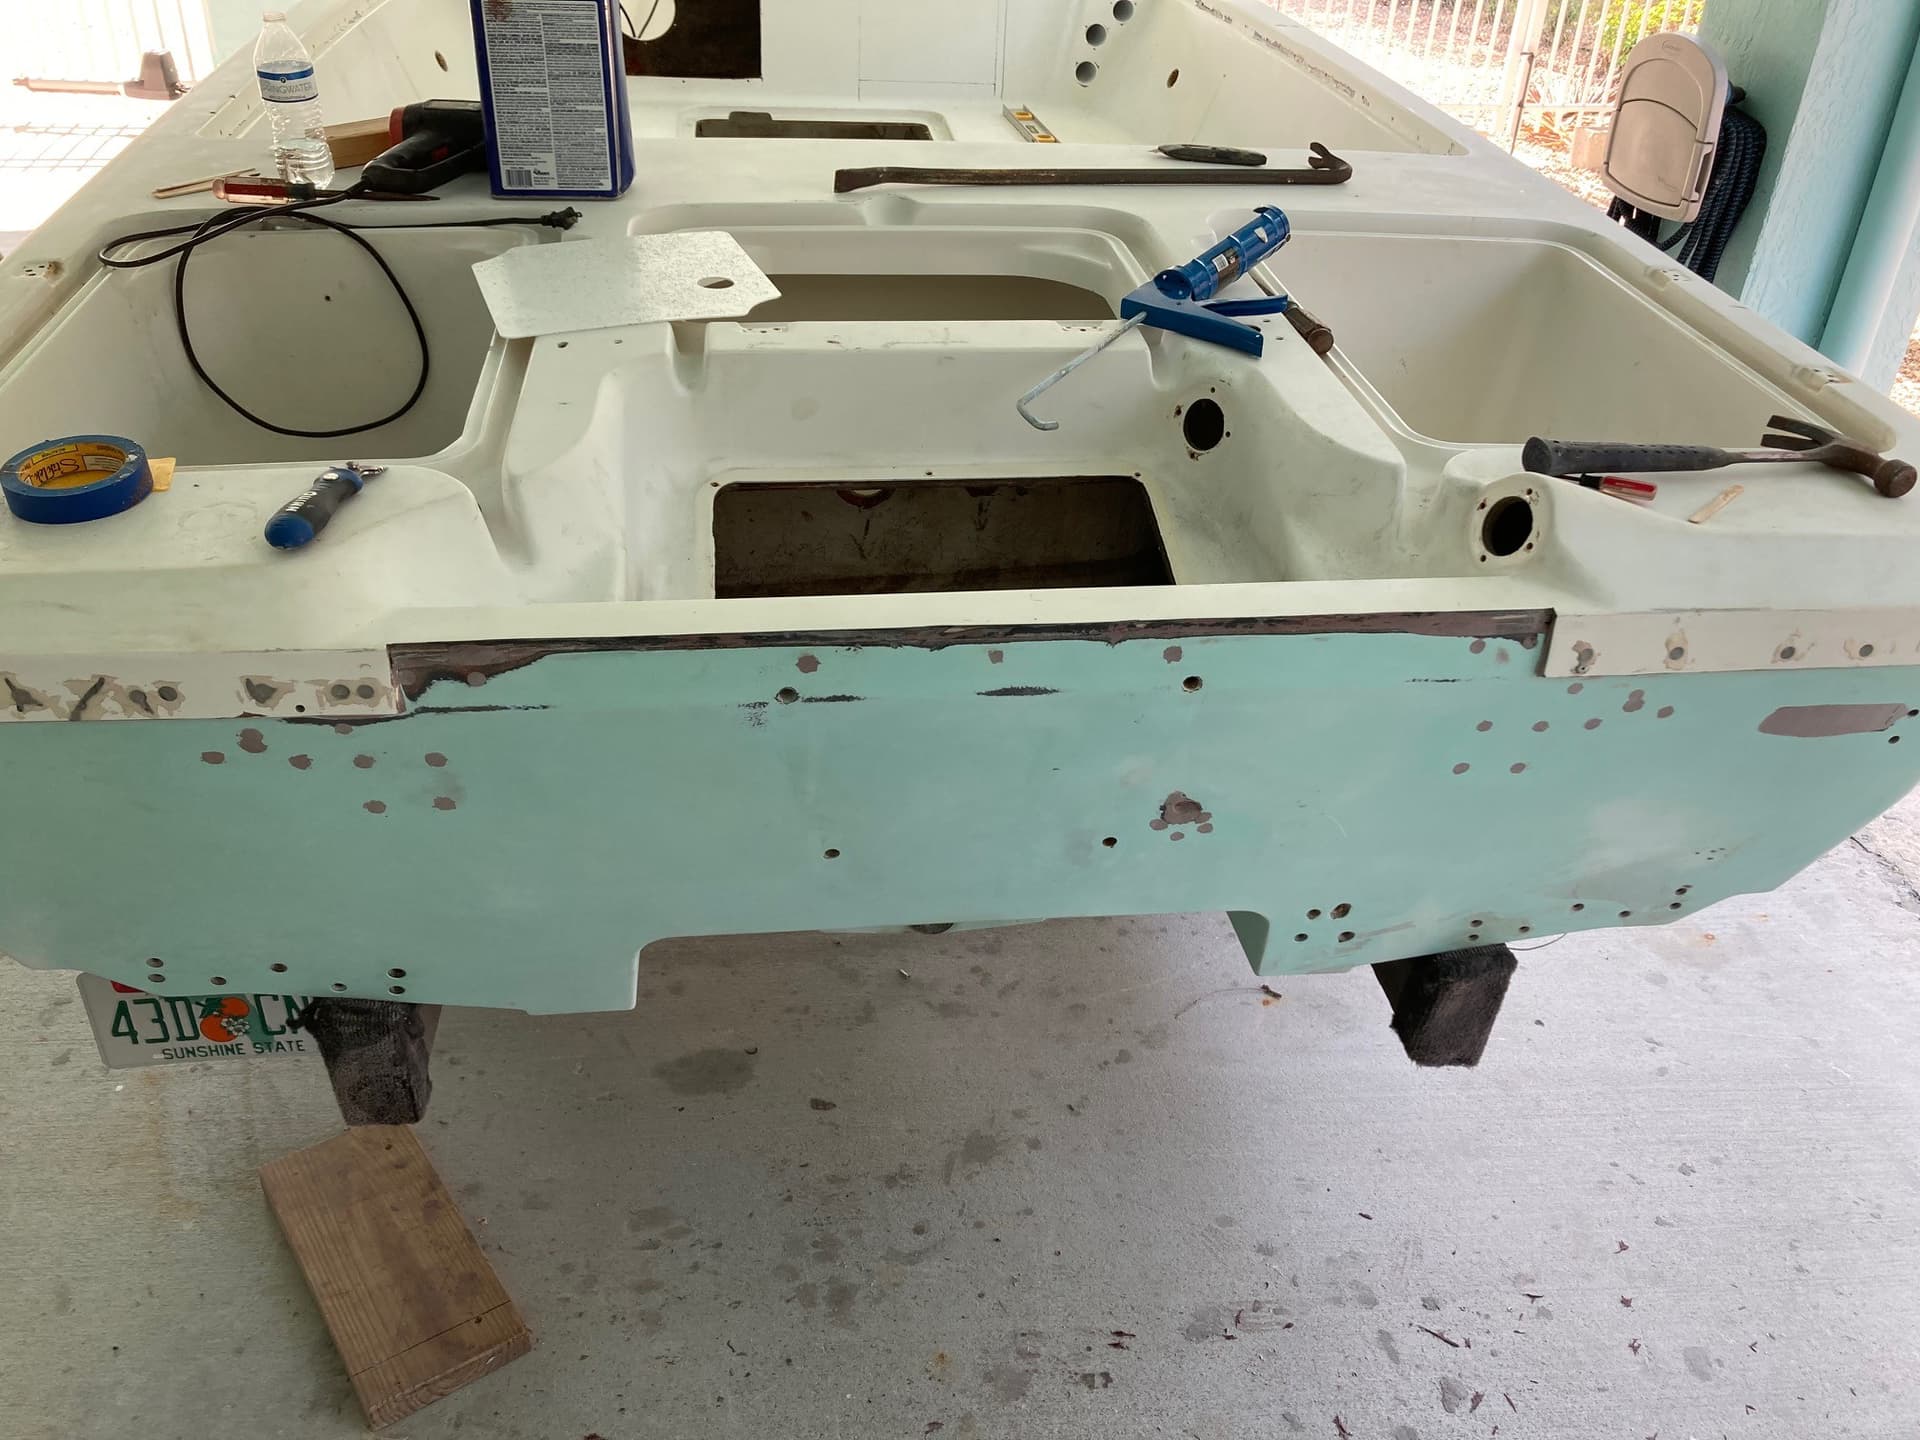
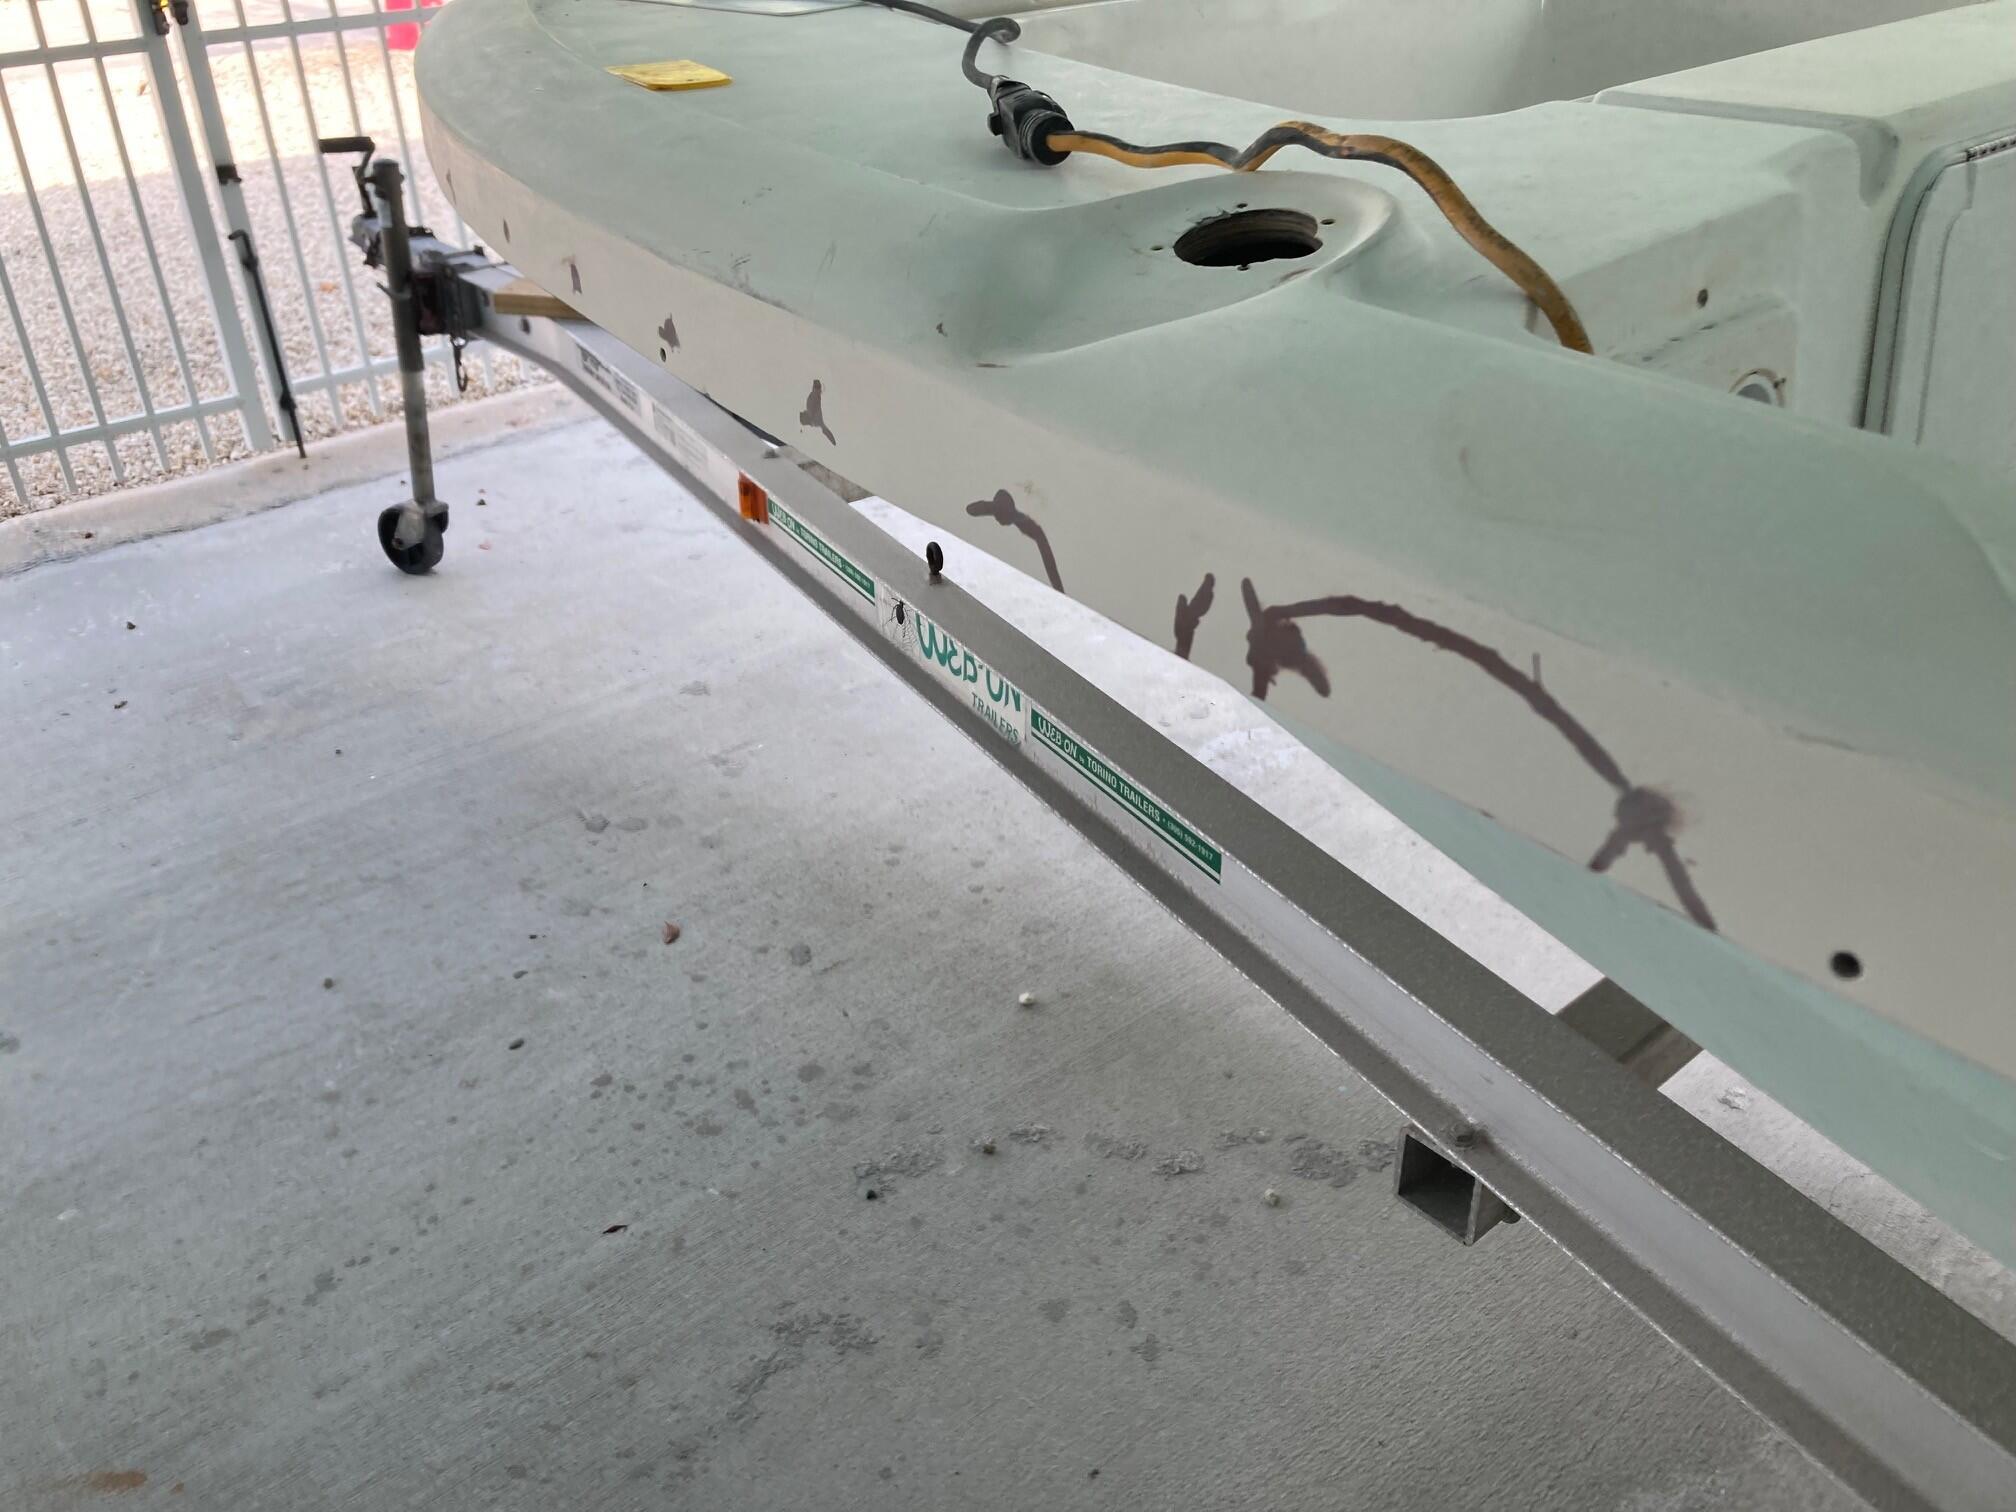
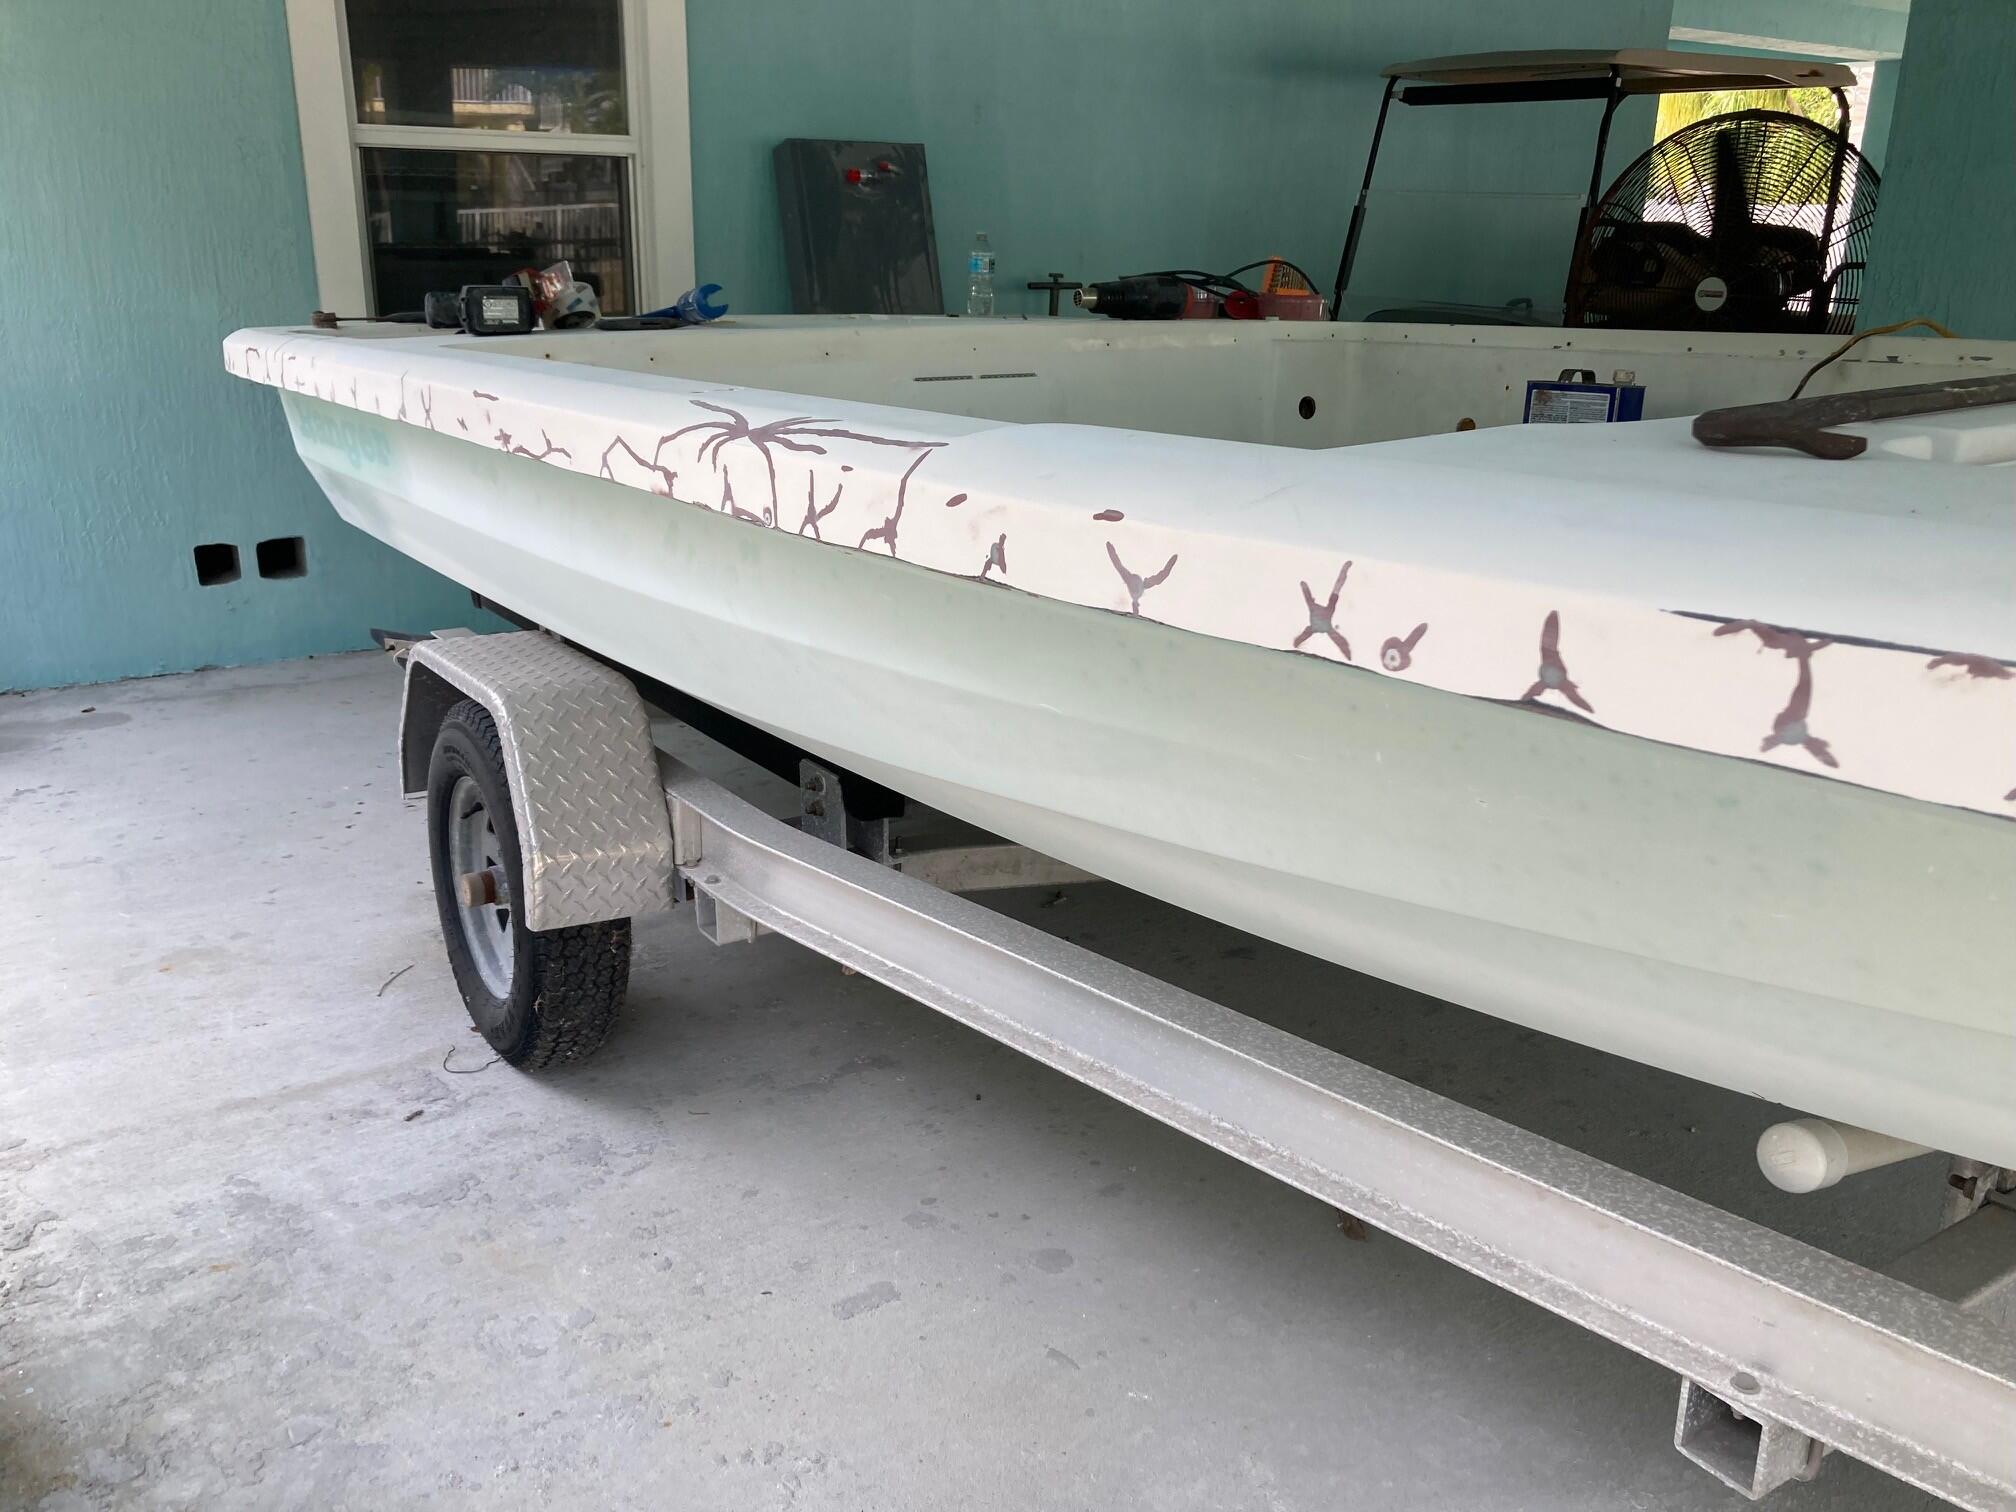
Finished sanding all of the non-skid off the hull. A combination of 80 grit (top of cap) and 60 grit (floor in cockpit) got it done. I pressured cleaned the hull after. This is the first wash this boat’s had in 12 years or so. It does look a whole lot better now.
Lots and lots of gel coat cracks. Generally, look like not they are not deep but who knows. The plan is to grind them out with a die grinder and fill with thickened epoxy.
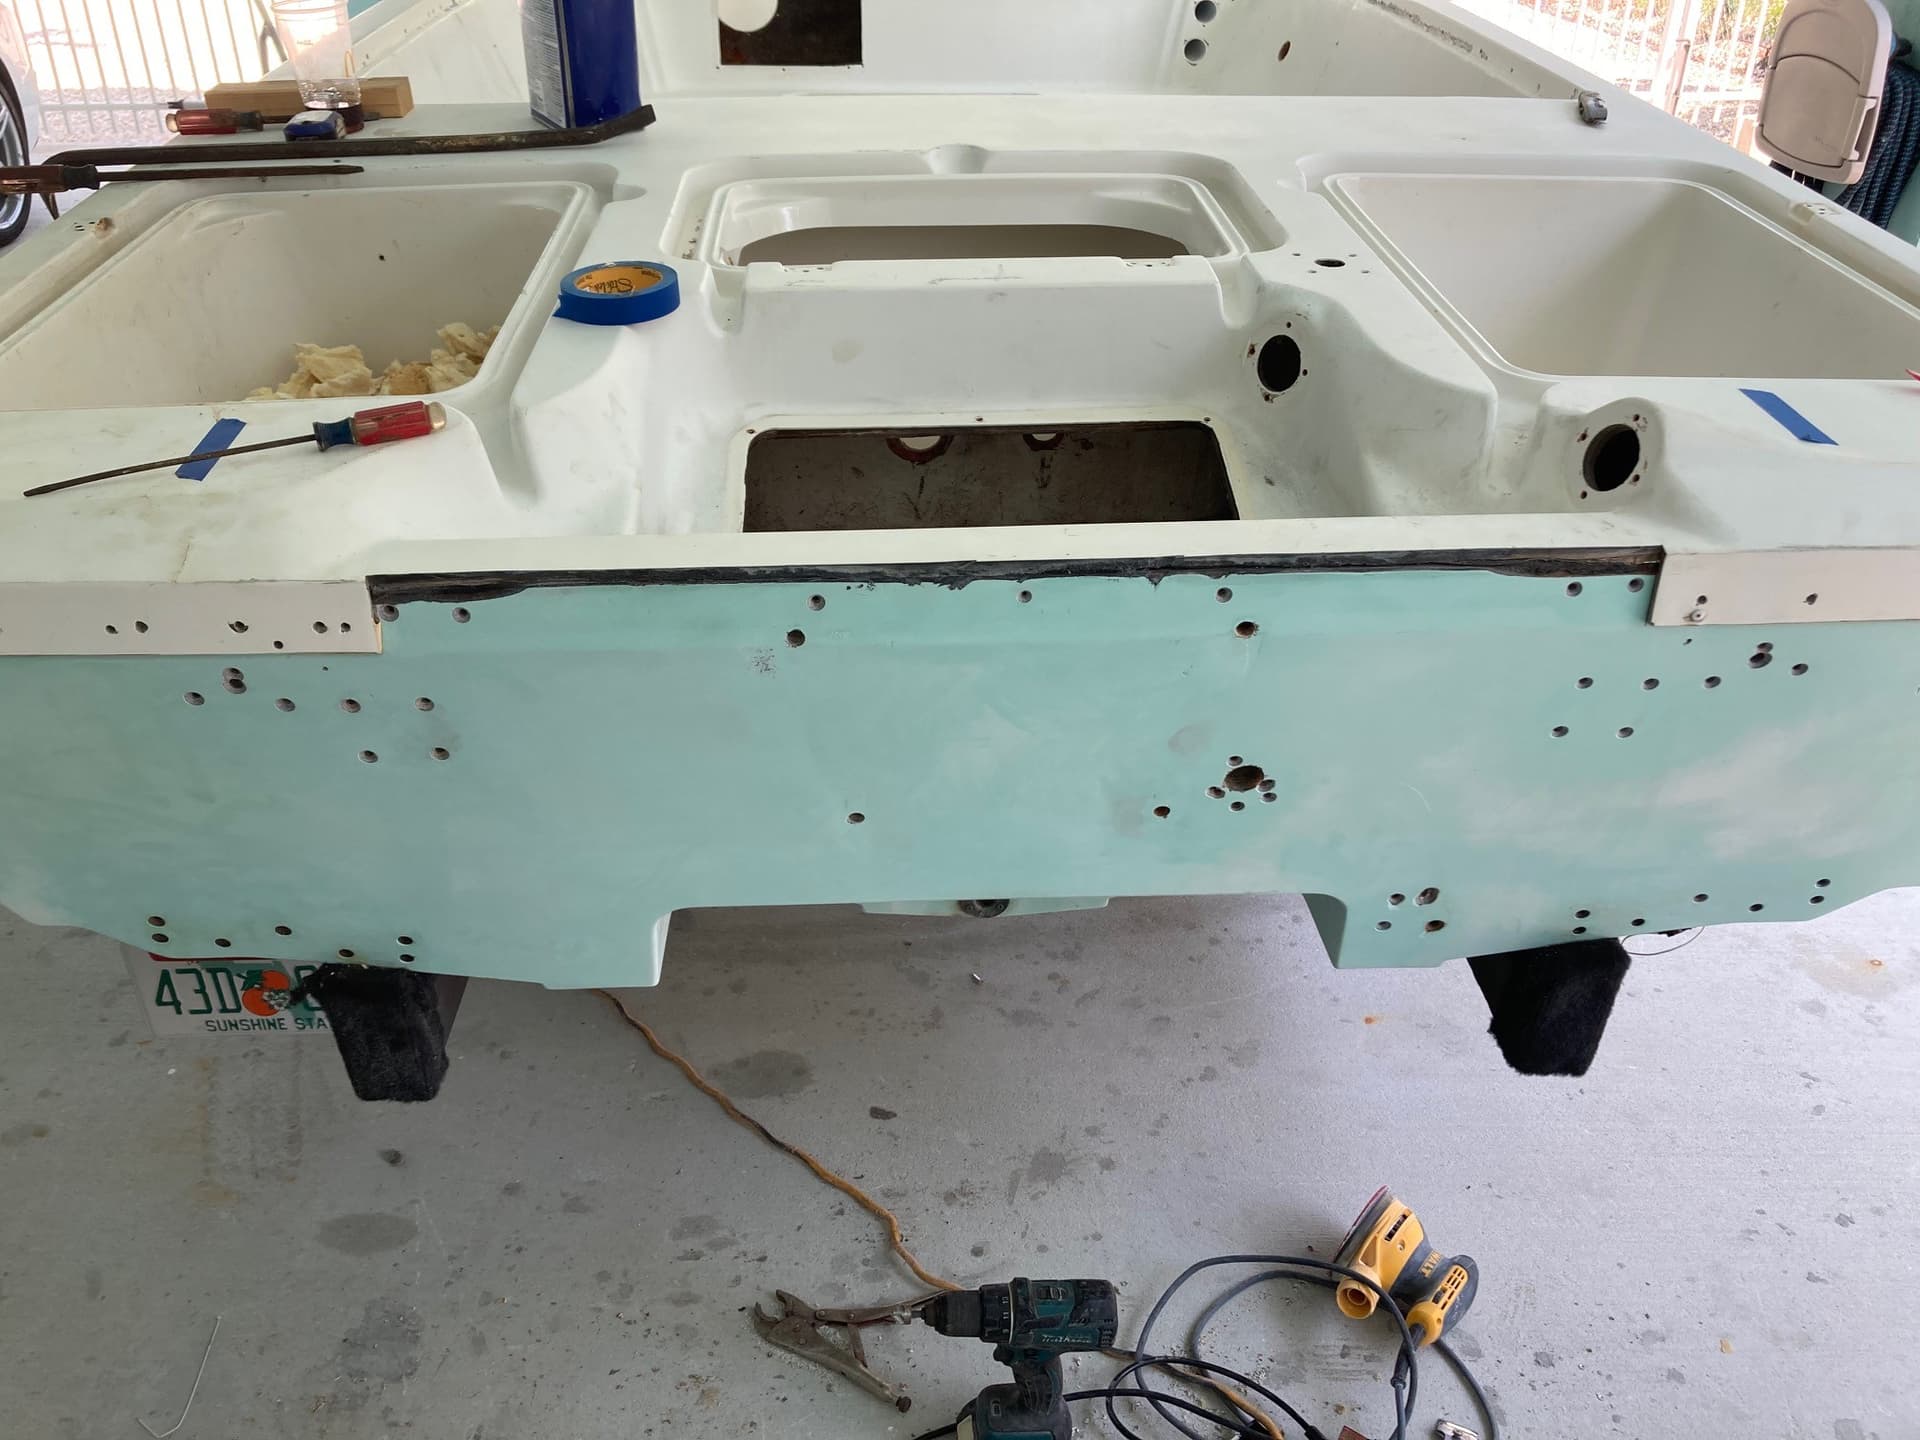
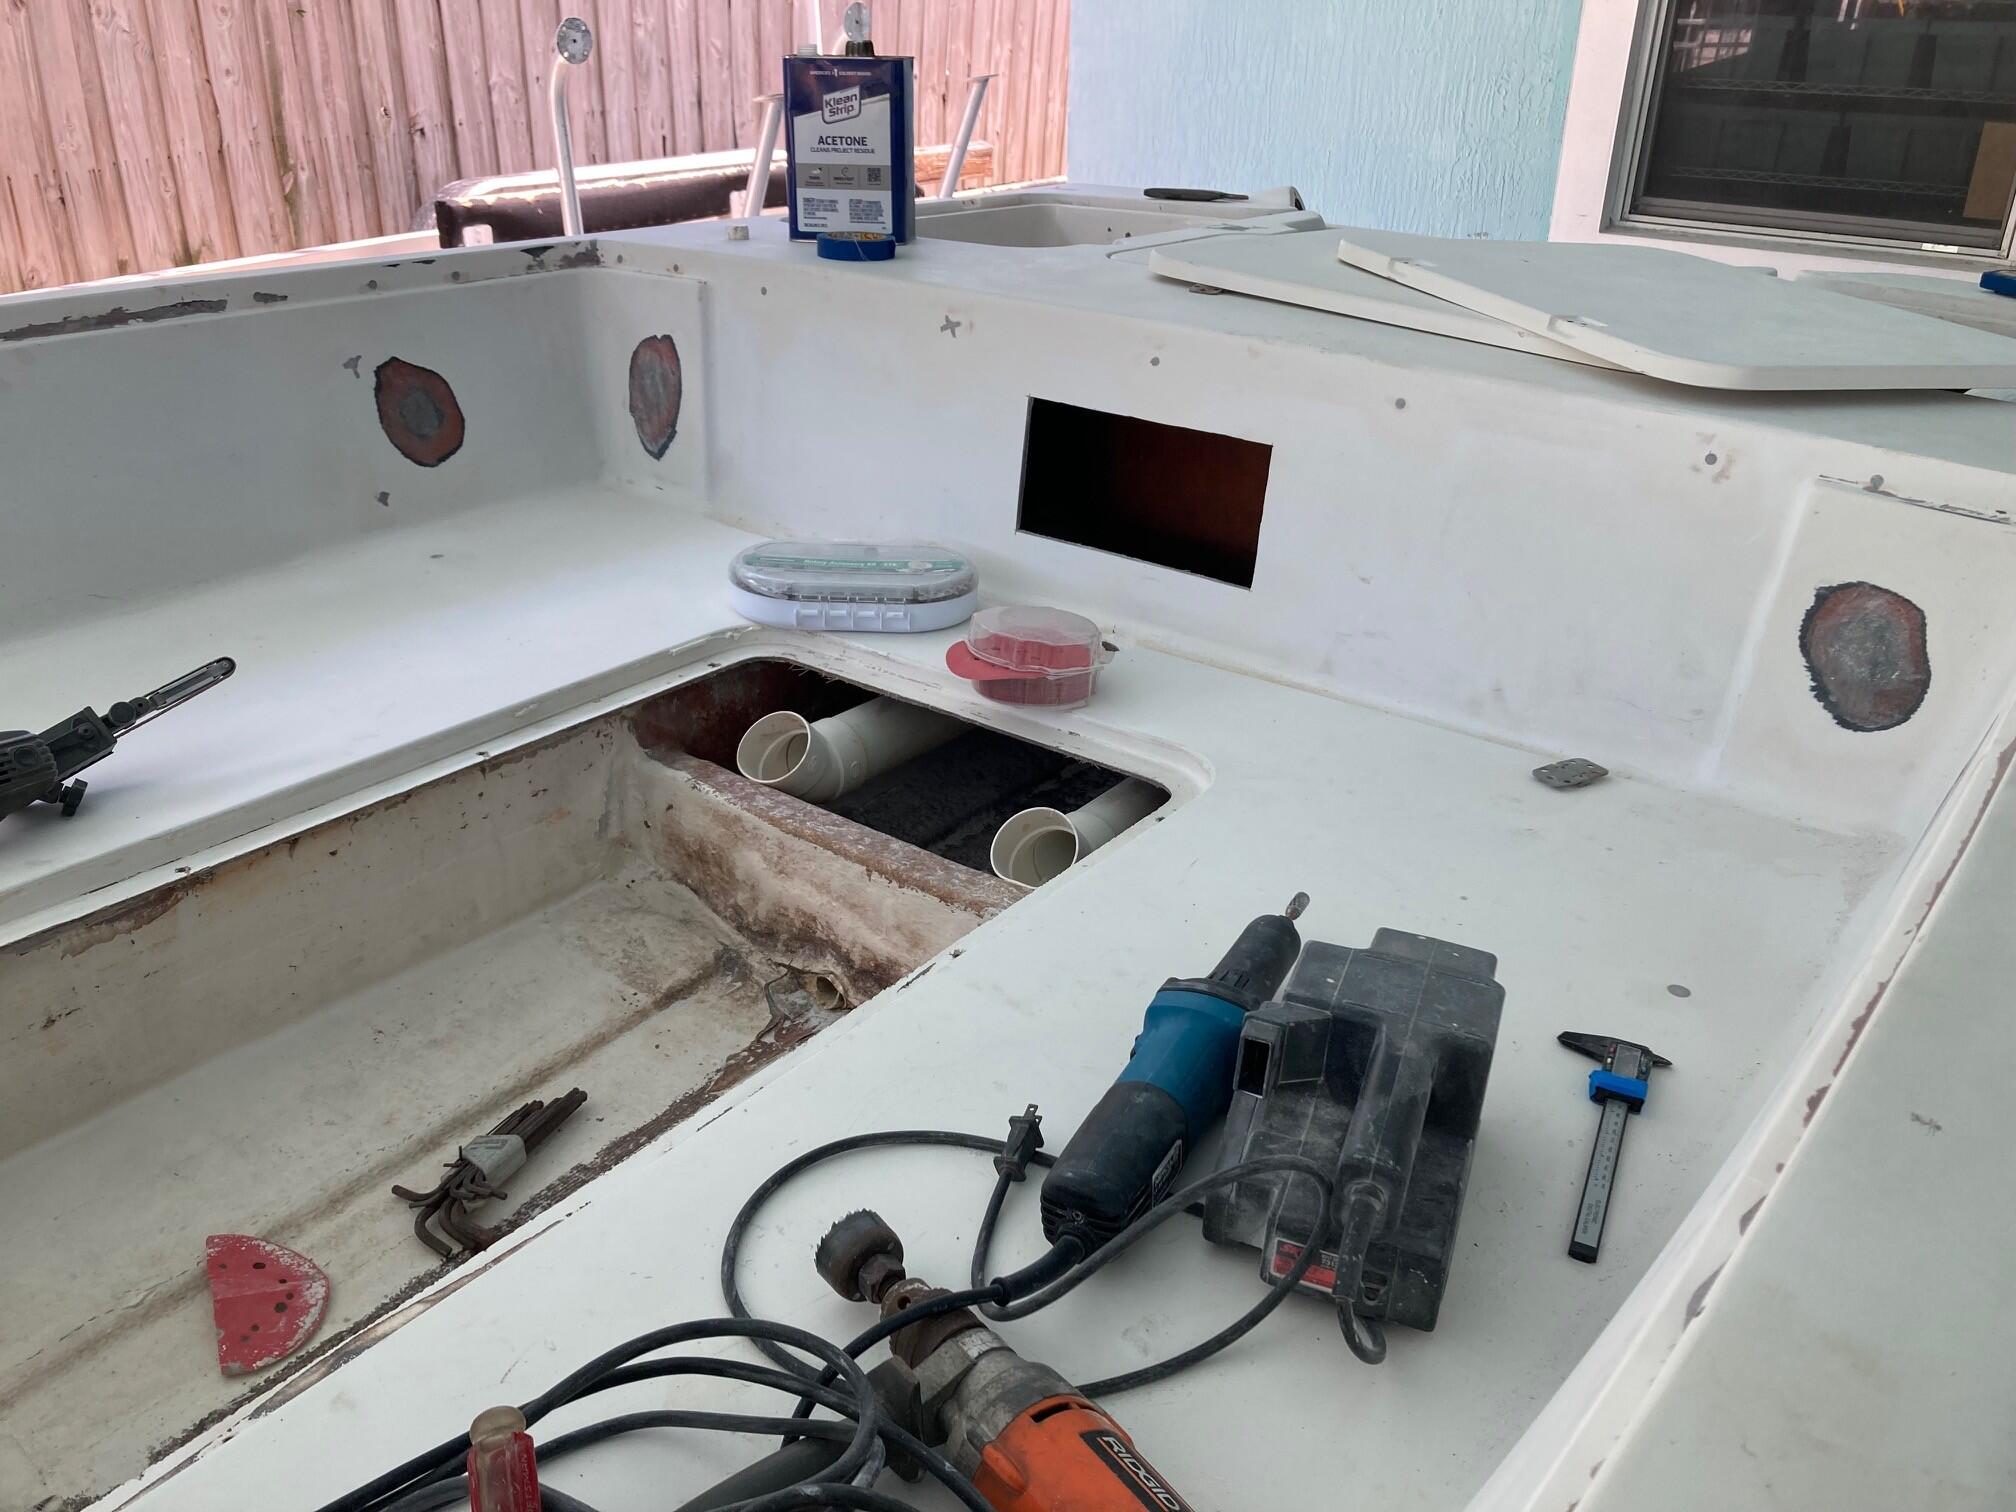
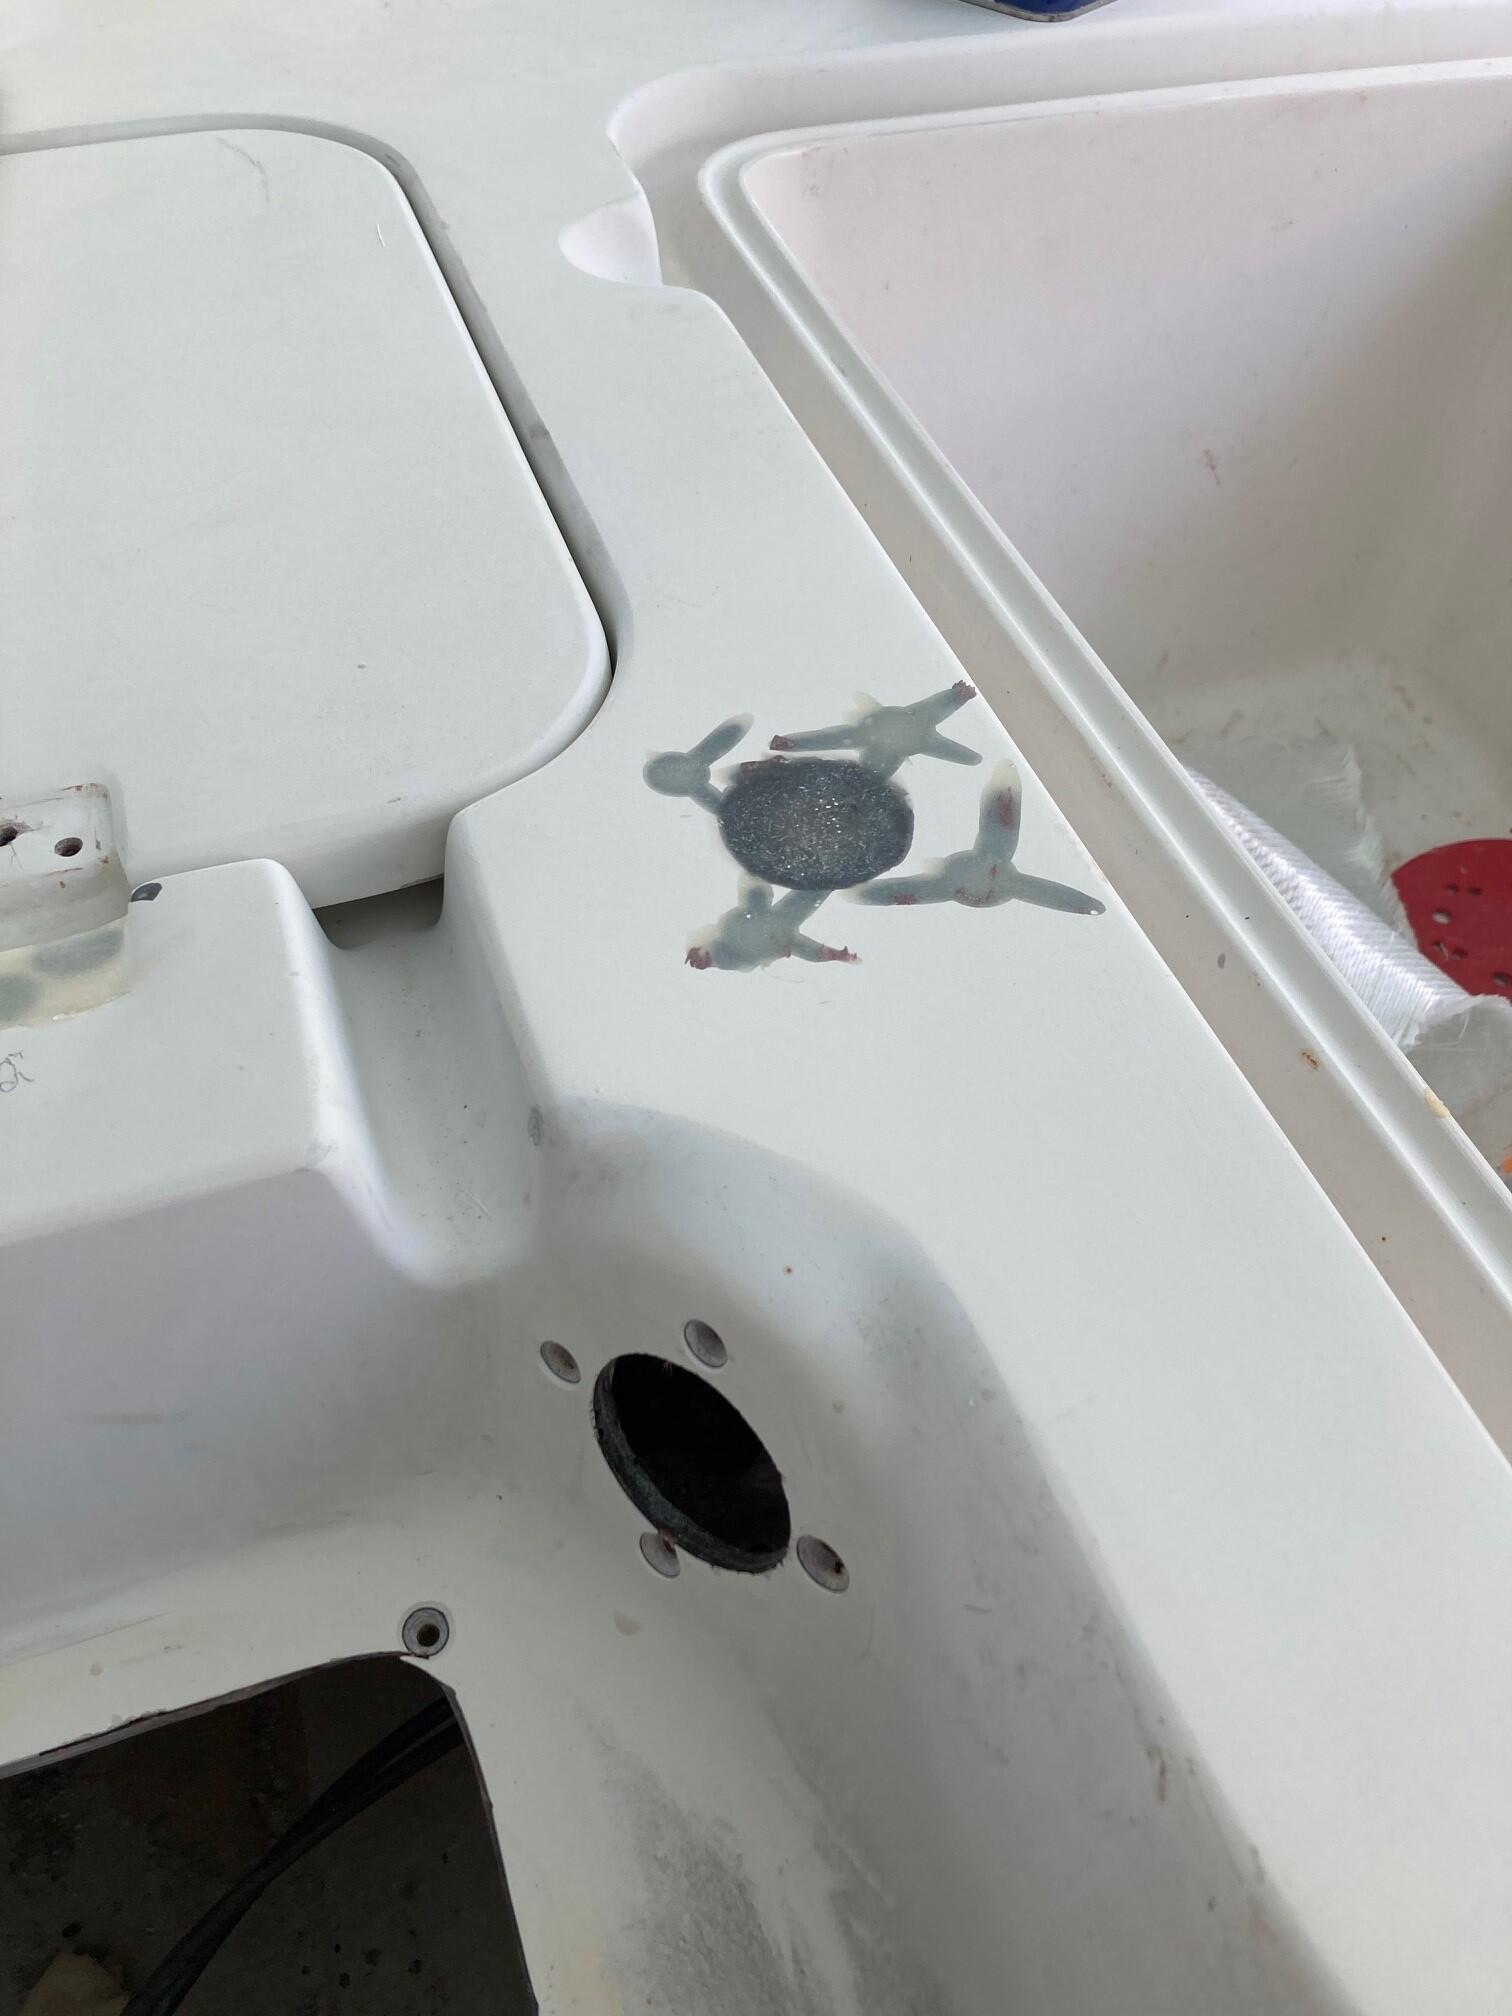
Holes come next. Good god, there must be 300 or so.
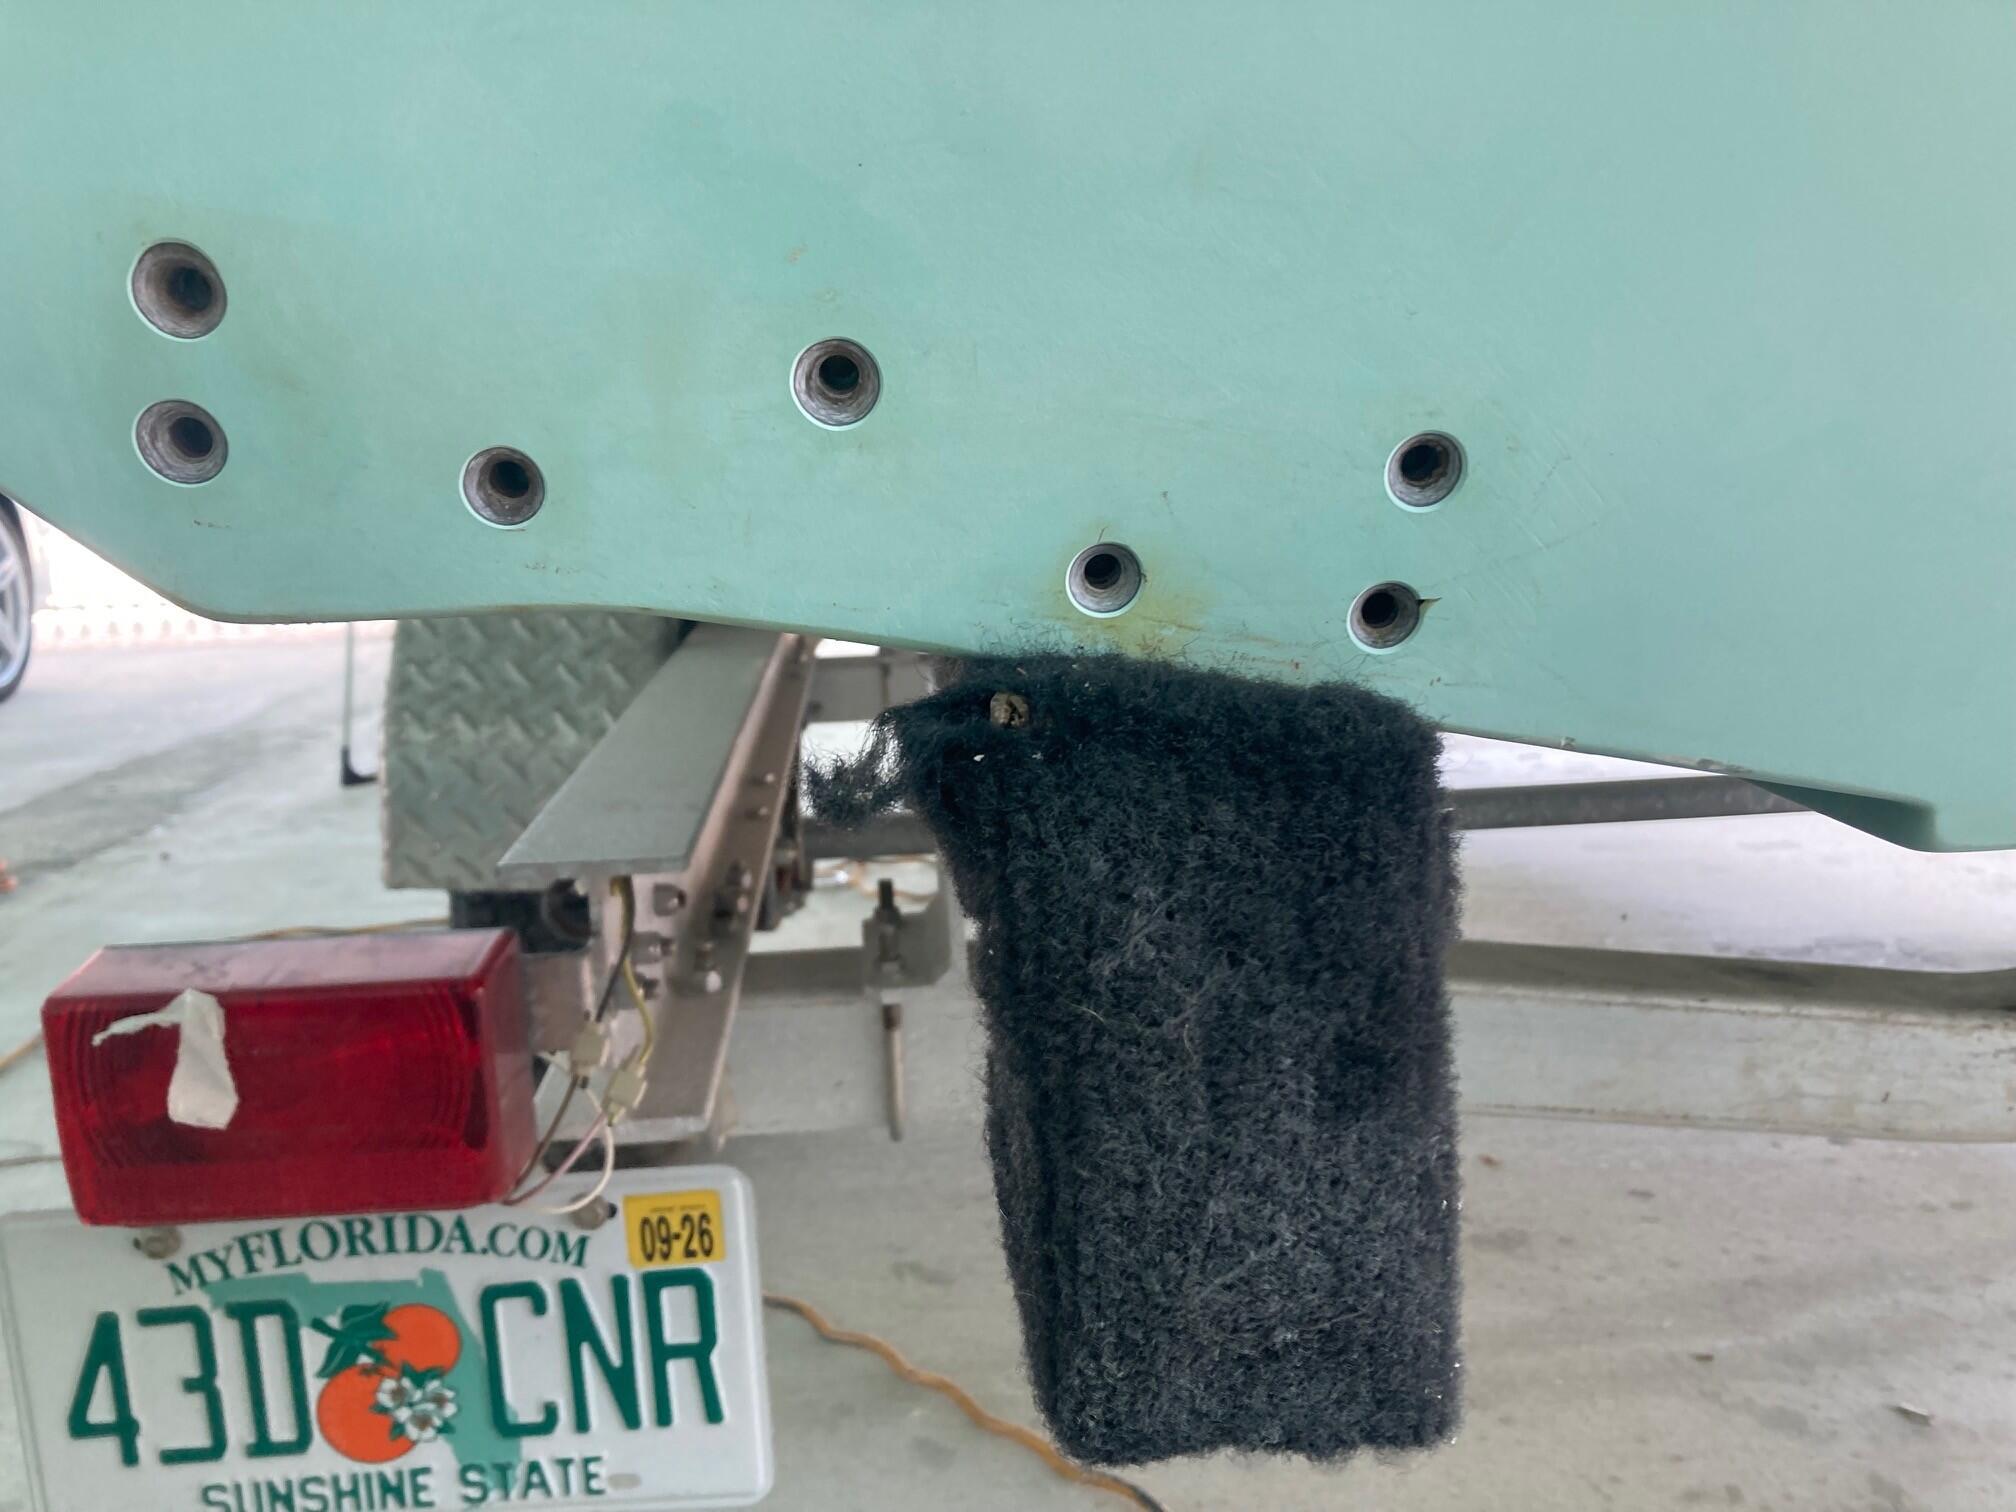
Started working on the transom holes yesterday, drilling them out and chamfering the edge in preparation for thicken epoxy. When I got to the old trim tab holes when I drilled them out, I had a small amount of water come out on each side at the lowest hole. I immediately had visions of waterlogged foam on each side.
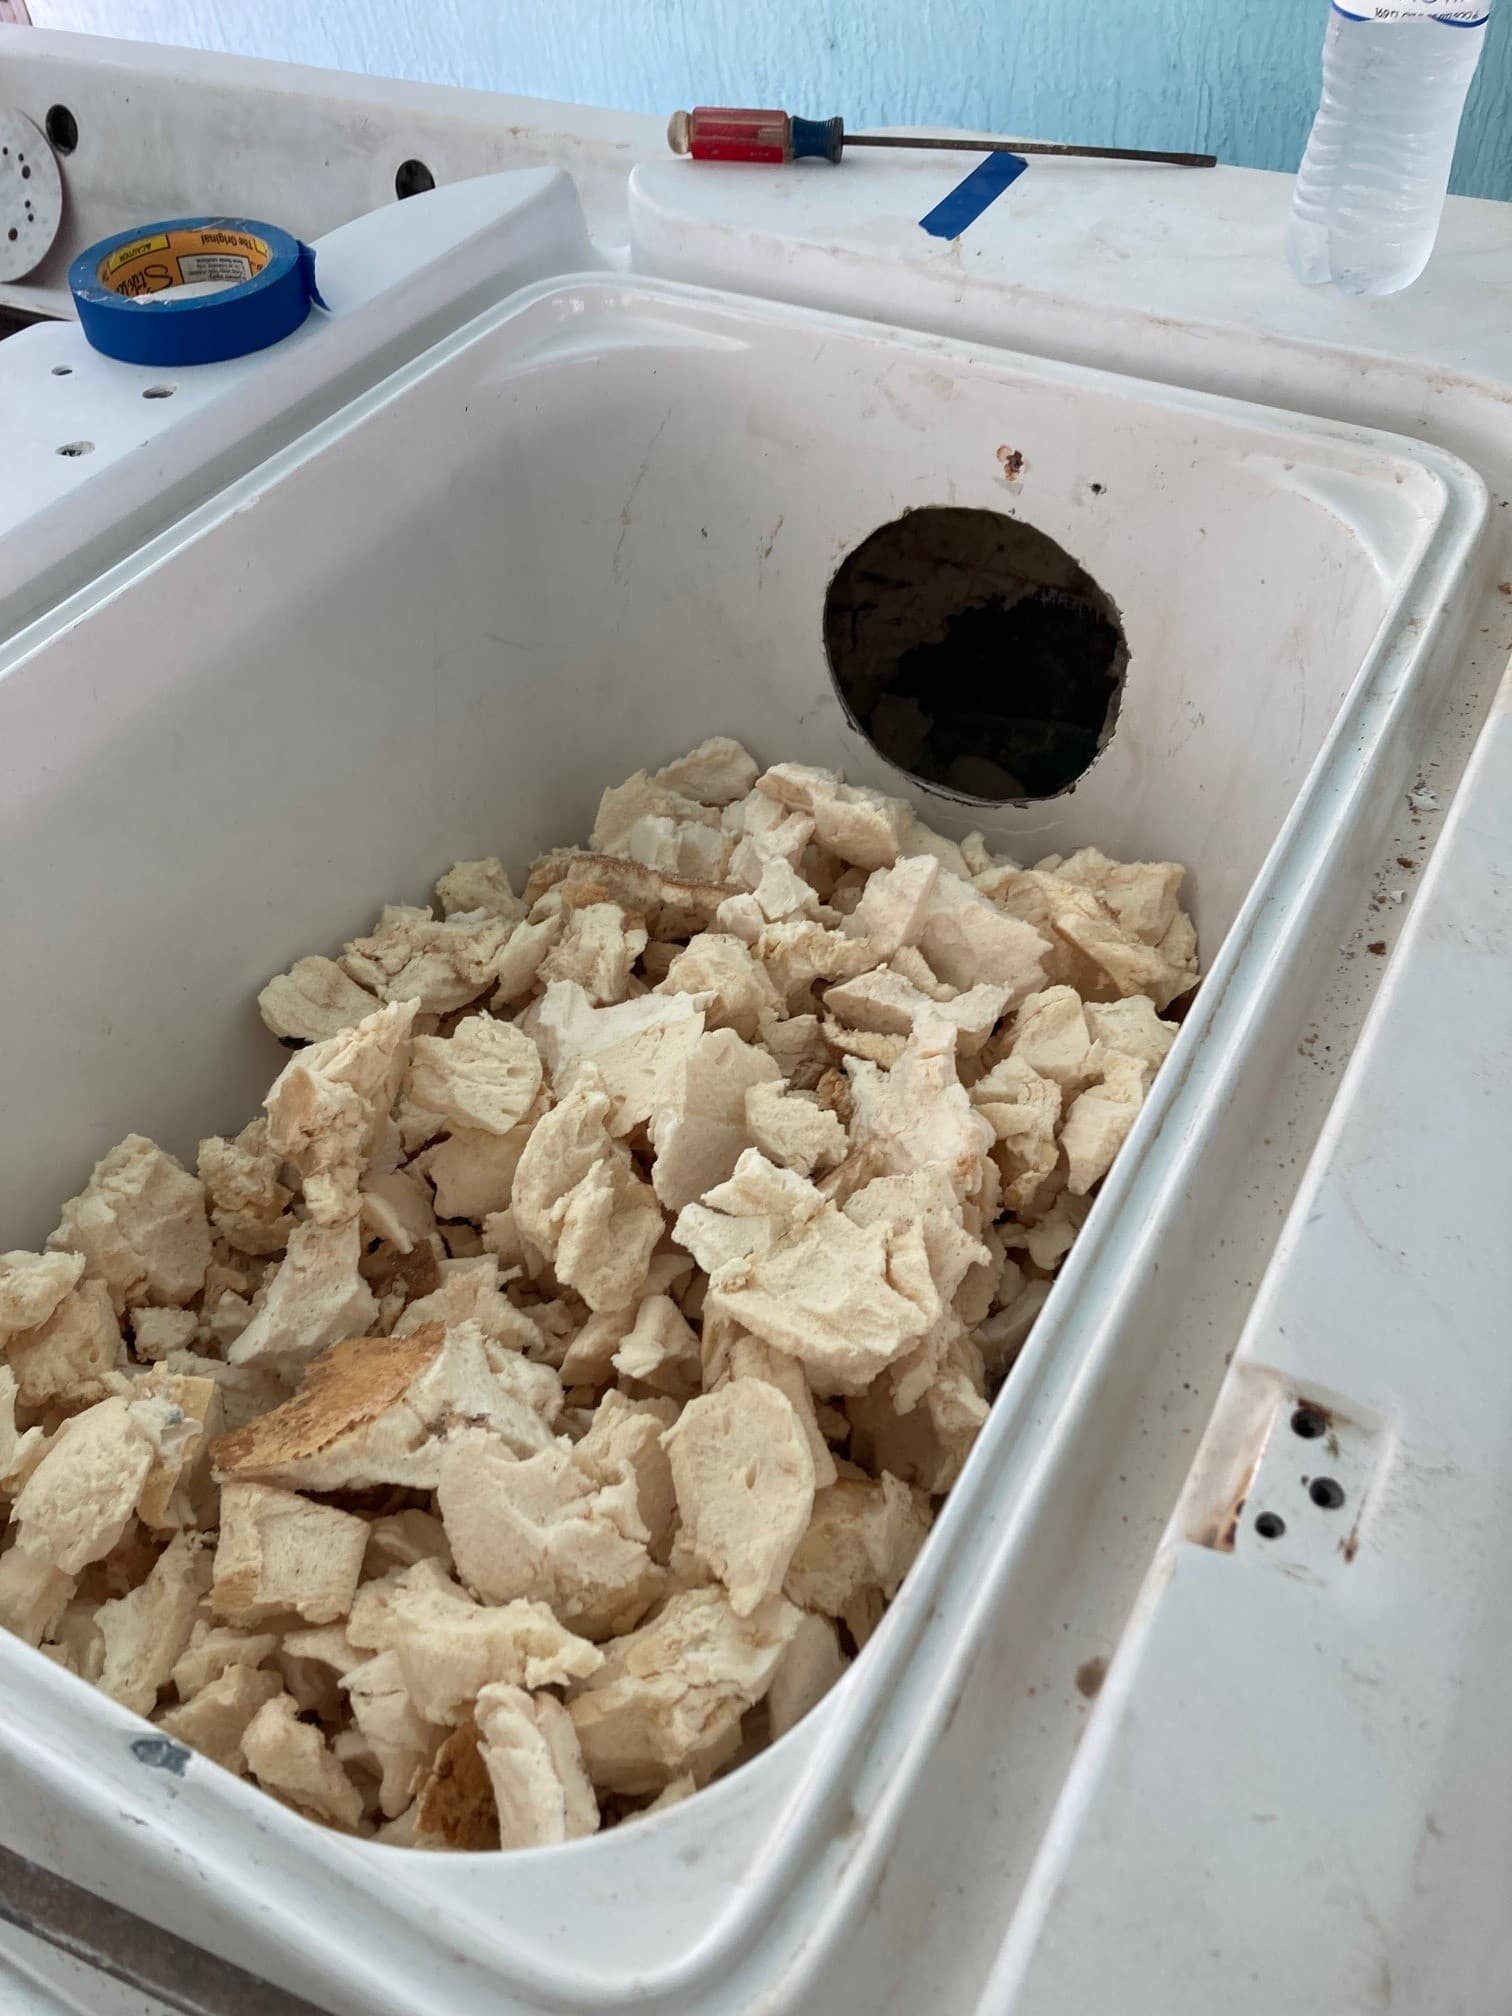
The way this boat is built, the area outboard of each of the two stringers is completely foamed in bow to stern, well at least the forward bulkhead to the stern.
Anyway, dug the foam out along transom between the stringers and the sides of the hull to expose the holes for the trim tabs. Foam was all dry, except right where the trim tab holes were, so that is good.
I then put the wet/dry vacuum on the outsides of the holes to pull air thru the holes; I get moisture along the chamfer. Not all the holes but a few. There is also 4 holes for an old transducer that I can’t get to the backside as it’s within the stringer and they’re weeping moisture a bit.
So, the question, is it possible this is residual from the pressure cleaning or something worse?
Filled more than half of the holes in the transom. Most just thicken epoxy, The 1" hole for the transom plug pass-thru took poly resin and mat as it was almost 2" thick. Topcoat of thickened epoxy.
I’m going to let the trim tab holes dry a bit more. I’m also planning to move the location of the tabs a bit. They seem a bit too far outboard based on the shape of the bottom.
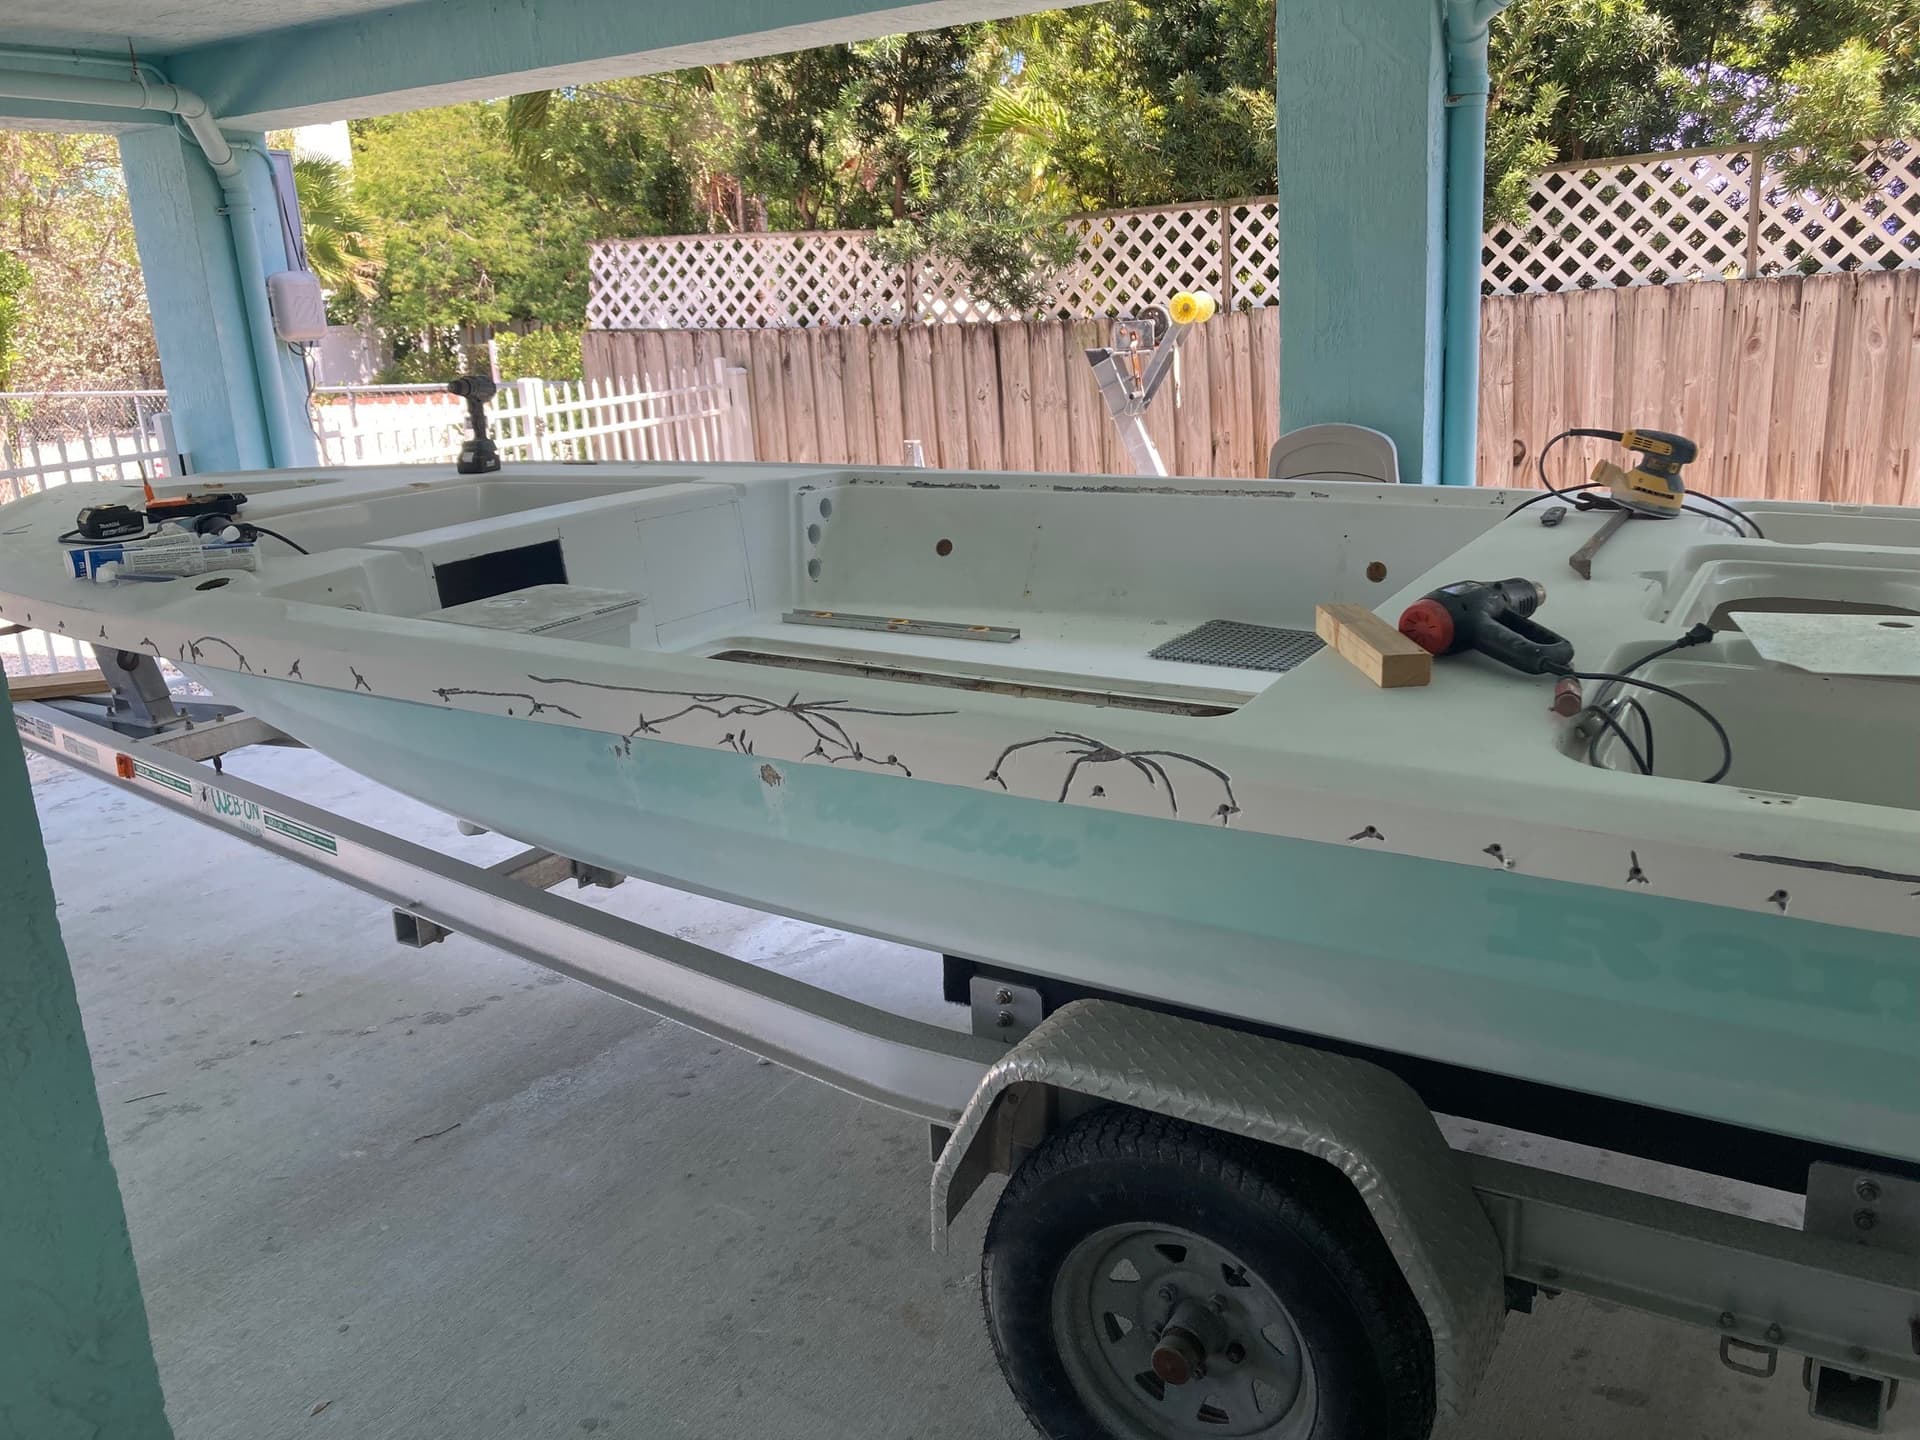
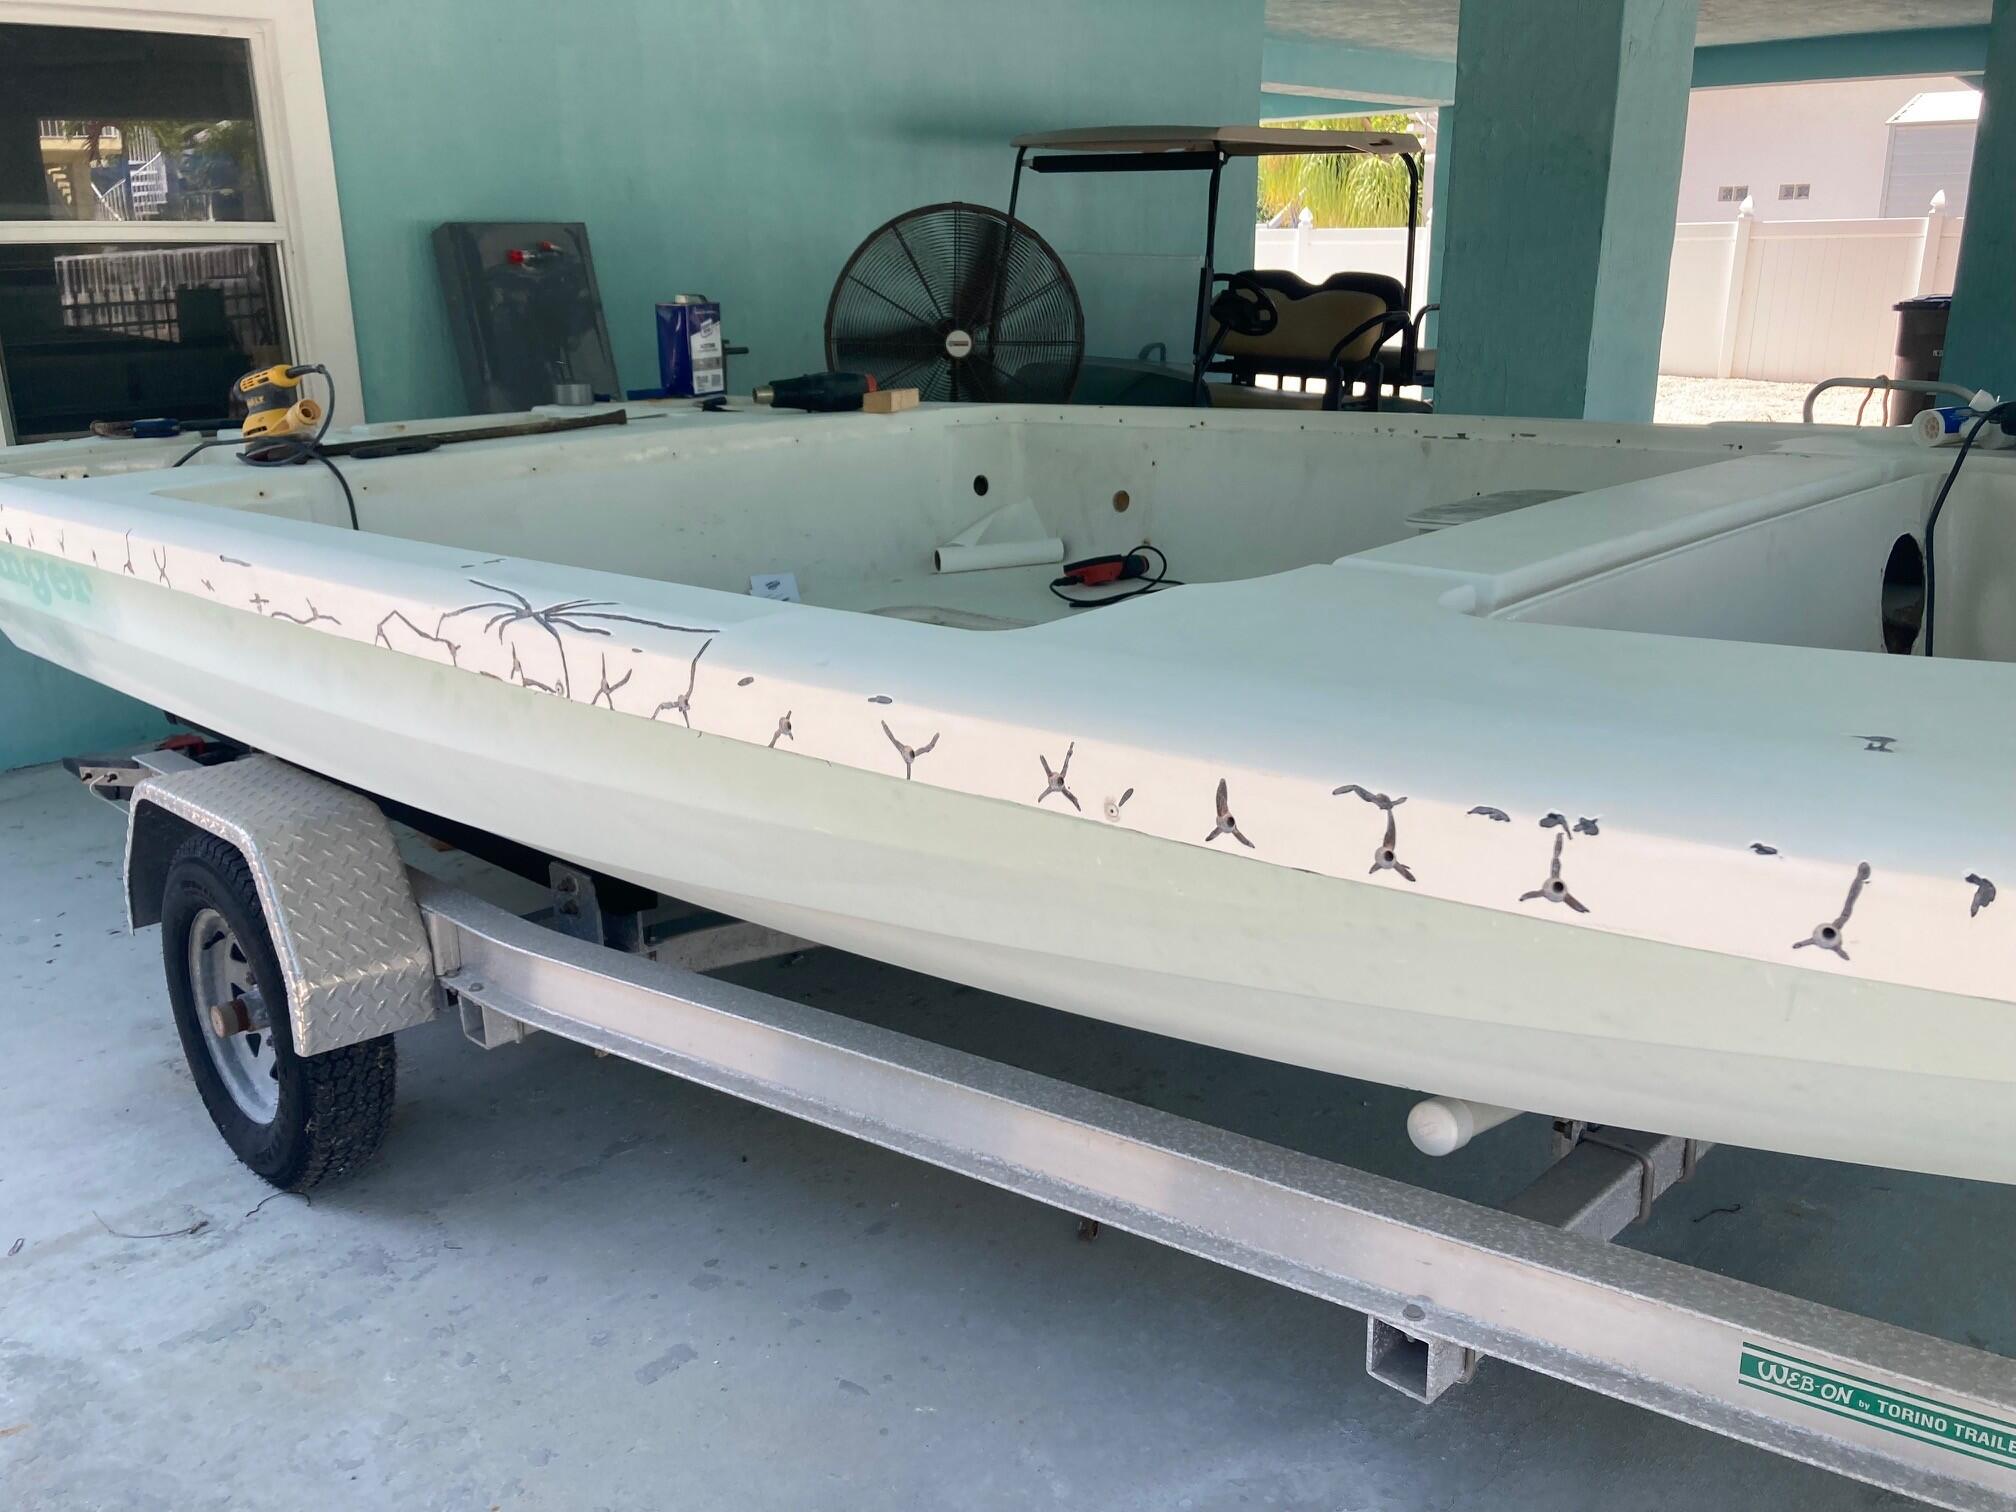
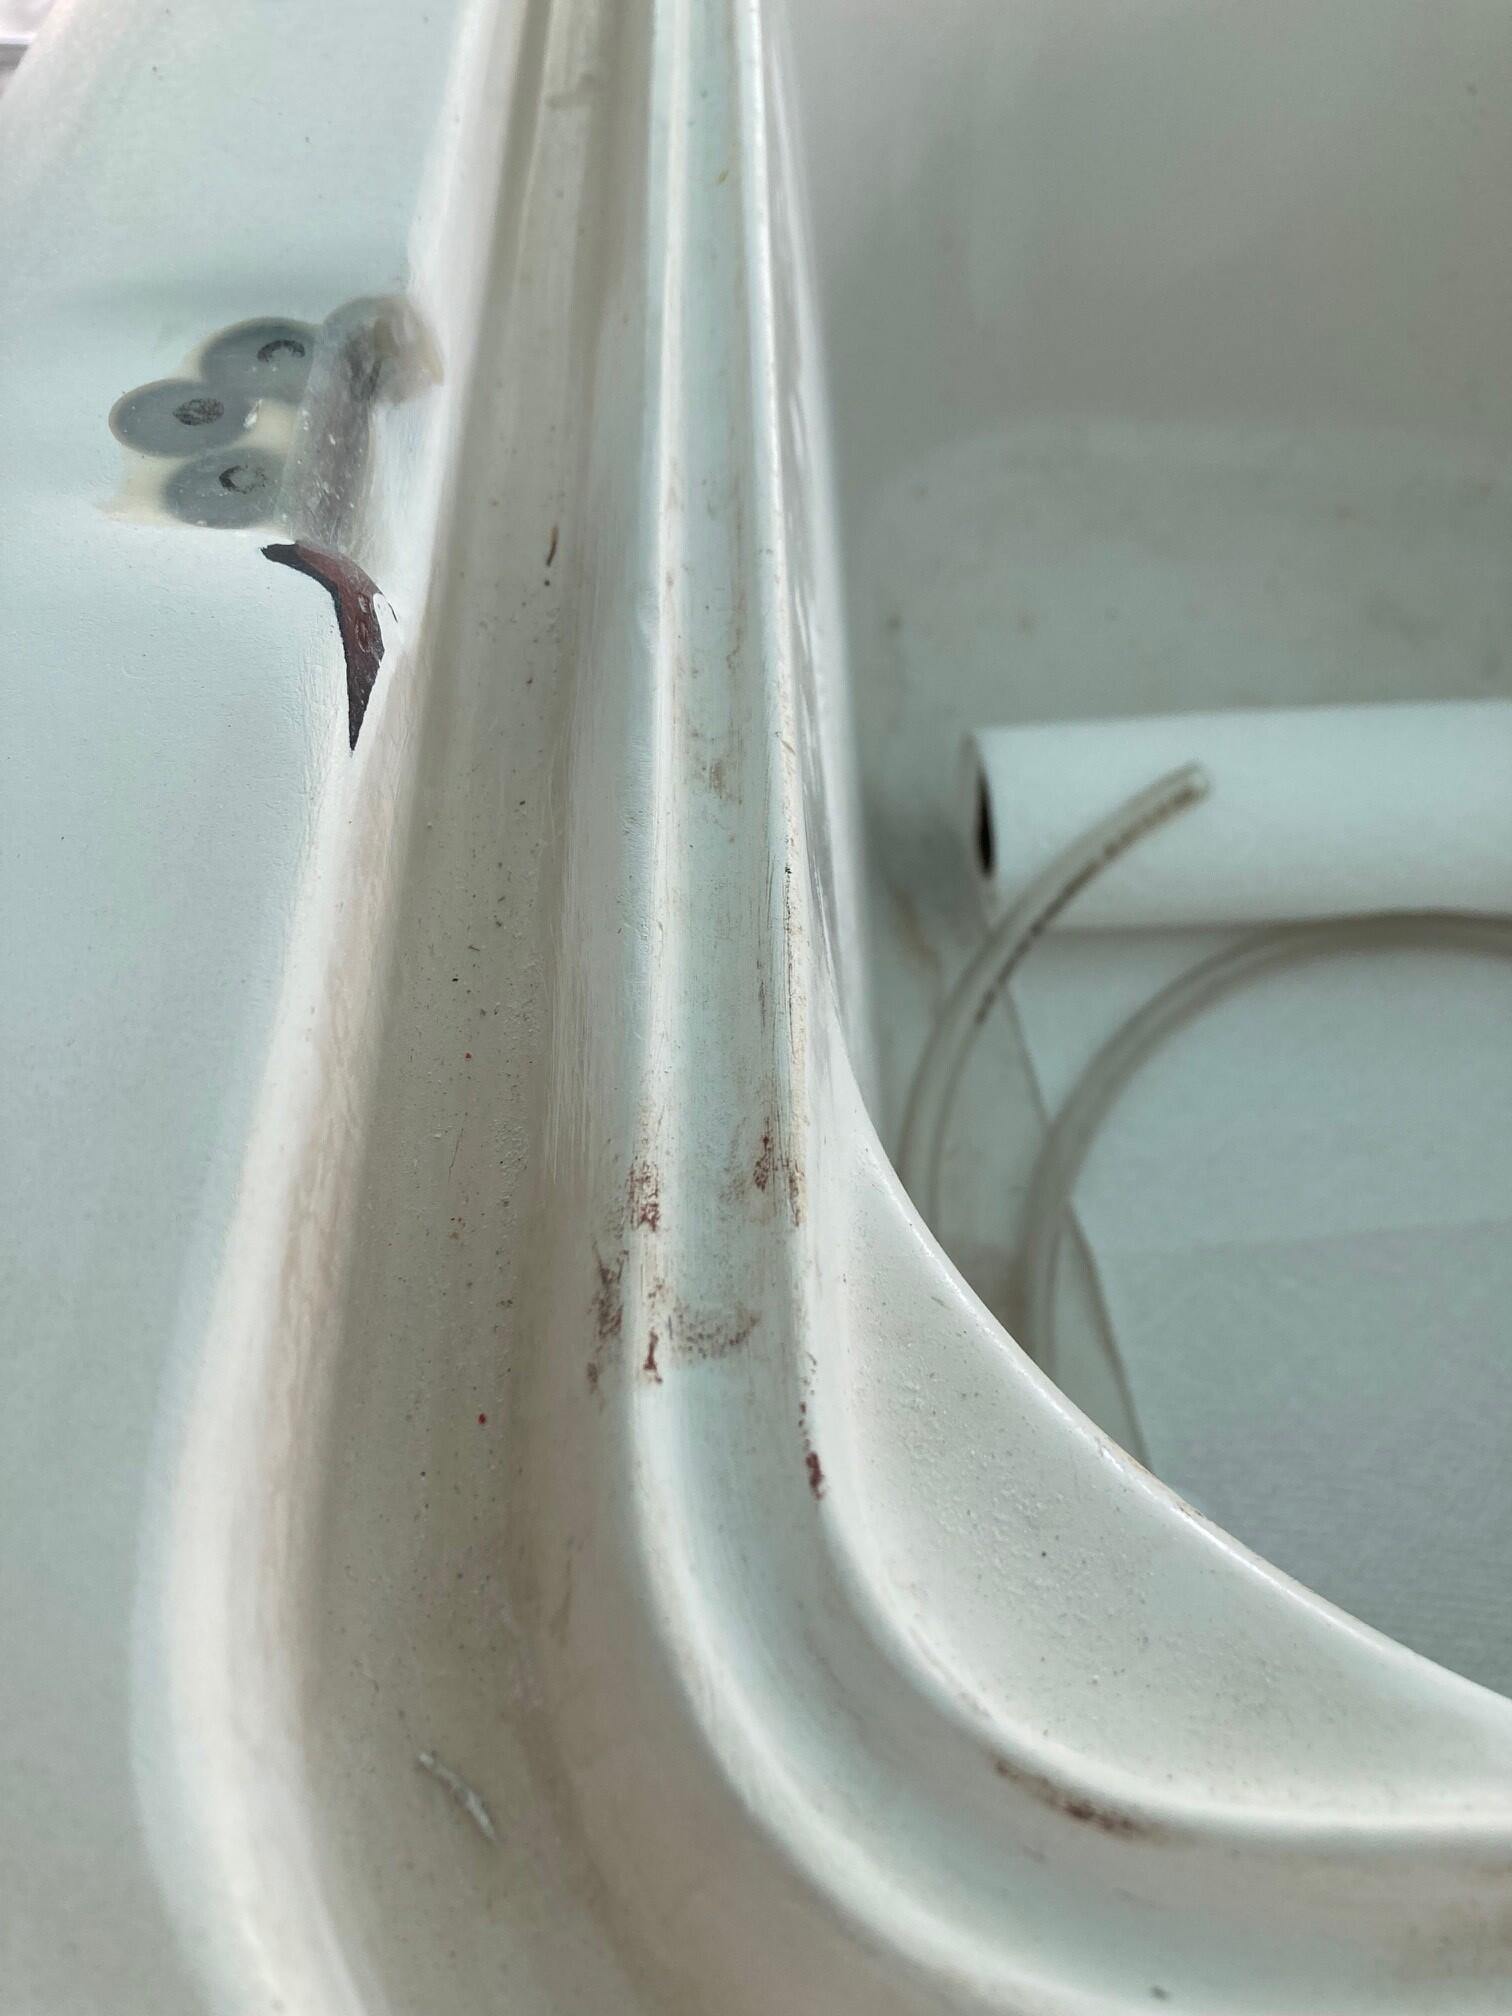
Started on gunnel cap. Ground out all of the stress cracks with a die grinder. Filled the screw holes from old rub rail with West Six10 epoxy. Good stuff.
So a couple of rounds of thickened epoxy on the gunnel caps followed by sanding. Looks pretty good overall, still a few pinholes. Most of what you see will be under the rub rail but certainly didn’t want those stress crack to grow.
Ordered two more tackle stations. One that matched what I have and one small for under helm seat. There will be 8 Plano 3600 boxes between them.
Started on deck holes. Hatch hinge holes are 20 holes, Push pole holder, 6 holes, Poling platform 8 holes. The issue is there isn’t much meat there. I can move the push pole and platform holes with the new parts, but the hinges are a different matter.
Still one trim tab hole weeping a tiny bit of water. Need to put the vacuum on it for a few hours.
In rear of the cockpit, there is a flush scupper in the middle and a trough on either side. This will be a PITA as it’s spider cracked everywhere. I suspect I’ll grind it out lay some new glass in there and finish.
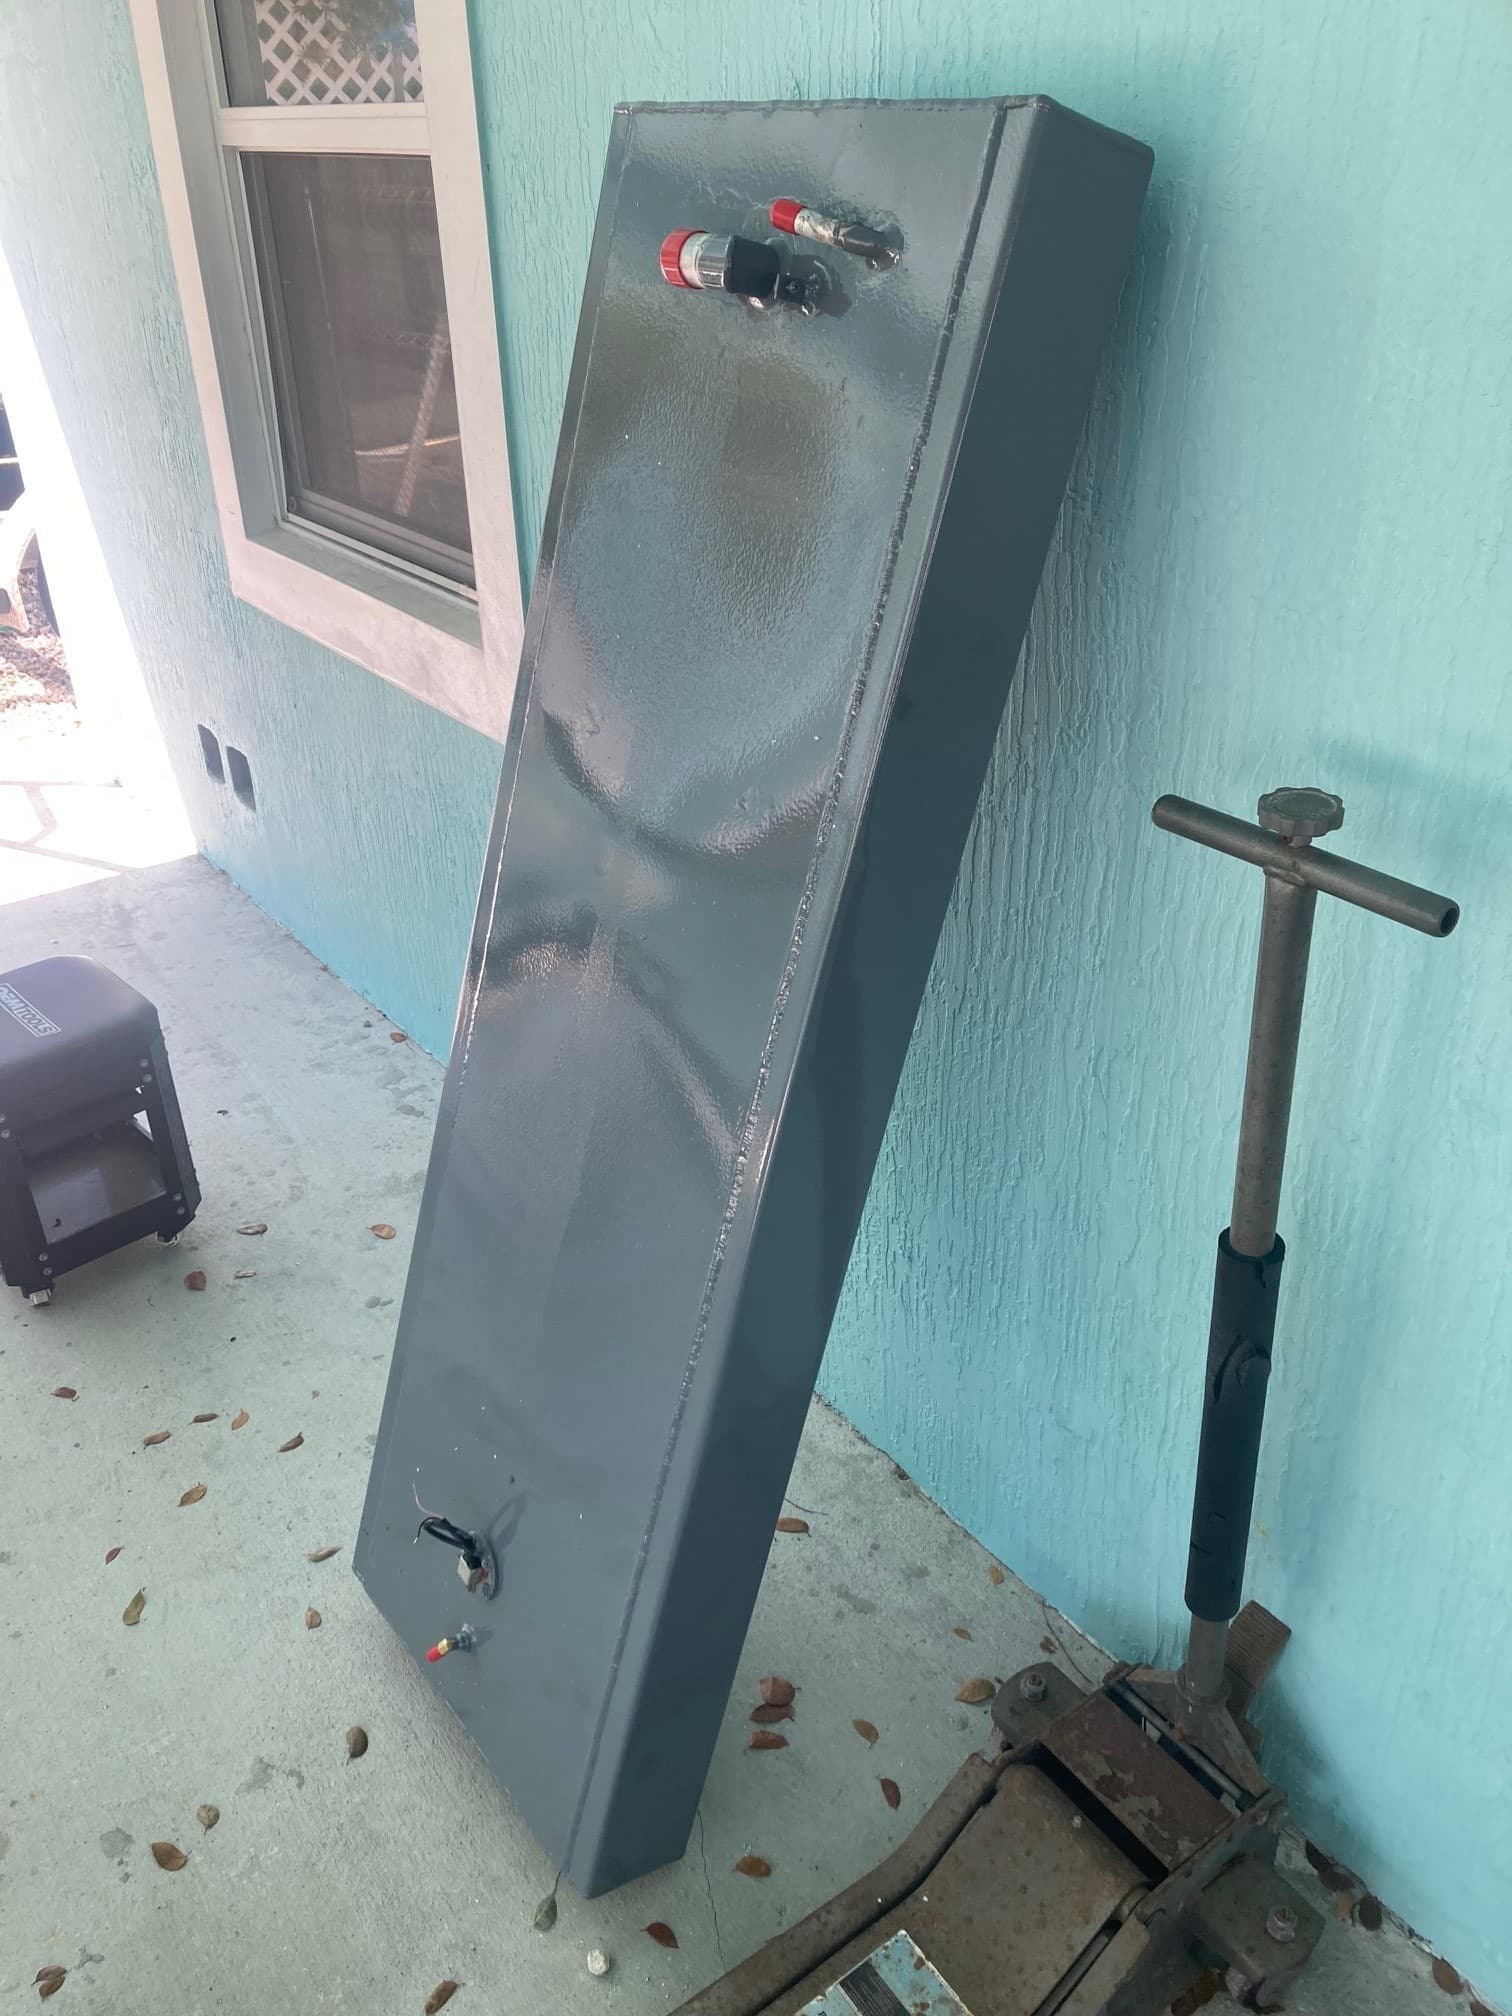
How big is that tank? Do you need all that gas? Is your tank built with baffles, since it seat laterally it will slosh quit a bit without baffles and metal tanks are loud. What size of engine will you have?
Why the tall console? Curious, wouldn’t a shallow console with an external mount for the nav system give you better vis? Flush mount looks sexy but on a skiff I feel like it’s blocks visibility, just a thought.
I forgot to add, if you move the tabs inboard like you mentioned, you will loose effectiveness of the tab, and you’ll require more trim on the tab to get the same effect.
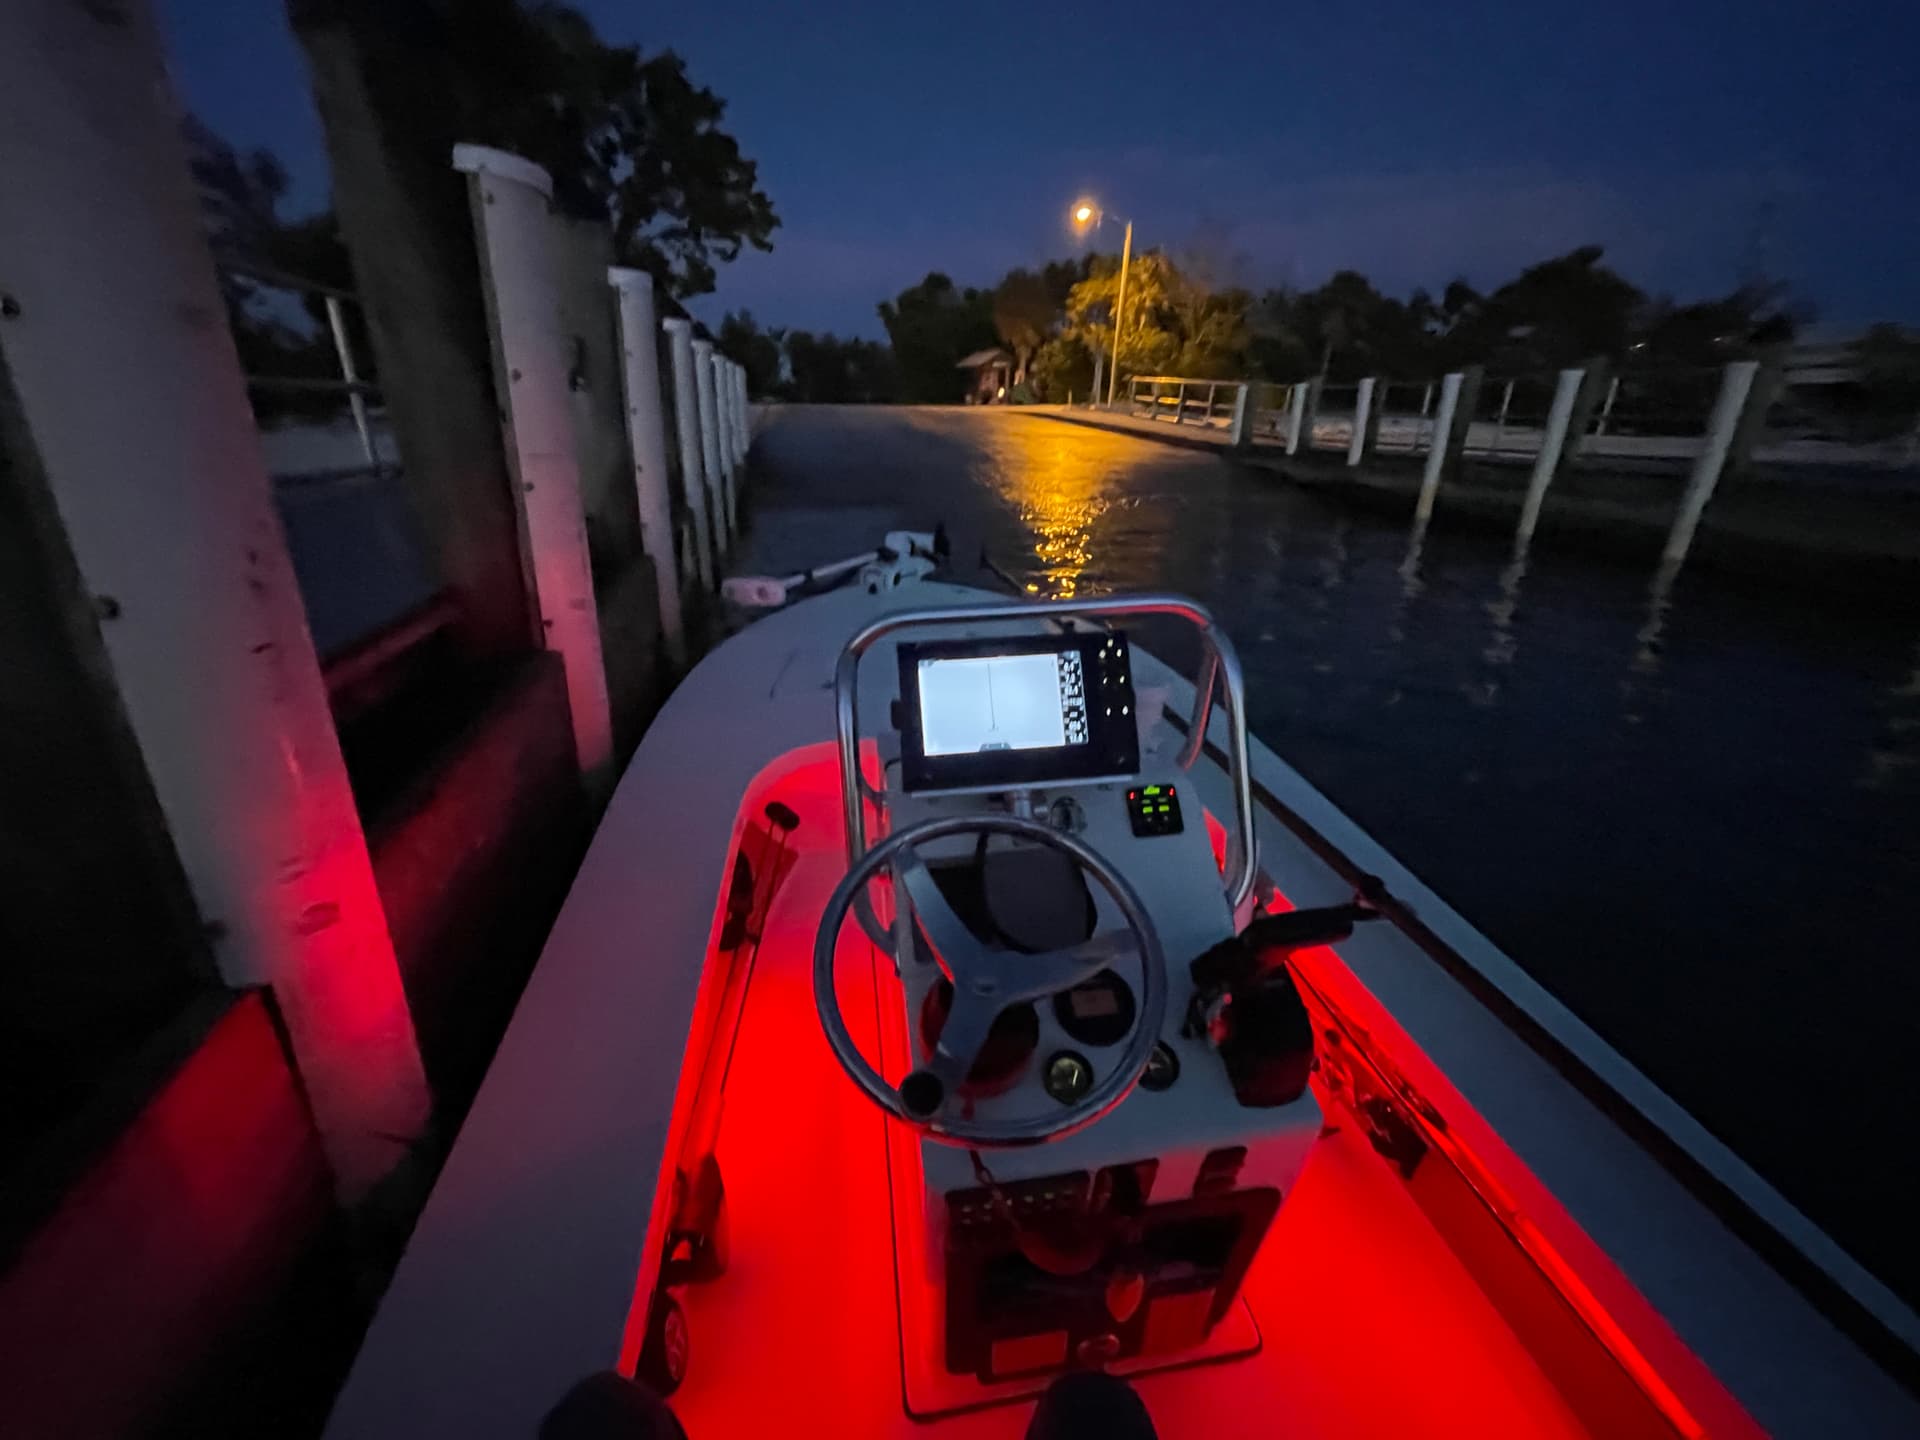
I would consider adding red deck light for early or night ops, very easy on the eyes and you can see everything and your vision stays adjusted.
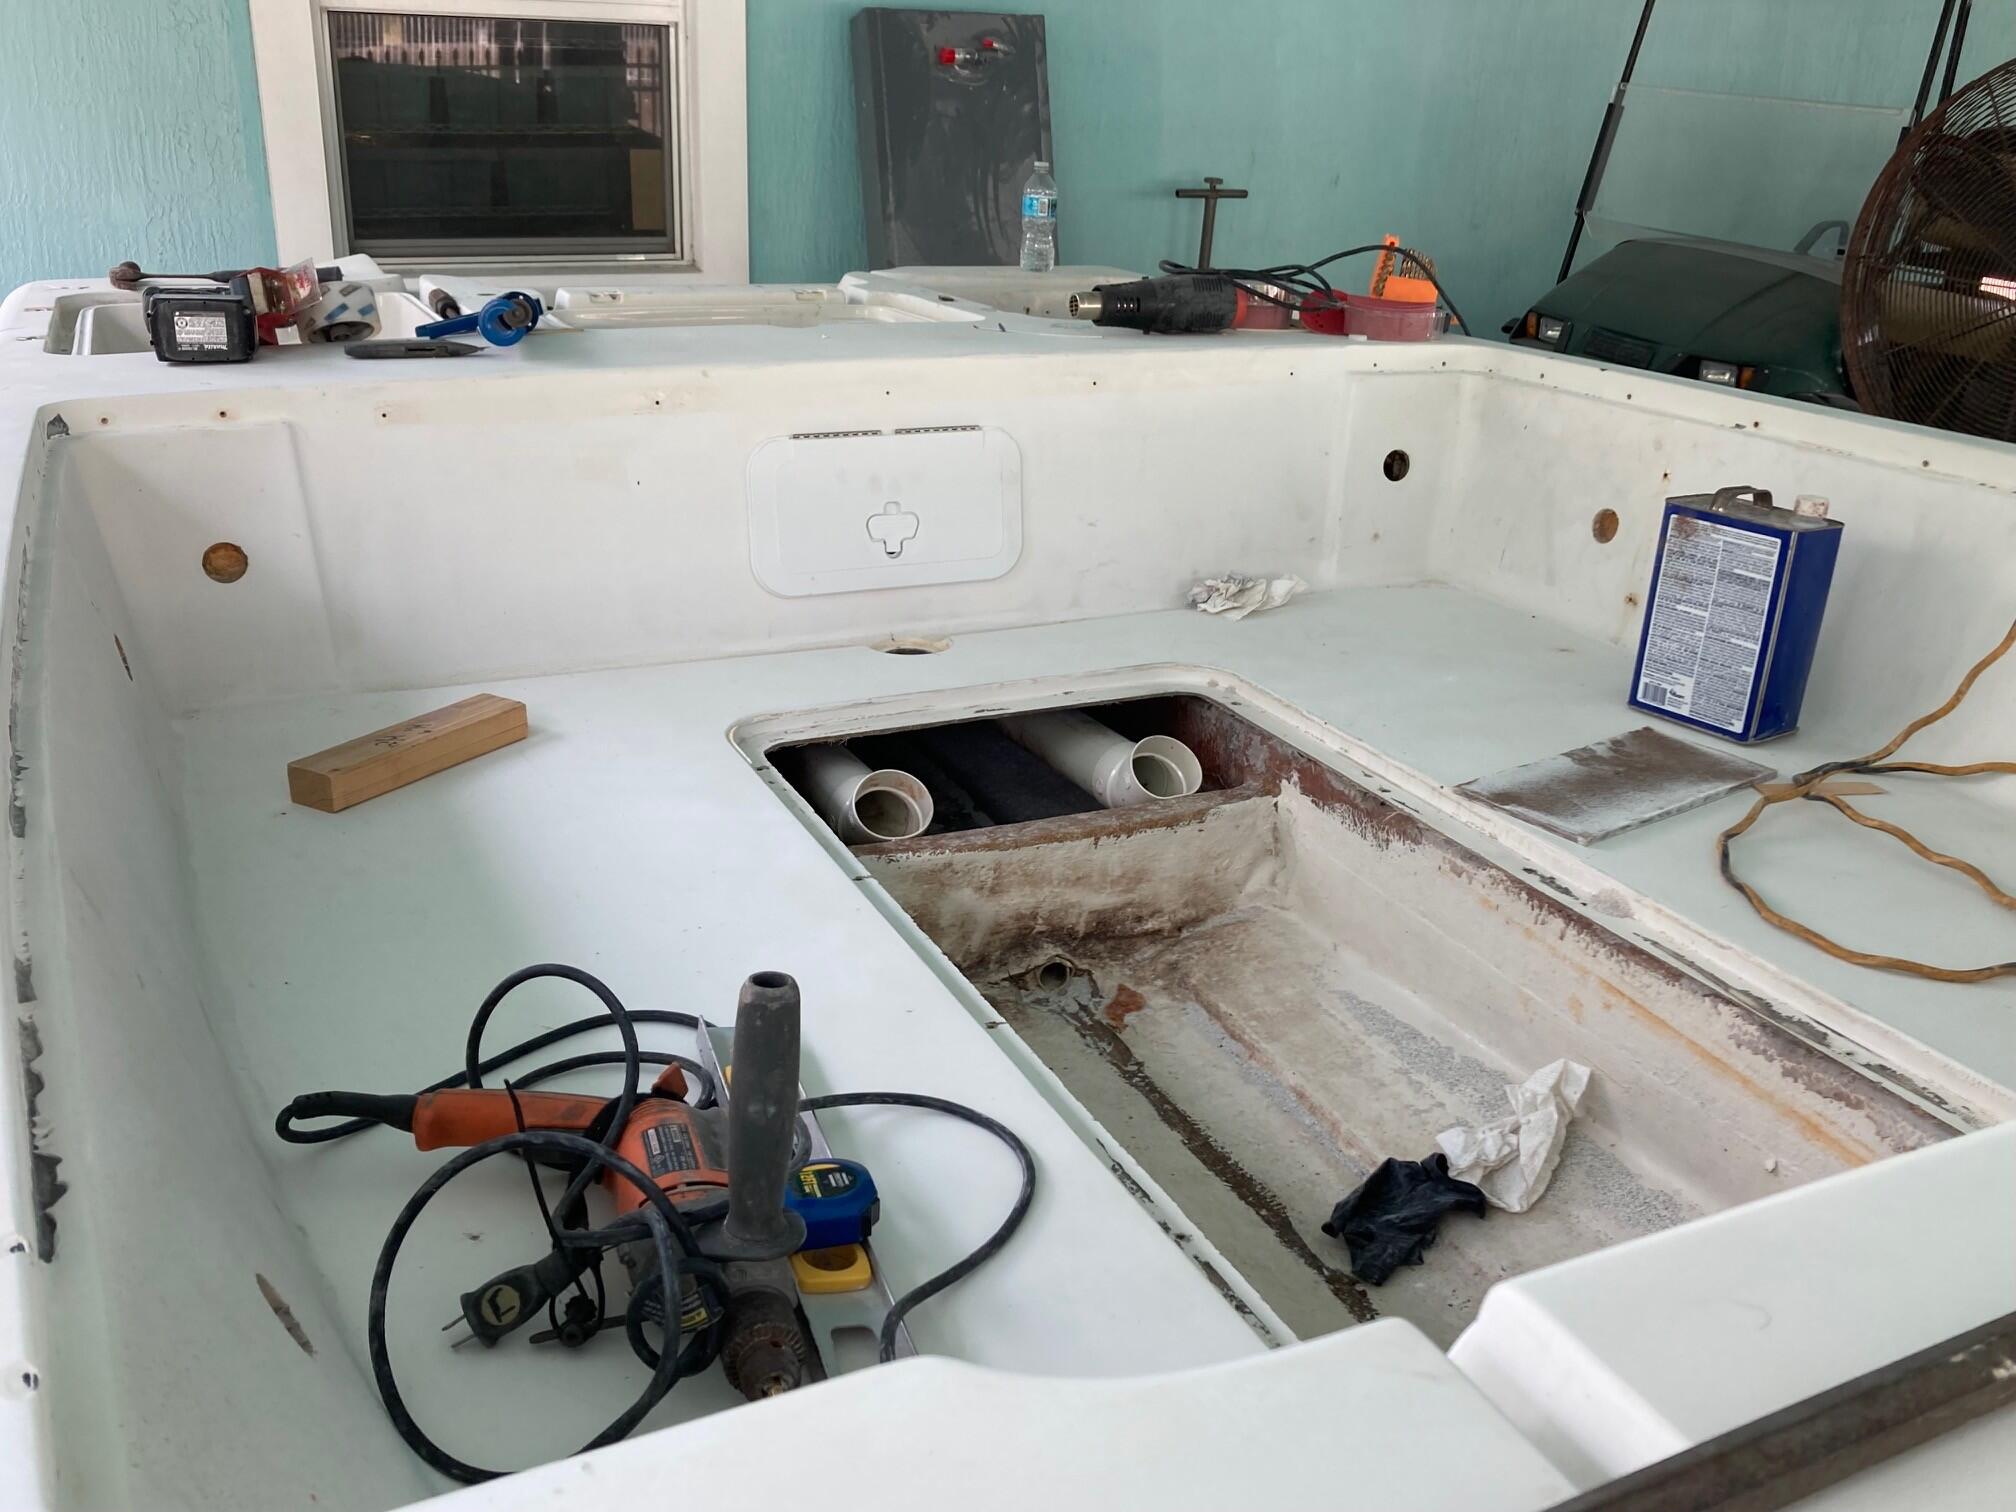
Thanks for your thoughts. As for the tank, it’s the same size that came out, roughly 30 gallons. I thought about making it smaller, but it presented issues in getting it back in place under the deck. The area under the front bulkhead and the vent/fill on the tank is super tight and adding a brace under the floor to hold a smaller tank in place would have been an issue with the angles. I didn’t ask about baffles, but you have a point about them. The original plastic tank didn’t have them. I do have a borescope so may take a look thru the fill hole just to satisfy my curiosity. I can’t speak to how loud it might be as it’ll be under the deck, I’m not expecting to hear anything, but we’ll see.
Tall console is a done deal at this point. With a 4" seat cushion for me, visibility shouldn’t be an issue. It also adds a couple of things, I’ve ordered two rod/cup holders that 'll go into the top of it, red/green nav light in between the two holders. It’ll also have a back cushion on the forward portion for the cooler seat.
Tabs will move in about 3" give or take (about 1/3 of 9x9 tab). The first driver is I don’t want to reuse the old holes. Granted I could do that and move it less, but it seems to me the outside 3" or so of the tab and bottom of the transom are on a different plane and the effectiveness of the tab is diminished. That said, I could be wrong, we’ll see.
I am planning Led lights under the gunnel caps although they are one of the few items I haven’t bought yet. Switch plate does have a switch for it. If I add a platform, I may add one under it as well.
What is the history of these boats? Grew up obsessed with bass fishing as a kid and they were the premier bass boat in the late 70’s/80’s. Are some years better than others as is the case with most flat’s boats? I very briefly had a b.c. 151 and was told the phantom derived from them, but can’t find that info anywhere.
To your point, the 169 Ghost was a Back Country boat. I’m not sure about the exact changes on this hull but looks exactly like a BC 169 Ghost. Personally, I’m not crazy about all of the foam but other than that seems to be well built. This hull has been sitting a long time, but the previous owner rode it hard and put it up wet.
As a sidebar, based on my reading the guy who started Back Country and sold it went on to start Yellowfin boats.
Yes, Wylie Nagler started Back Country Boats utilizing his background in racing. After he sold BC, he founded Yellowfin and had a very successful run there. He sold YF a couple years ago to a multi-brand builder and is now enjoying retirement.
‘Now I know how many holes it takes to fill the Albert Hall’
Filling holes is almost done, should finish up this week. Filled holes in cockpit where Ranger injected the foam, gas fill as I’m going with a smaller fill, hole for polling platform wires. Worked on all the hatch screw holes (10 hinges in total, 30 screws), but they’ll need some additional work. I remain concerned about how they’ll do once I put a screw in them. I may test some this week.
Installed cup holders and 15-degree rod/cup holders on top of console. I wanted the 30-degree but they hit each other at the bottoms.
Work continues. Finished hatch screw holes but haven’t tested them. Maybe after I paint the bottom and flip it back over.
Filled the fuel fill hole and re-drilled a smaller one. Hose is super stiff and won’t conform. Refilled the hole and moved it an inch or so. It’s better but not perfect. Will work it this week.
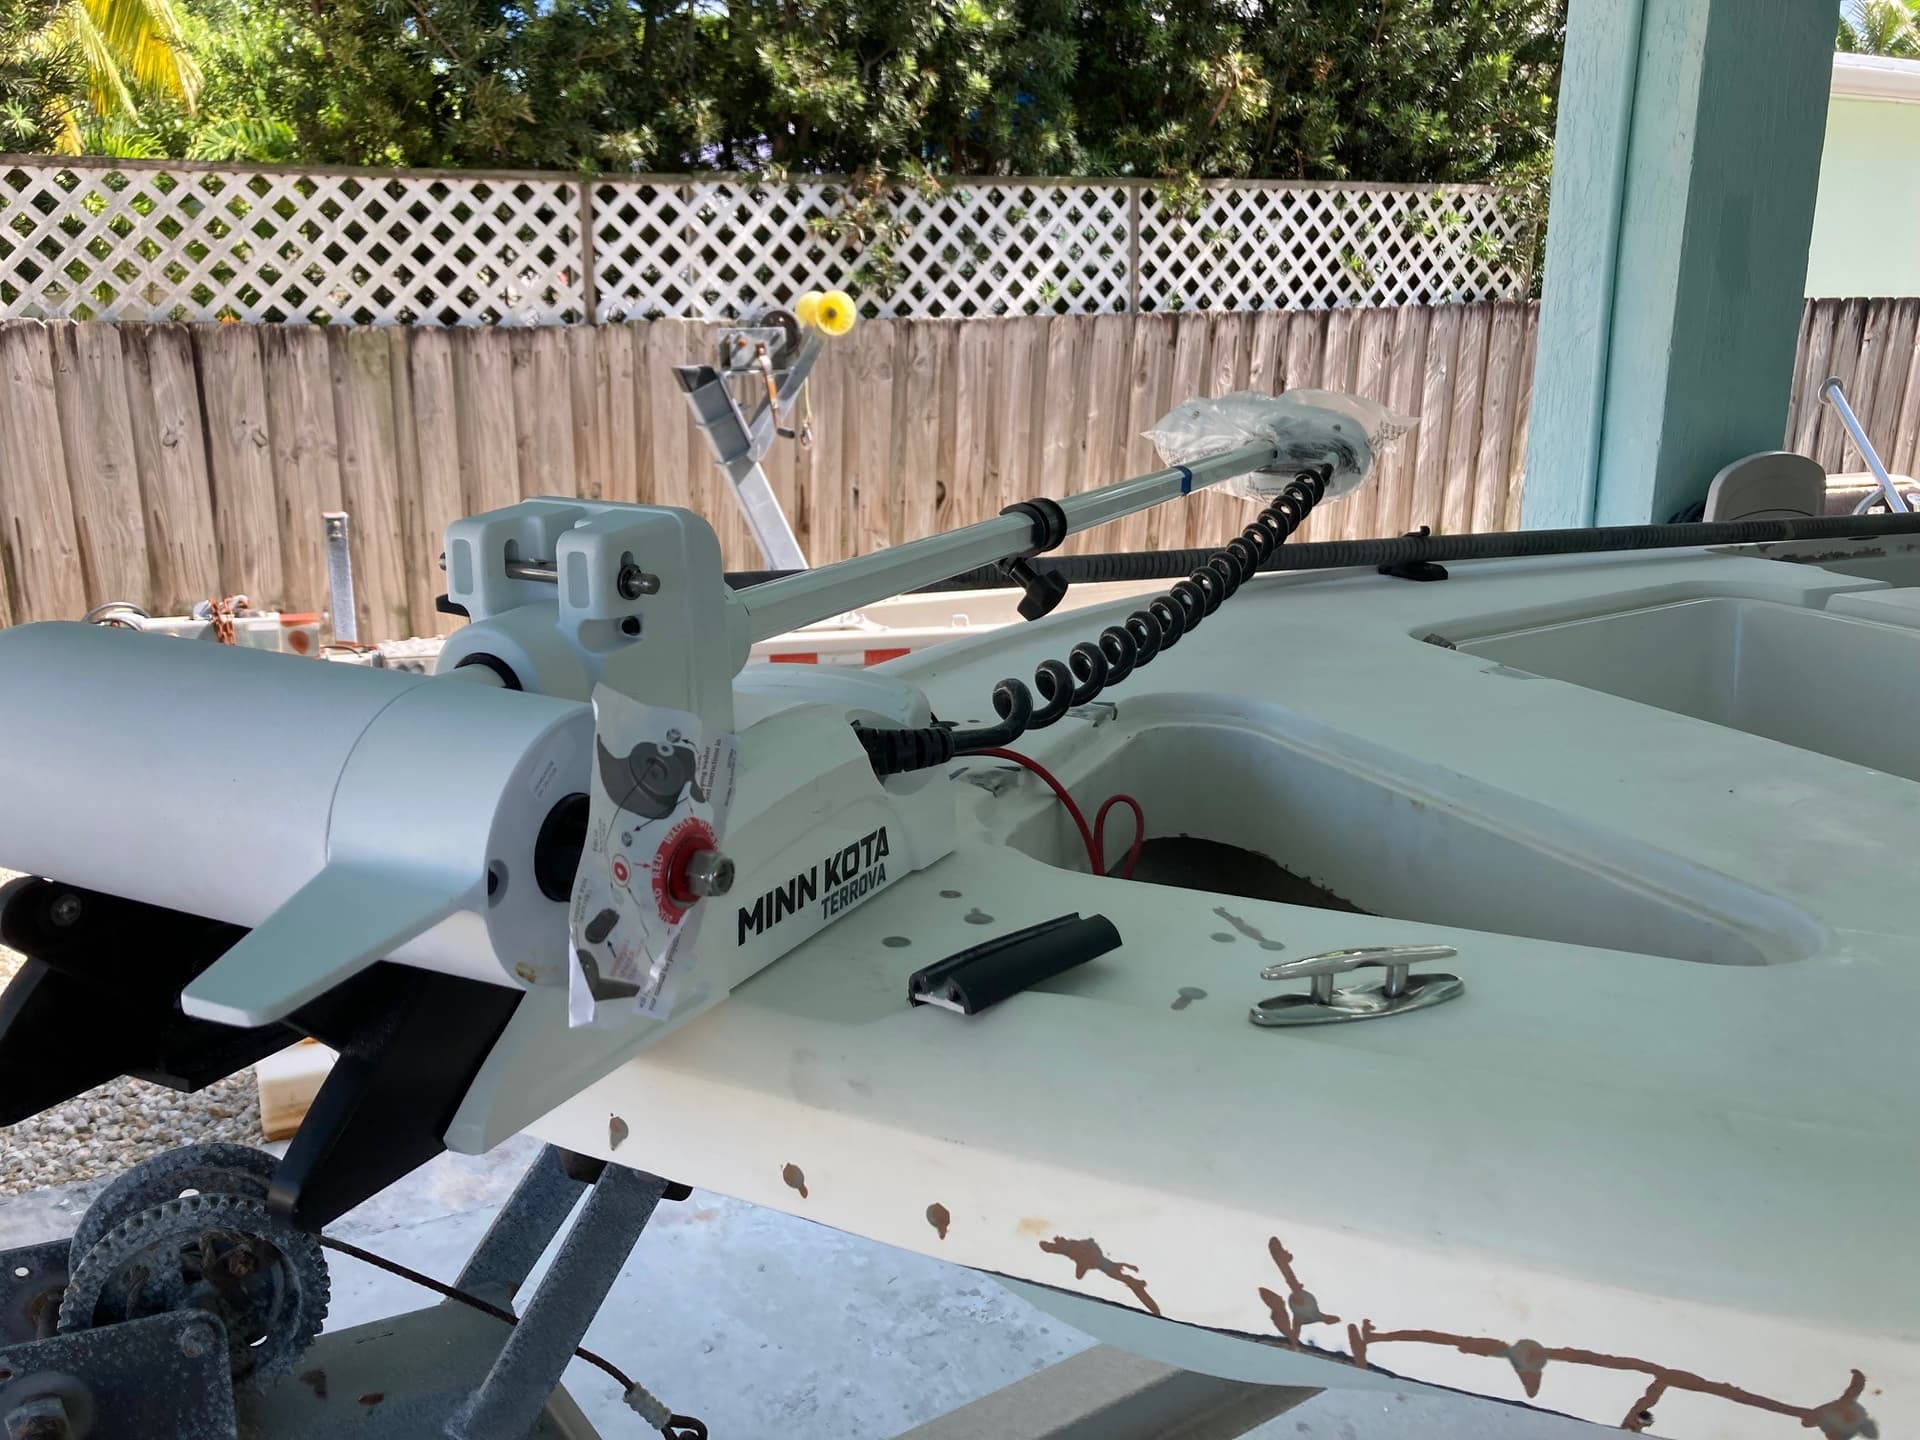
There’s a pretty good size hole on the bow for a recessed cleat. Wasn’t sure if I should fill it as I didn’t know exactly where trolling motor was going. That started an exercise of where is the best place for TM. Ends up it’ll be bow mounted on starboard side.
The issue then was what about the cleat? Old one covered by TM, so opted for two new one on either side of TM. Cut holes today. Old hole will be filled this week.
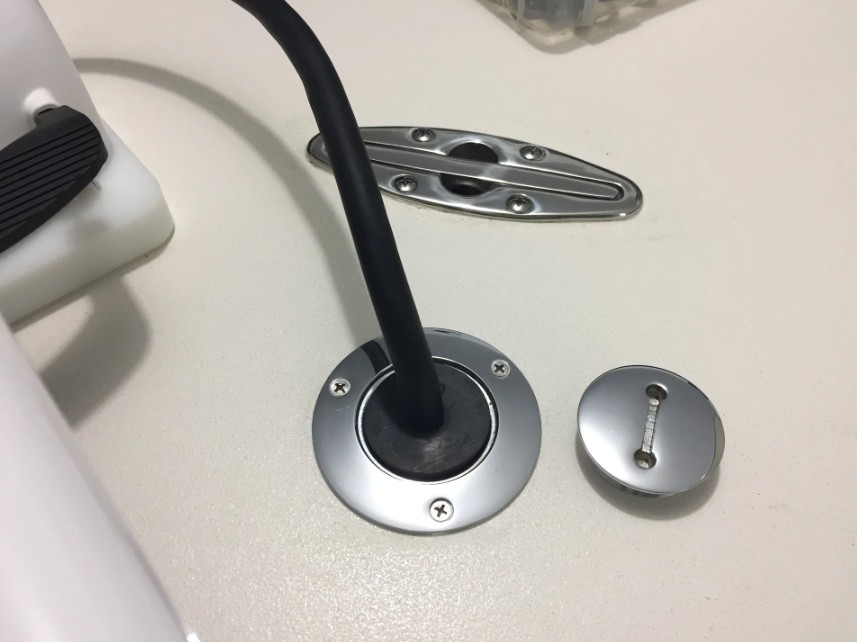
I’m also going to steal an idea from the old forum for my thru deck TM wires. Fuel fill fitting with rubber plug. I have the fuel fill fitting already, need the plug. Once TM Quick Release is mounted, I can drill holes for fuel fill. Still chewing on plugs for TM as I want the ability to remove it if needed.
Location for TM, note new recessed cleat. There will be bow chalks on top of toe rail to keep rope from chafing paint.
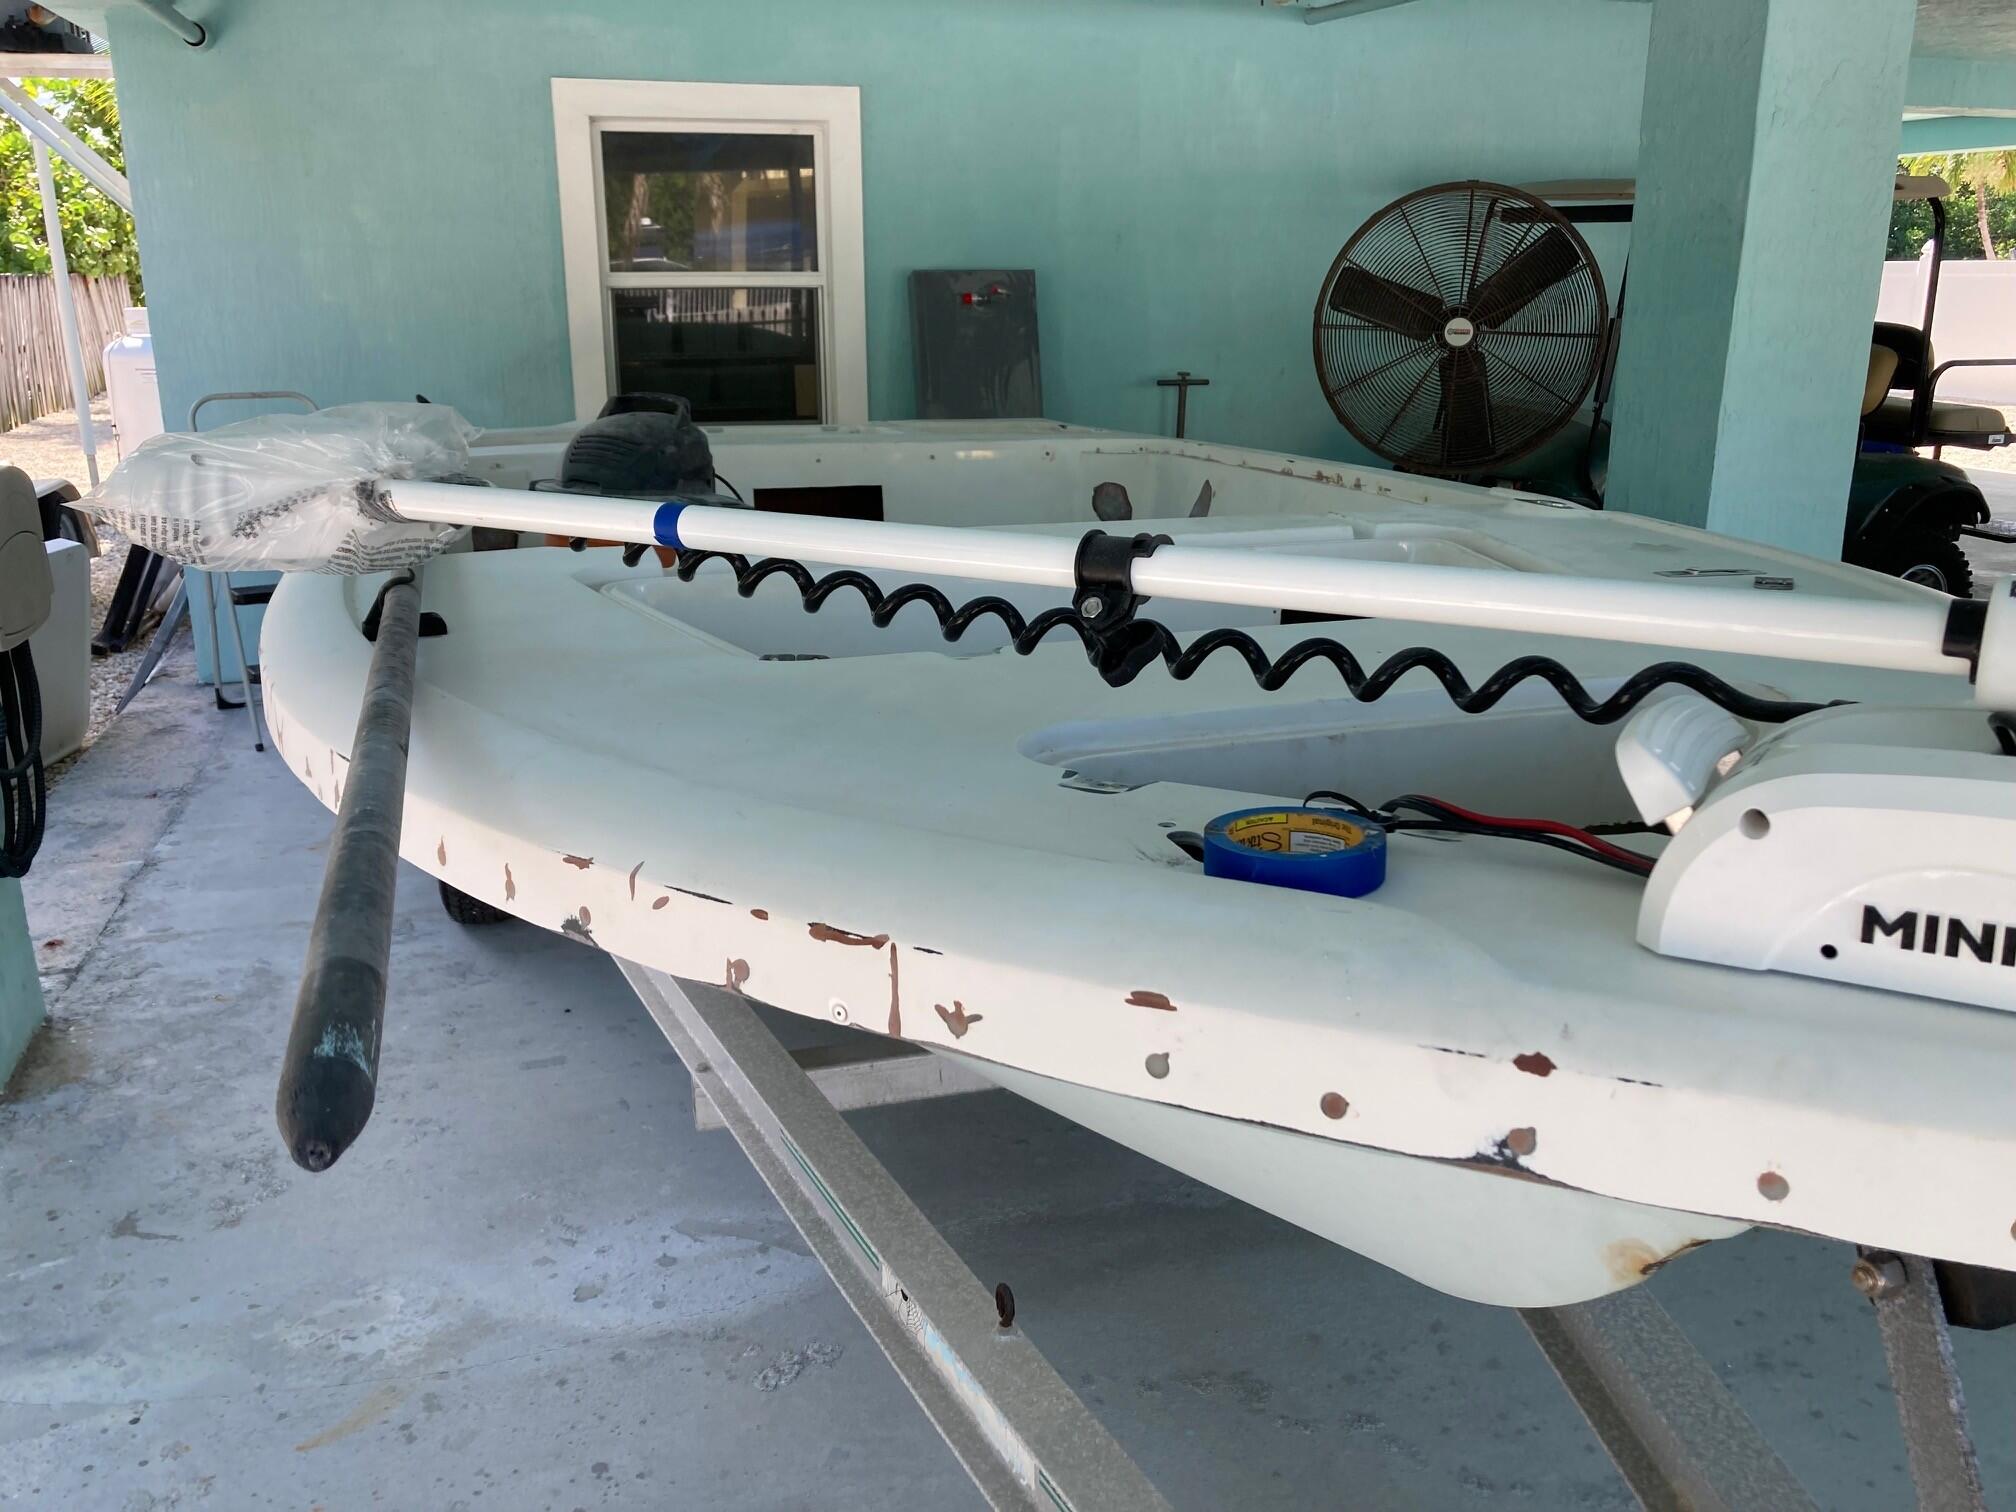
Well, took TM to authorized repair facility for shortening. Got the feeling on the phone it would happen right away, well I was mistaken about that. Cutting down from 72” to 54”. Based on my math, that would allow me to get the propeller 10” under the surface when rough. I also got my quick release mount in. Will drill holes for puck when I get motor back.
New cleat in for bow. Thankfully same as what I have.
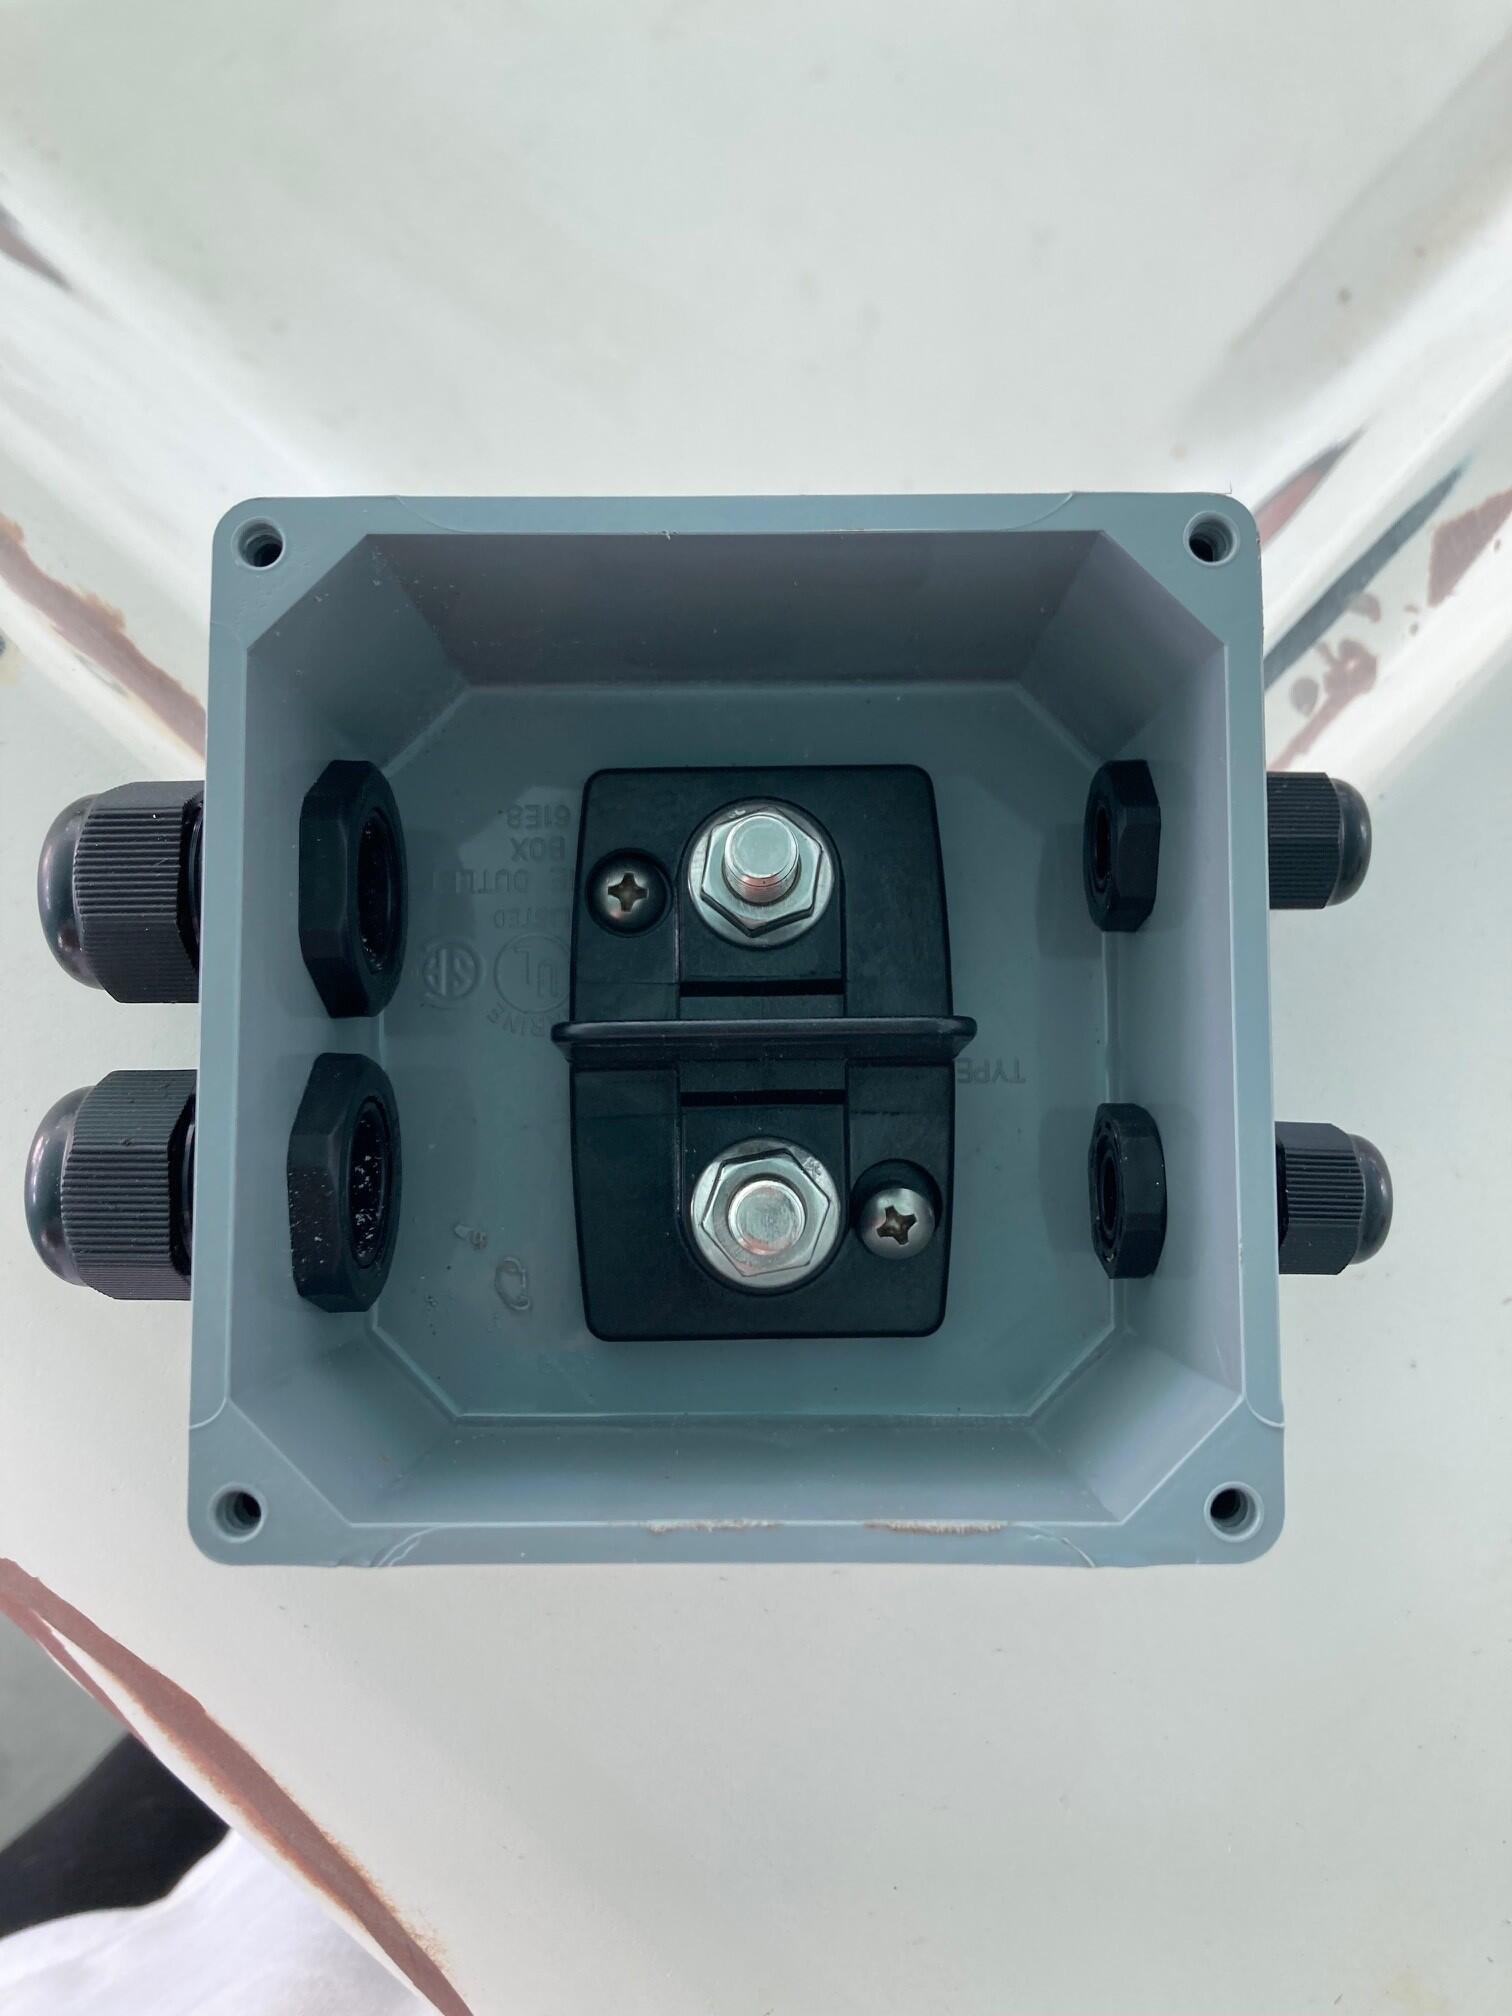
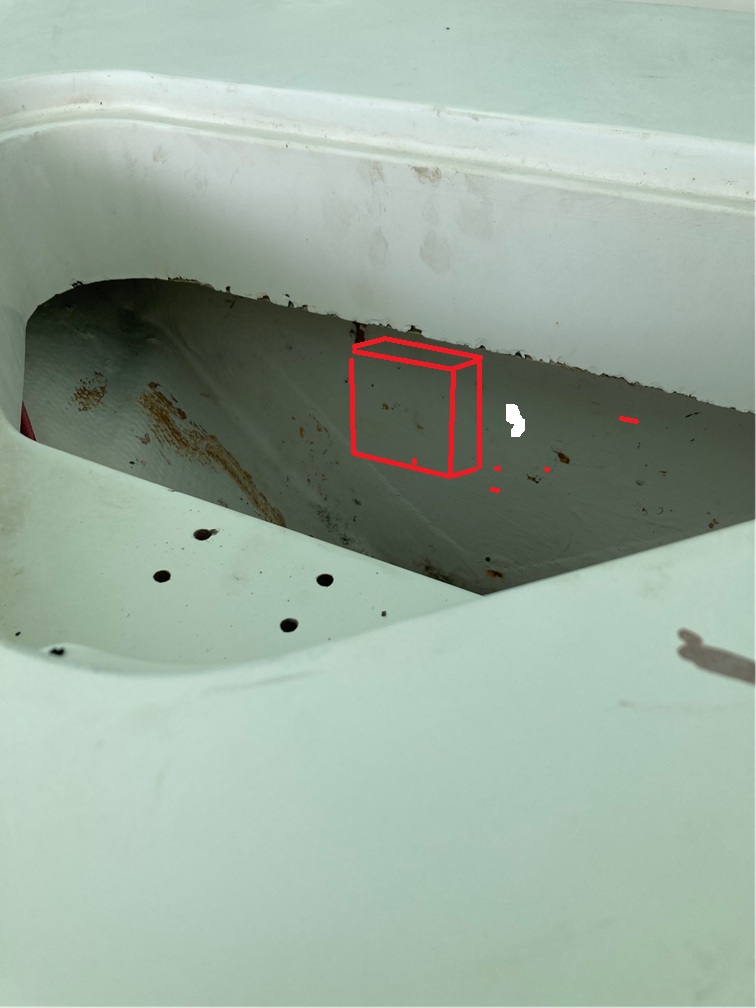
Gathered parts for the TM connection in the anchor locker. Waterproof box from Home Depot will be mounted on the bulkhead with wires coming out either side (4AWG & 10AWG) with glands. Dual post connector inside. I’ll need to add some additional plywood on bulkhead as it’s a bit thin.
The anchor hatch doesn’t have a gutter (unlike all the other hatches) as there’s nowhere for the water to go except into the anchor locker. Good news is there is a large lip all the way around and I can put all the wires under it in an effort to keep everything dry.
Got 8AWG Anderson connectors in for TM wires disconnect They seem too big, and Minn Kota says they are 10AWG when I asked (although the size says otherwise). Ordered 10AWG connectors. We’ll see.
Was checking what I have on hand to do all the wiring. Battery wires will all be 4AWG. Funny thing is all the different terminal sizes needed. 3/8” for battery stud, 1/4” for circuit breakers, 3/8” for battery switch, #10 for fuse block, and I’m sure there’s a 5/16 in there somewhere. Ordered more parts. I’m going to need better crimpers as well.
Was looking at hatch seals. What came out was a round black seal that was half assed installed with what appeared to be silicone. I need a better way. Saw a YouTube video, guy used surgical tubing and superglue. Swears it works. Any of you replace seals like these?