What’s the proper way to drill a hole in the deck so as not to experience any gelcoat cracking or other unwanted gremlins? Prep (i.e. masking tape, etc.)? Type of bit? Drill speed? Do you use sealant or some sort of gasketing material between the deck and TM puck? Whatever important details. I may be looking to install a Power Pux and just want to get all my ducks in a row first. If someone could provide a step-by-step of how to drill a 1" (as an example) in the deck of your boat, including the proper prep, tools used, and technique, I’d be really appreciative.
1 Like
Sharp bit, then counter sink bit to reduce cracking/checking. Rubber gasket/sheet material cut to size between deck and tm puck.
1 Like
I have drilled quiet a few holes ![]()
For 1", go to hardware store and get a 1" drill bit (open) that has a pilot hole to center the bit and center the location.
Measure 2 or 3 times, check under the deck where you drilling, then place painters tape - blue, over your hole location.
drill your pilot hole, enter slowly then increase the speed so you can control the drill…
you can use a clear sealant (outdoor window as an example) since it’s not below water..yes, as mentioned above, you any type of rubber grommet to seal it as well…
dc
2 Likes
why the rubber gasket? (I’m installing a puck as well and just curious)
It’s not completely necessary. Just adds some cushion between deck and puck. Also helps keep dirt and grime from building up under the puck.
1 Like
Painter’s tape the area, mark the template, tape your shop vac hose and tip to the deck right next to the top right side of the big hole to catch dust with rotation, drill a small pilot hole with like a 3/16" or smaller bit then run a hole saw in reverse in the pilot hole to score the gelcoat without chipping out and once you have a uniform groove about 1/16" deep switch to drilling in forward and follow through SLOWLY with very little pressure so you don’t splinter the inside fibers too much. Remove vac hose, drill the other mounting holes and then vac the inside of the hull if you have access, if not you can tape fuel hose to the end of the vac hose and run it through the hole you just cut and get most of the dust in the keel.
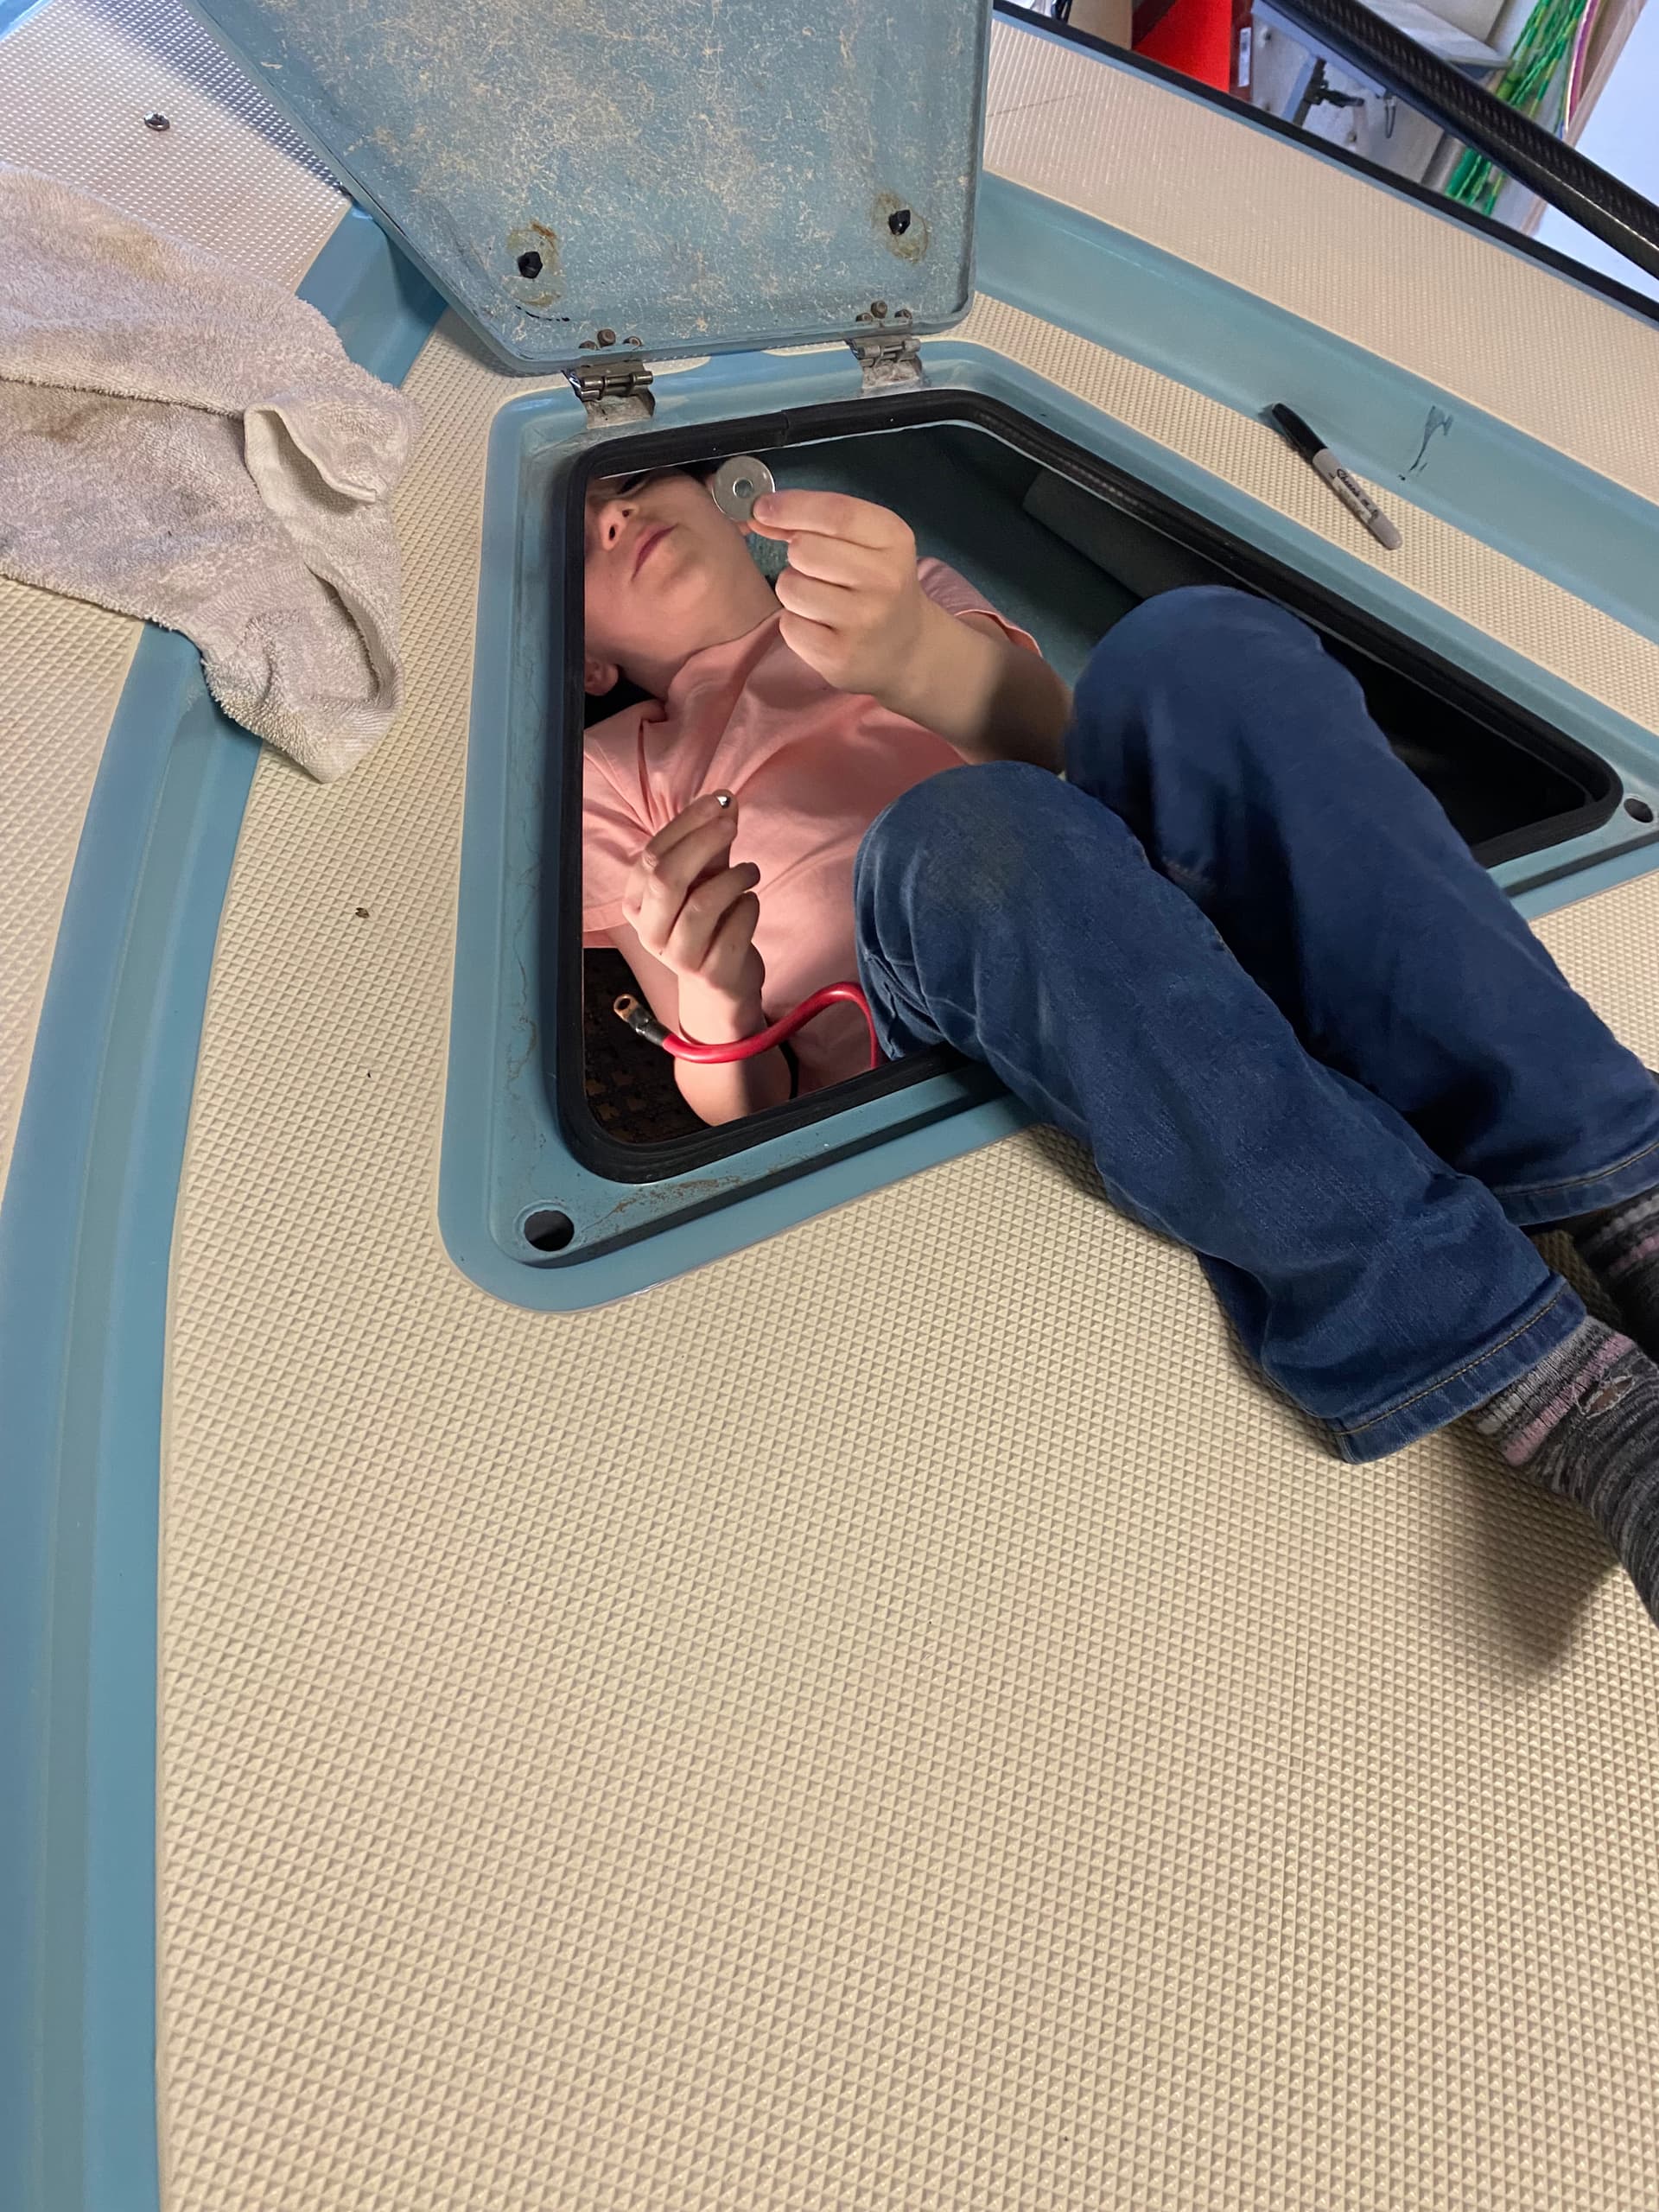
I guess I should do another trolling motor puck mounting write up like I had on the Fight Club. If I have a bow hatch that is hard to work in and nearly impossible to thru bolt due to limited space and fuel tank in the way I use EMT conduit and cut off the open end of a cheapo wrench and smash the EMT on the wrench shaft in a vise. This makes a handle extension so you can get over the fuel tank and get the nuts on to thru bolt instead of other less sound measures. Cut the EMT the length you need to fit in the bow hatch and if you need to cut the EMT in half to fit you can use a EMT coupler with set screws to assemble under the cap to get your length. You need a flash light and a good helper running the impact on the bow. Use blue tape to keep the nut from falling through the box end and Super Glue Gel to hold the nylock nut and fender washer on the wrench so you can work it in position and you can feel the bolt threads catch smoothly as the person running the impact slowly turns the bolt. Don’t cross thread the bolt…You WILL drop nuts and washers so have plenty of extras…good luck retrieving the ones you drop. I learned this from a master rigger in Florida.
9 Likes
Why no rec’s to start the drill in reverse? Always thought that was important
Brad point bits are the way to go for wood and fiberglass. Get a full set at harbor freight for like $20.
I did state to start the hole saw in reverse.
2 Likes
For the bolts yes but you have to drill a 1" hole for the wires if it’s a PowerPux. I assumed it was because hardly anyone uses the old pucks with external wiring any more.
1 Like
1” Brad point bit.
1 Like
Wanna fight?!? ![]()
2 Likes